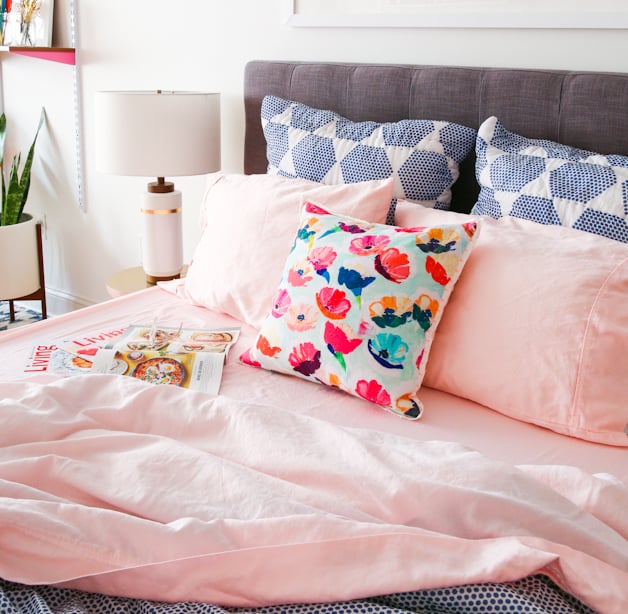
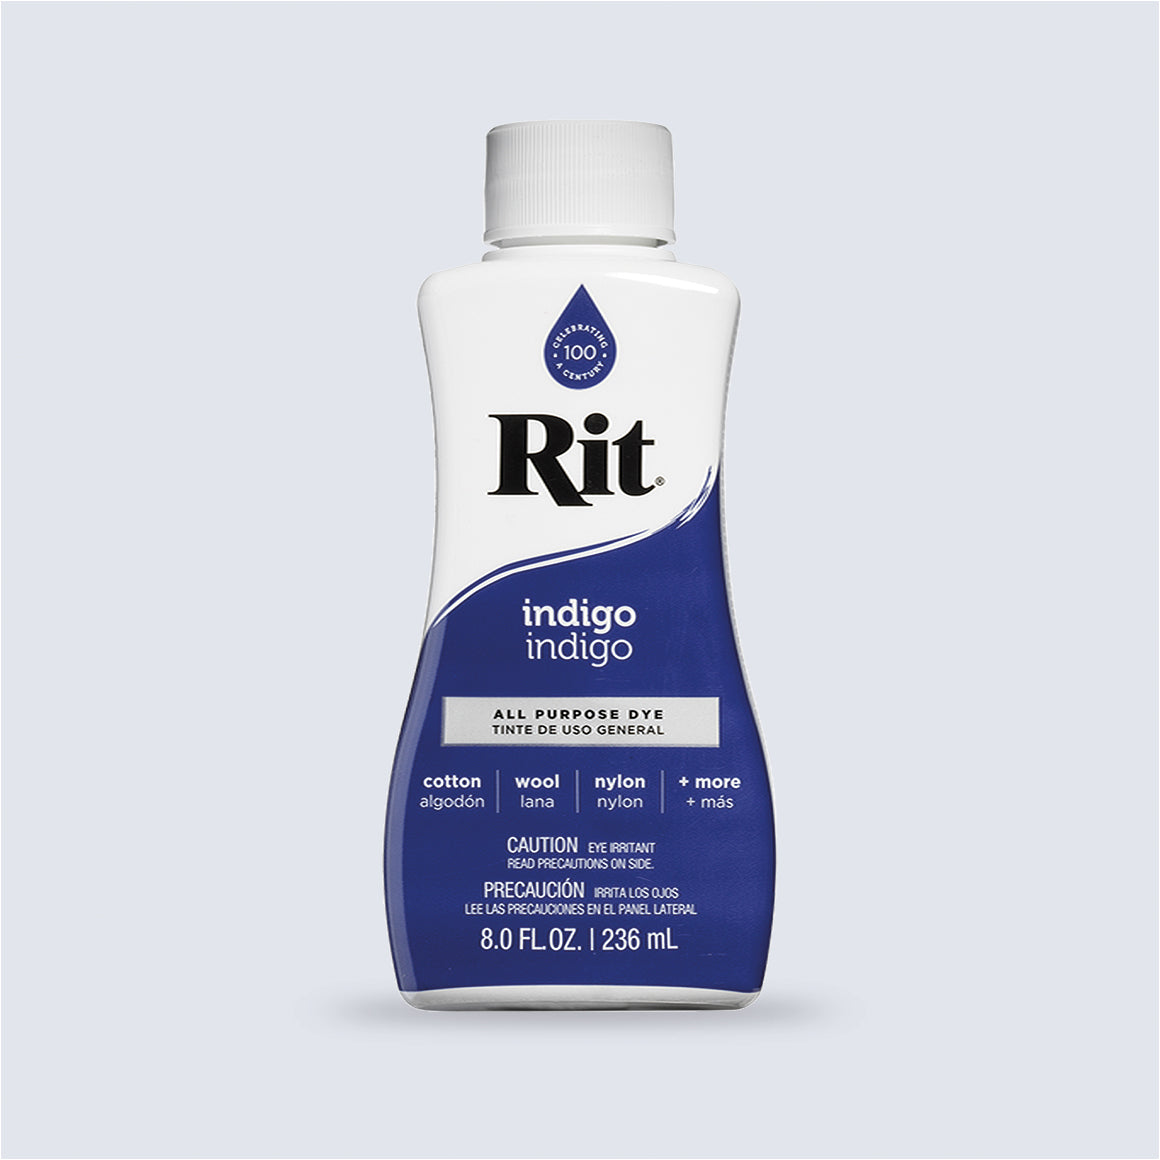
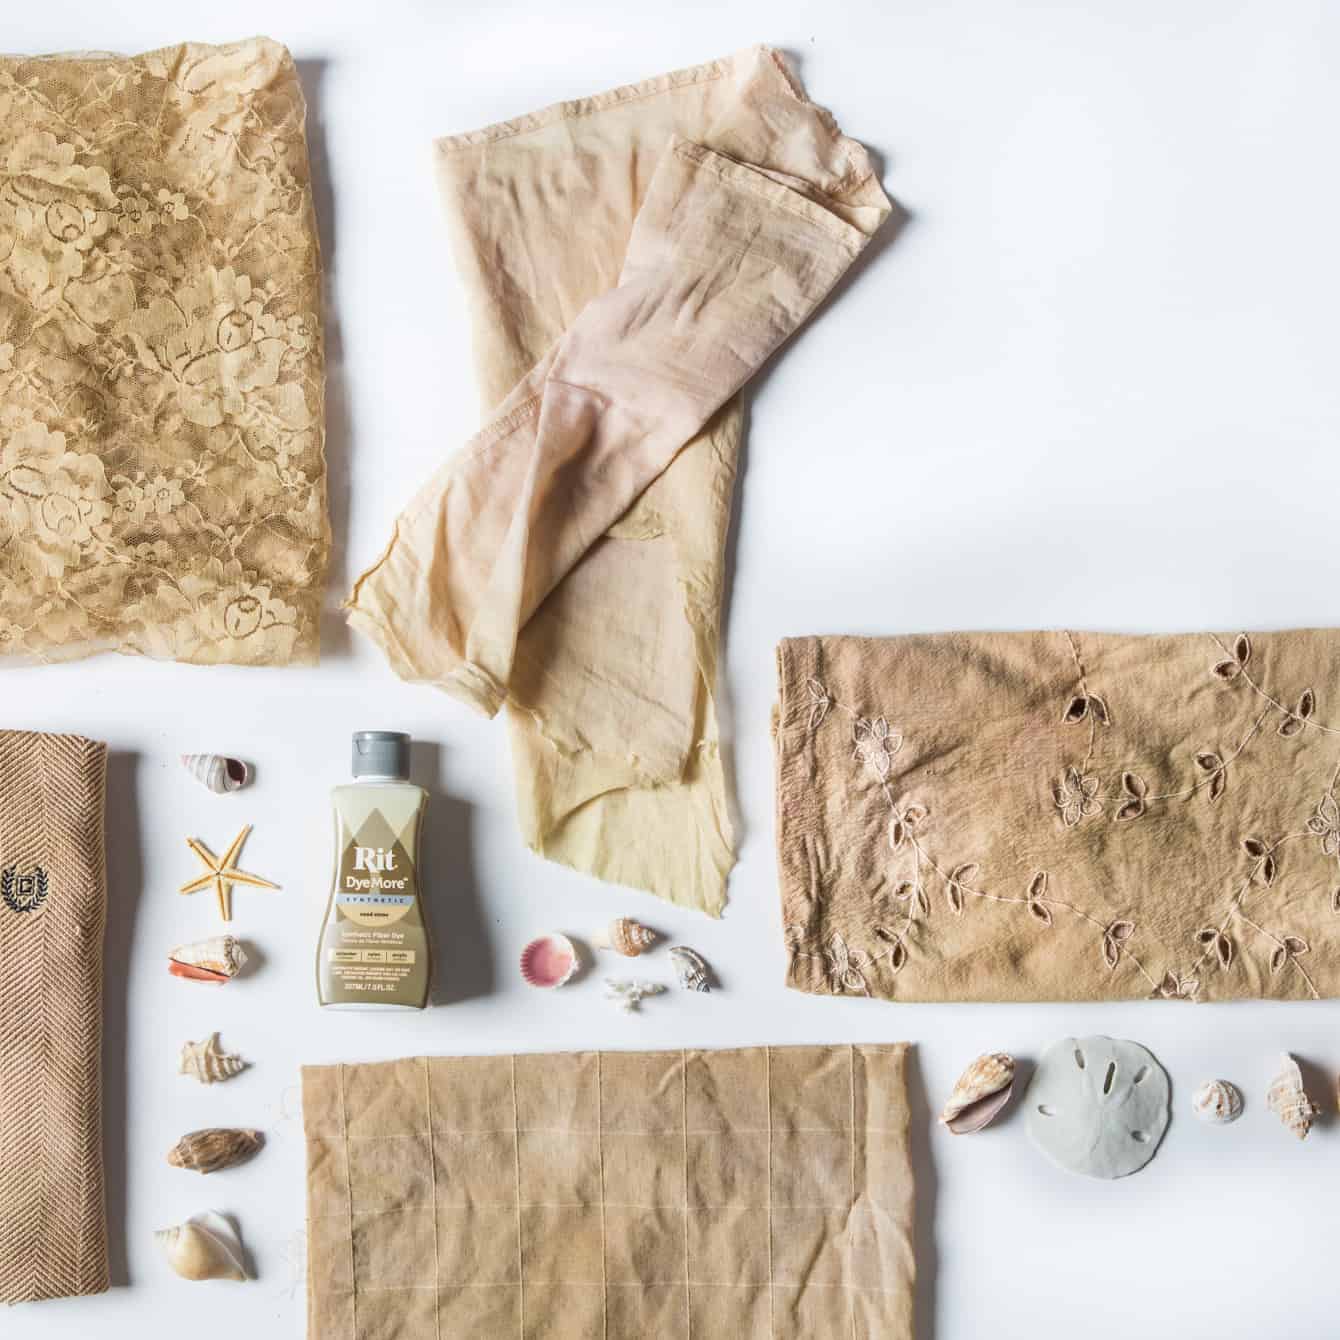
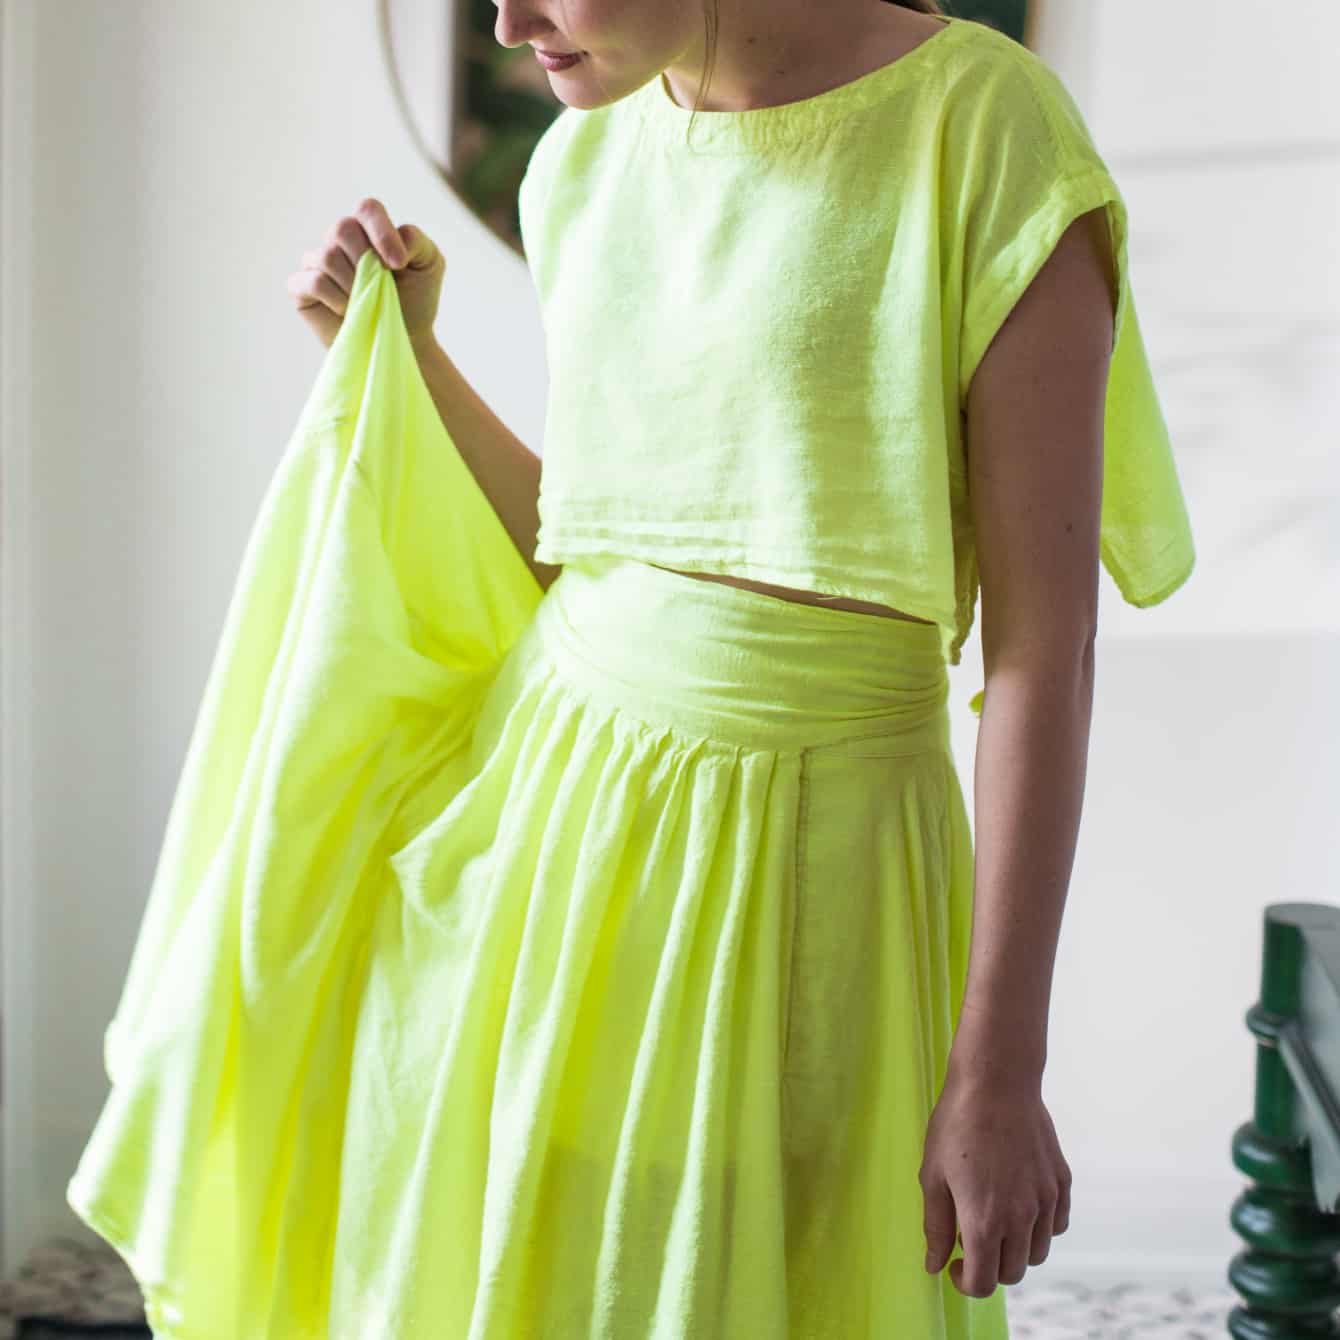
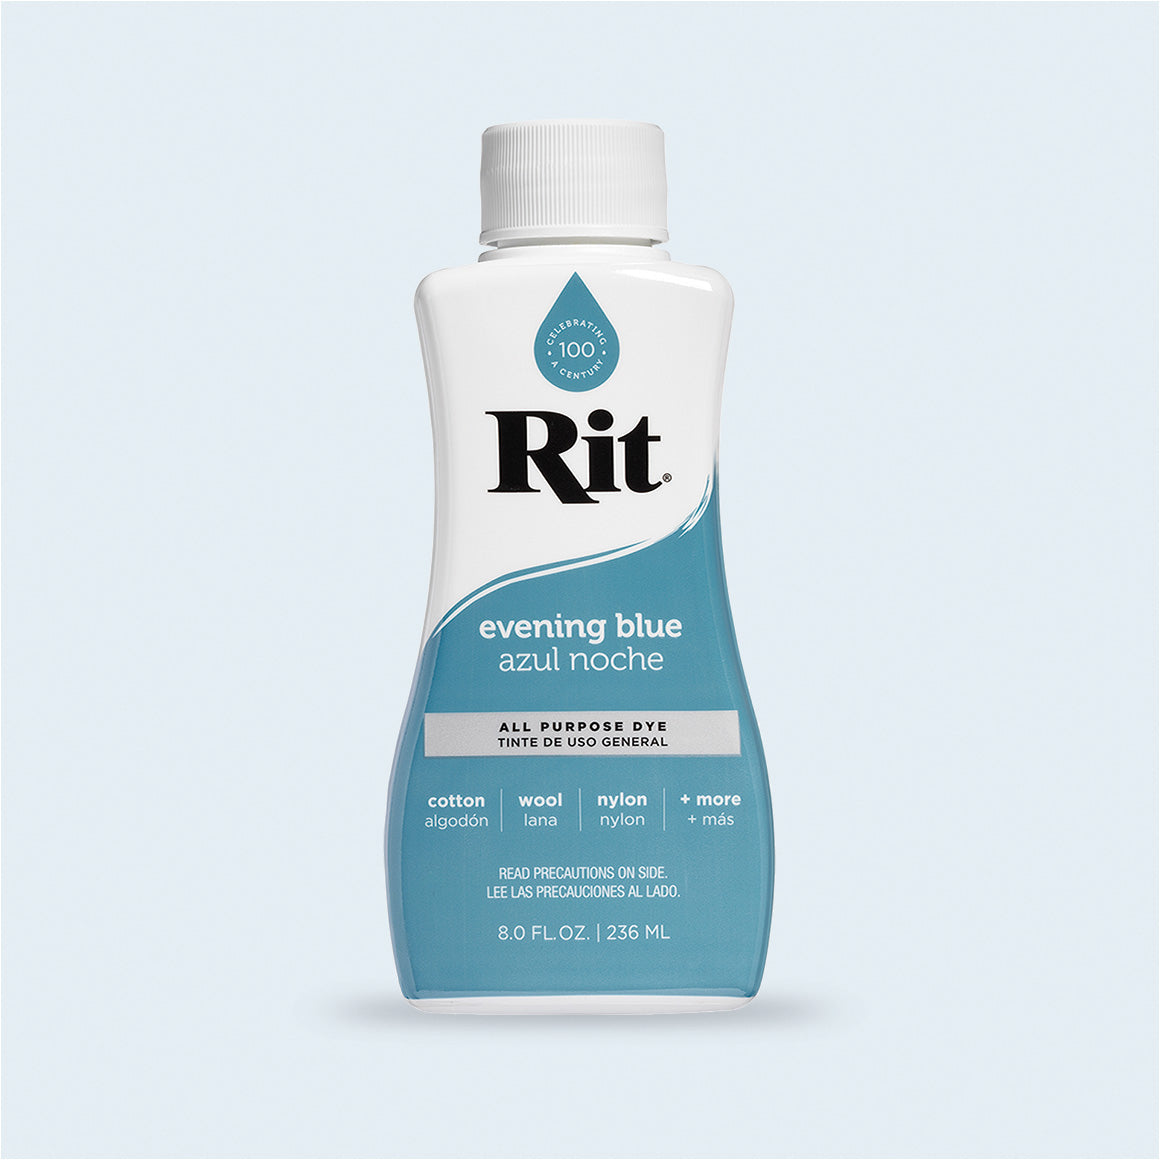
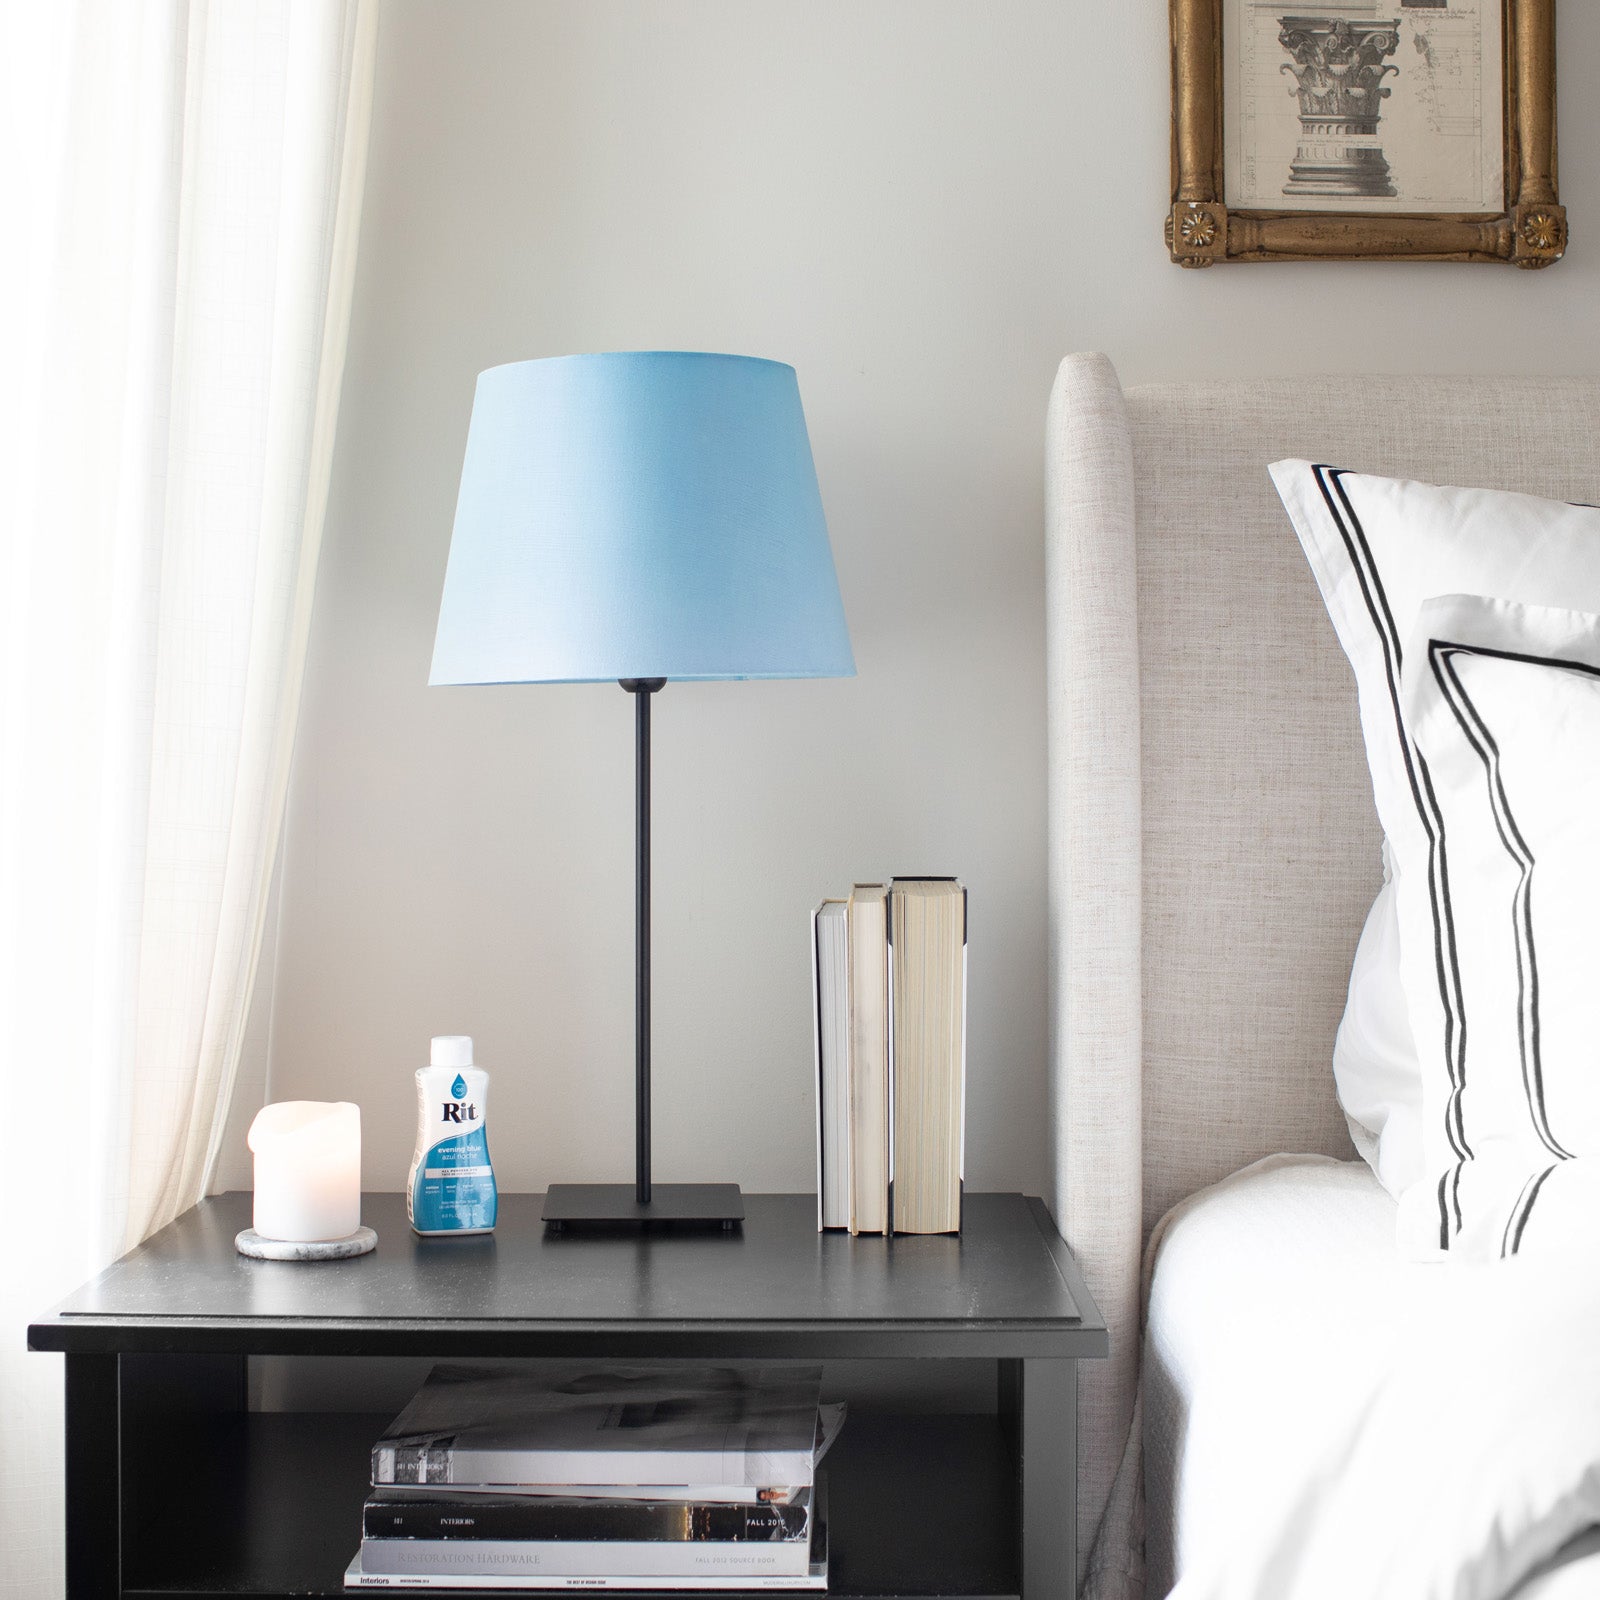
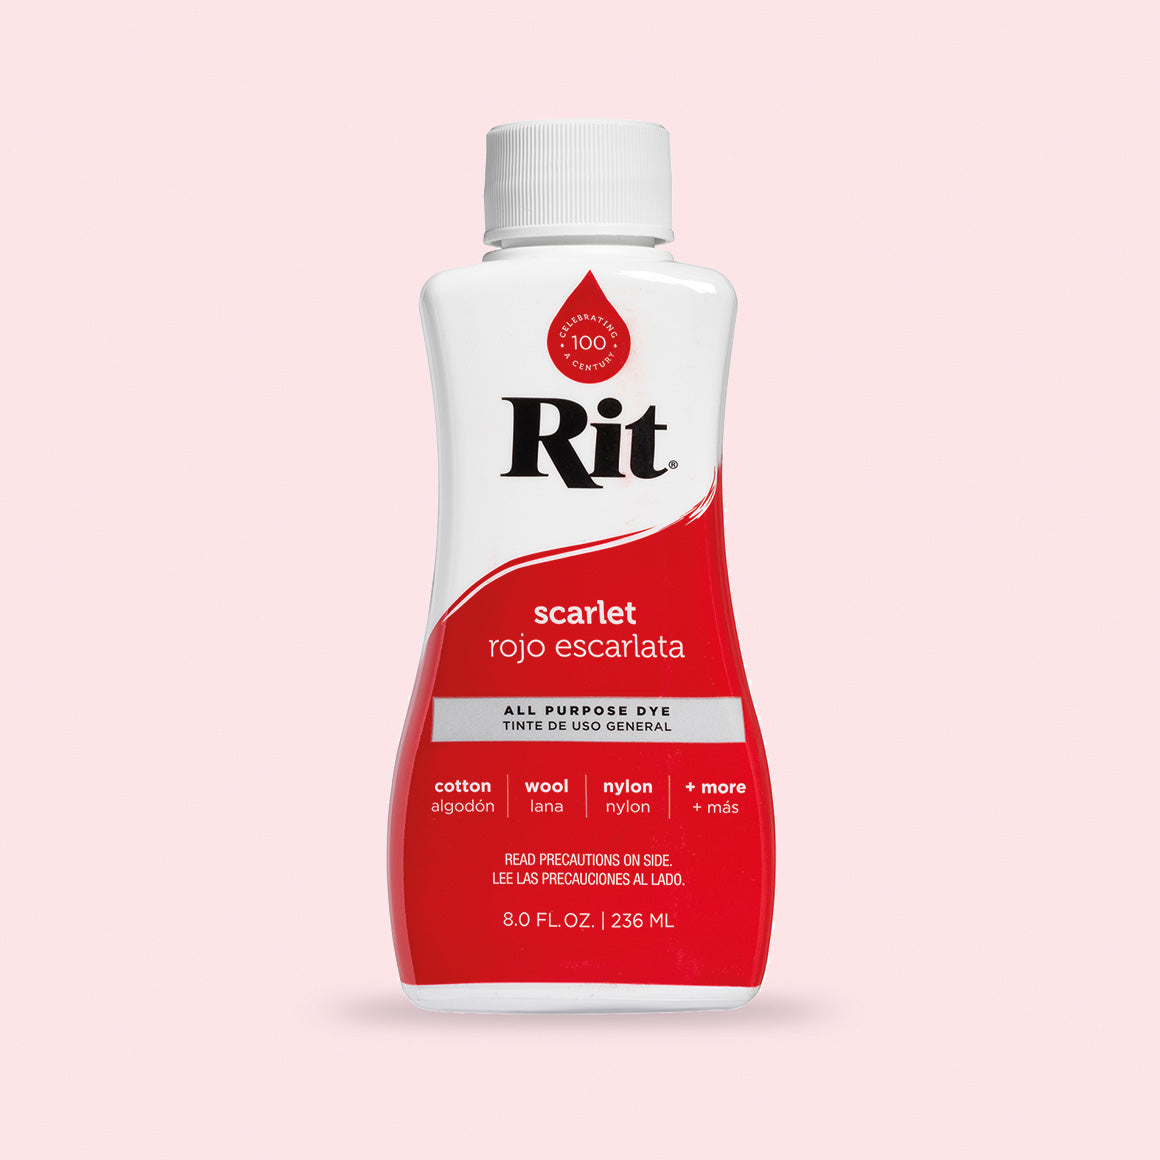
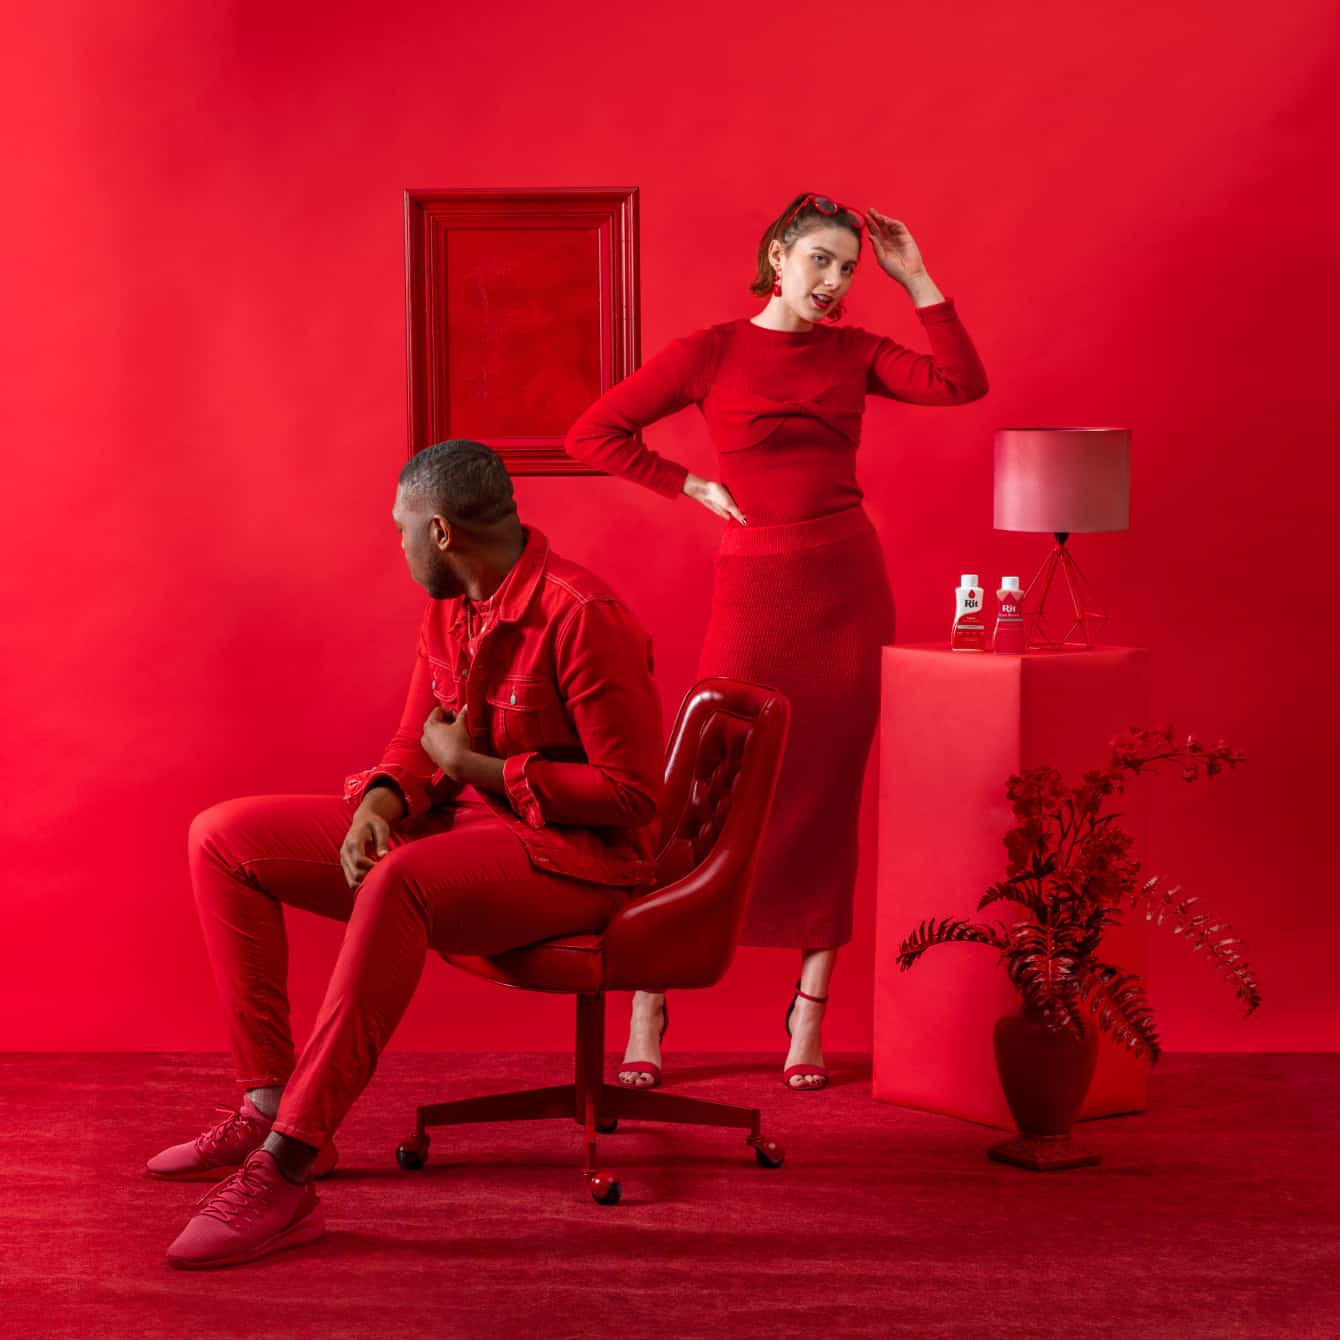
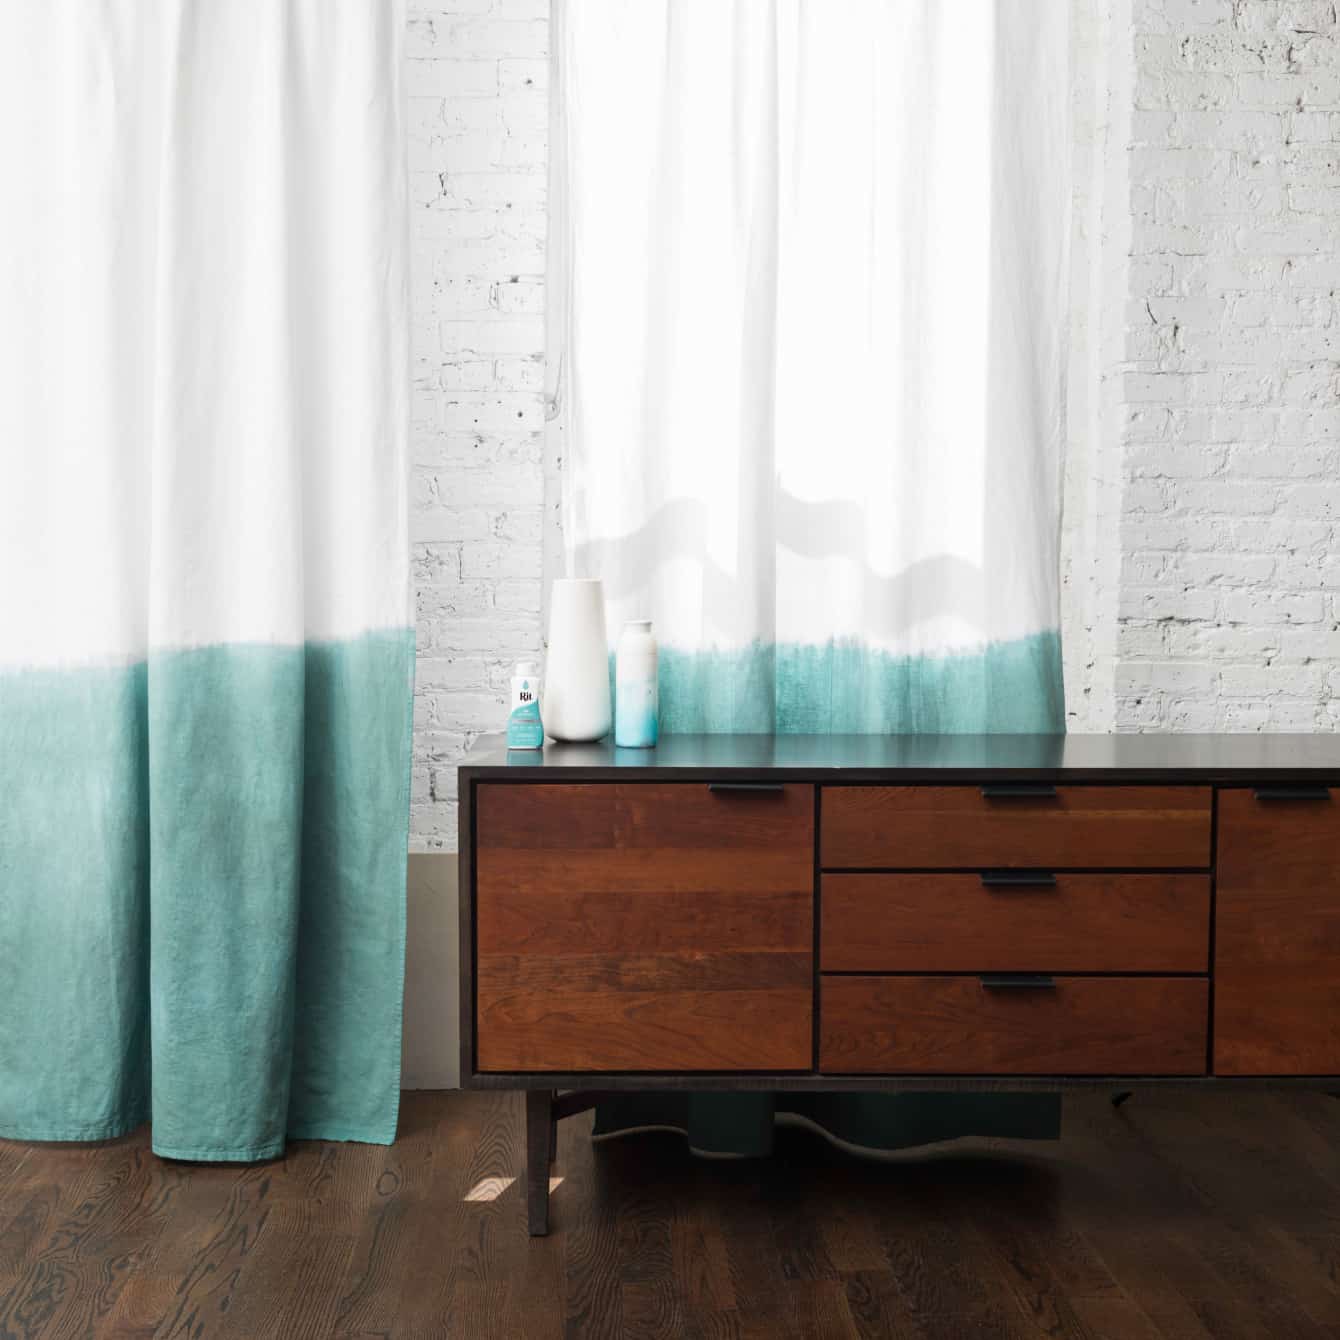
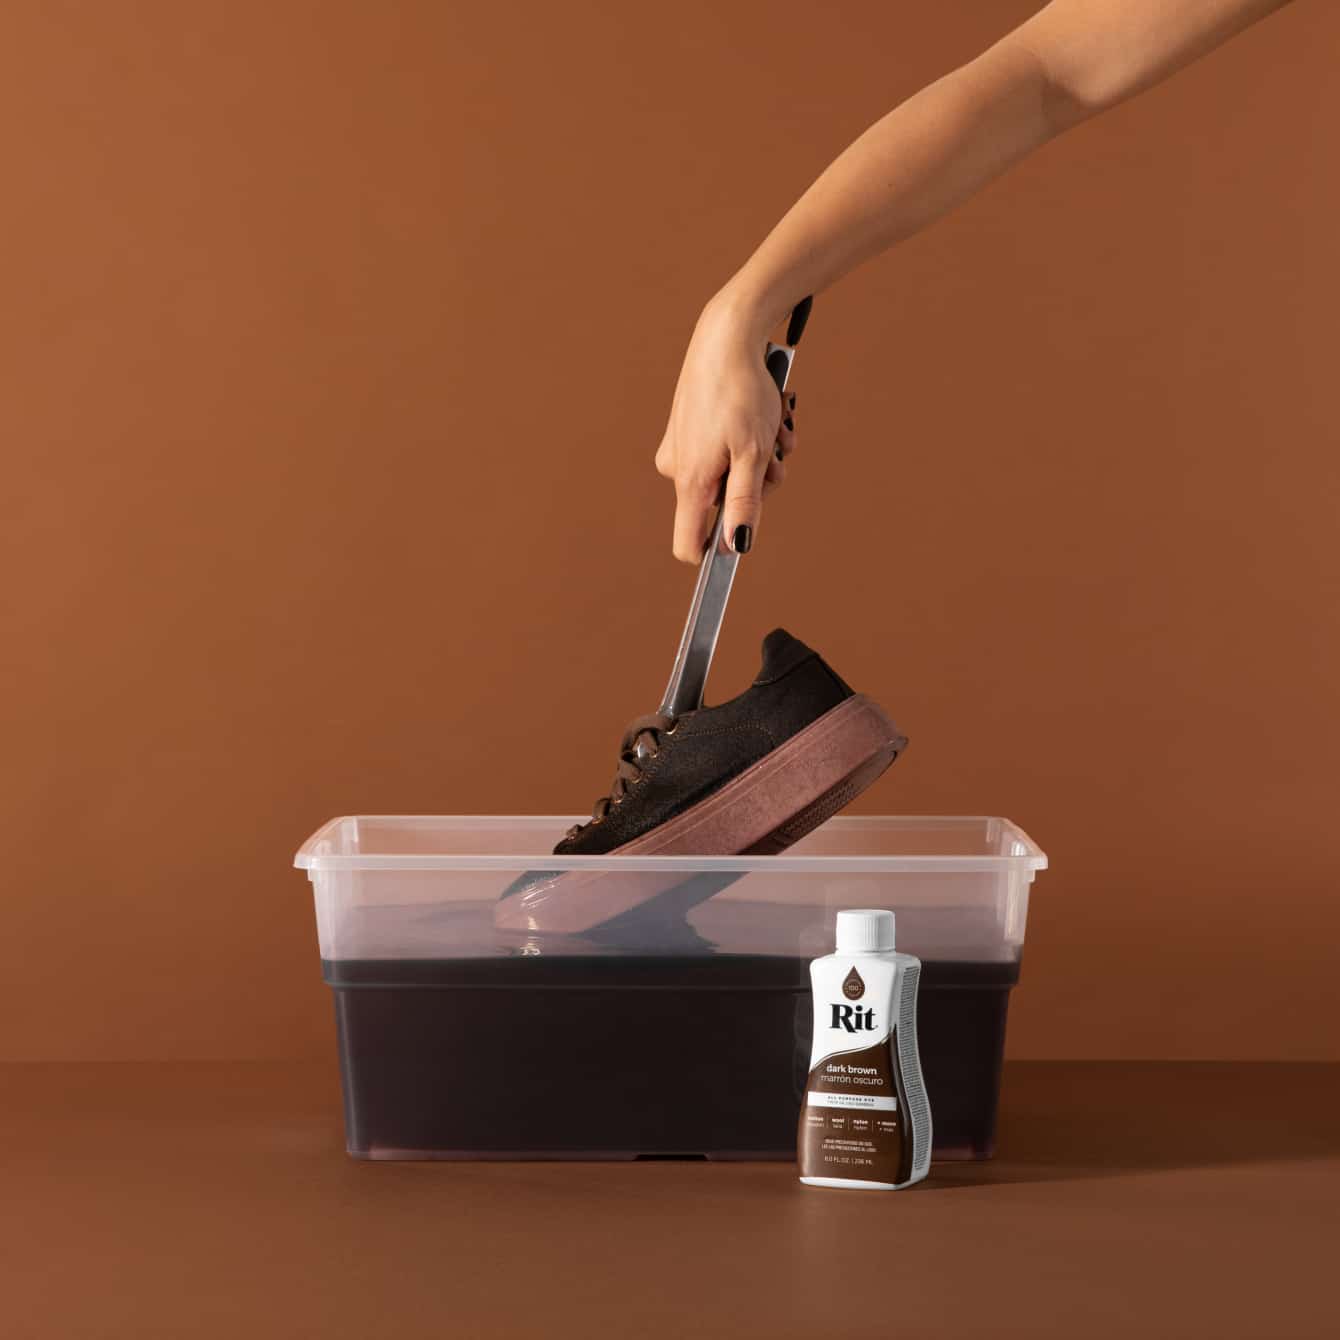
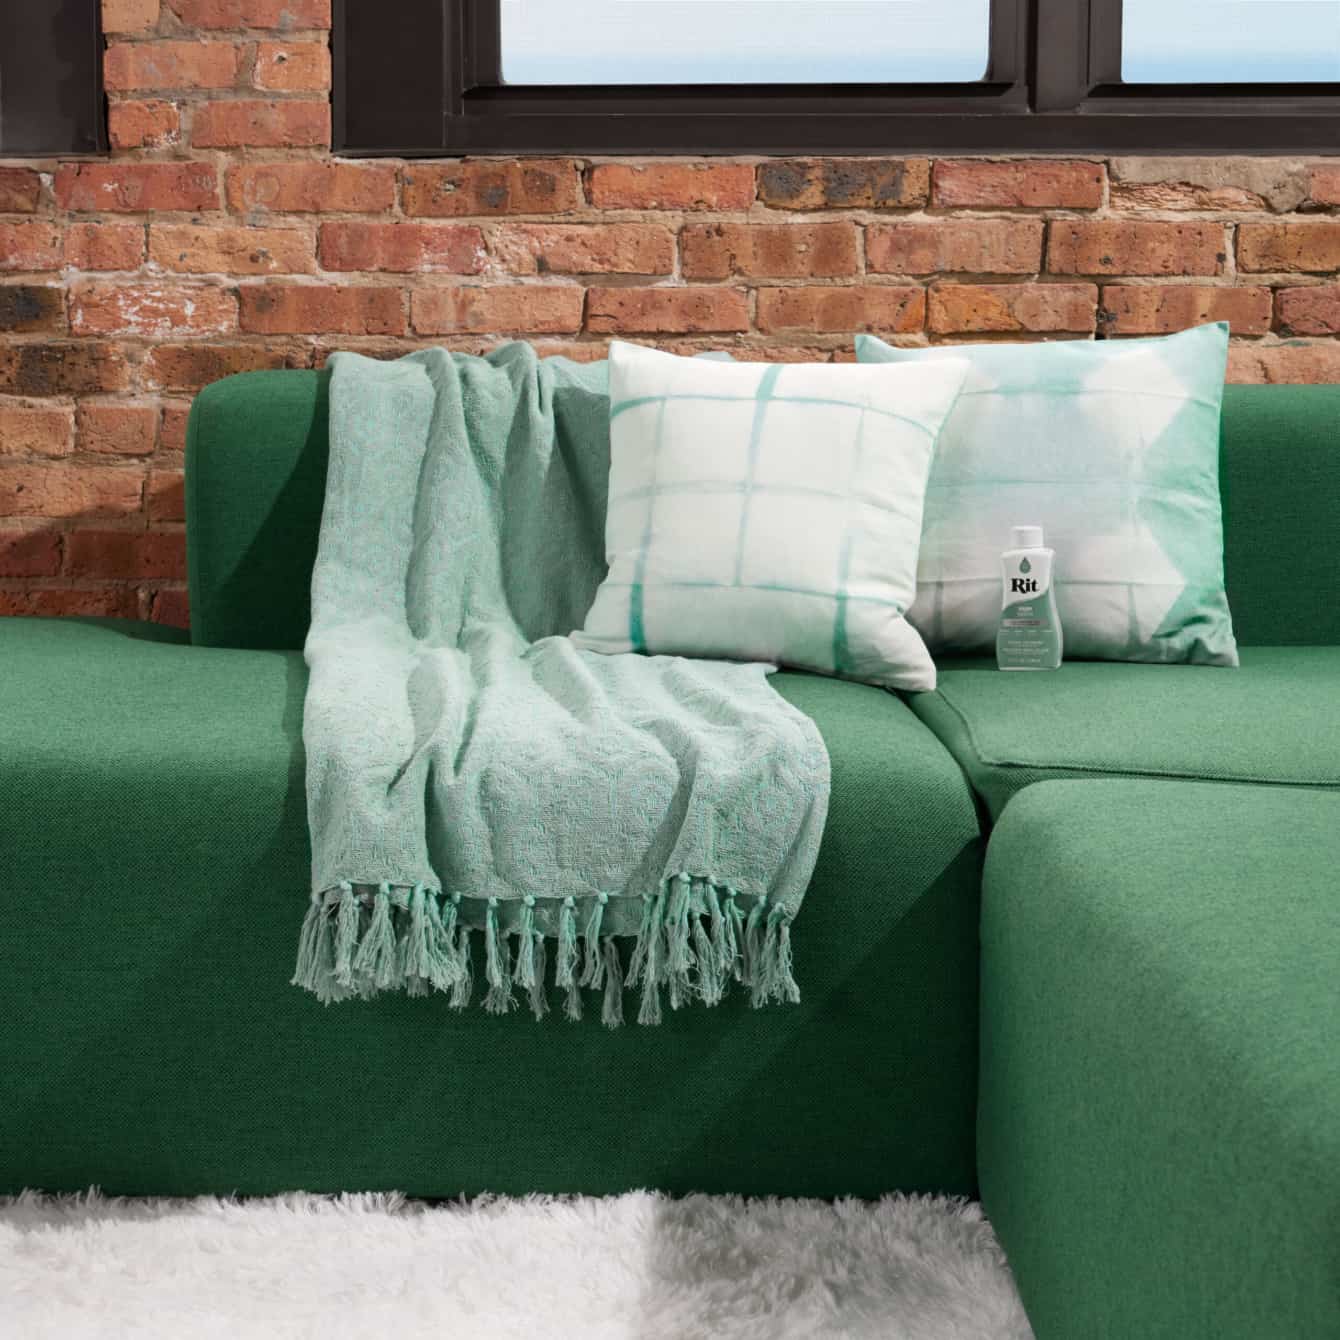
Splatter Tie-Dye

Splatter Tie-Dye

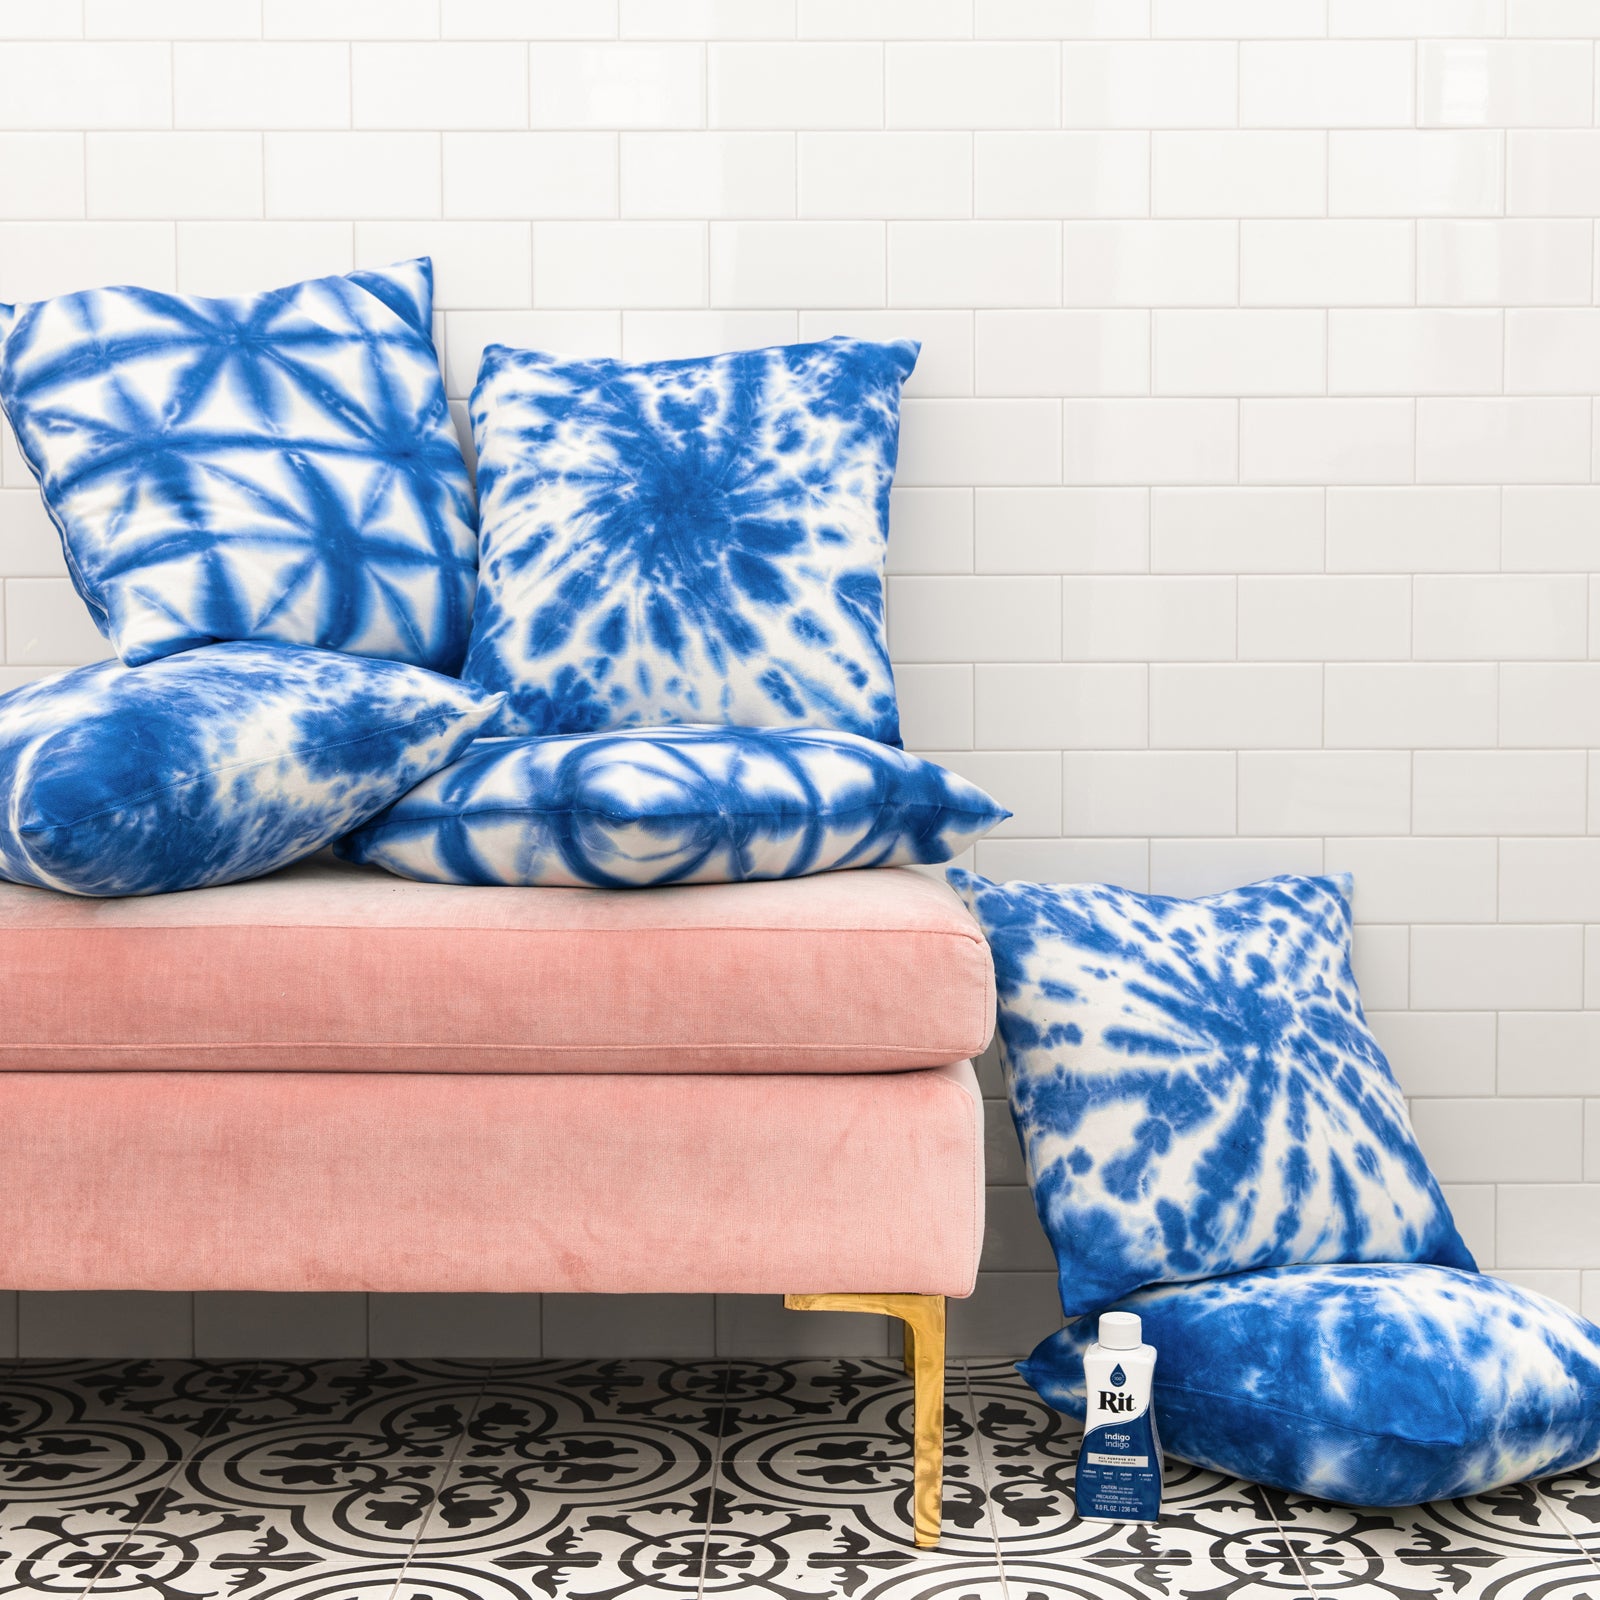
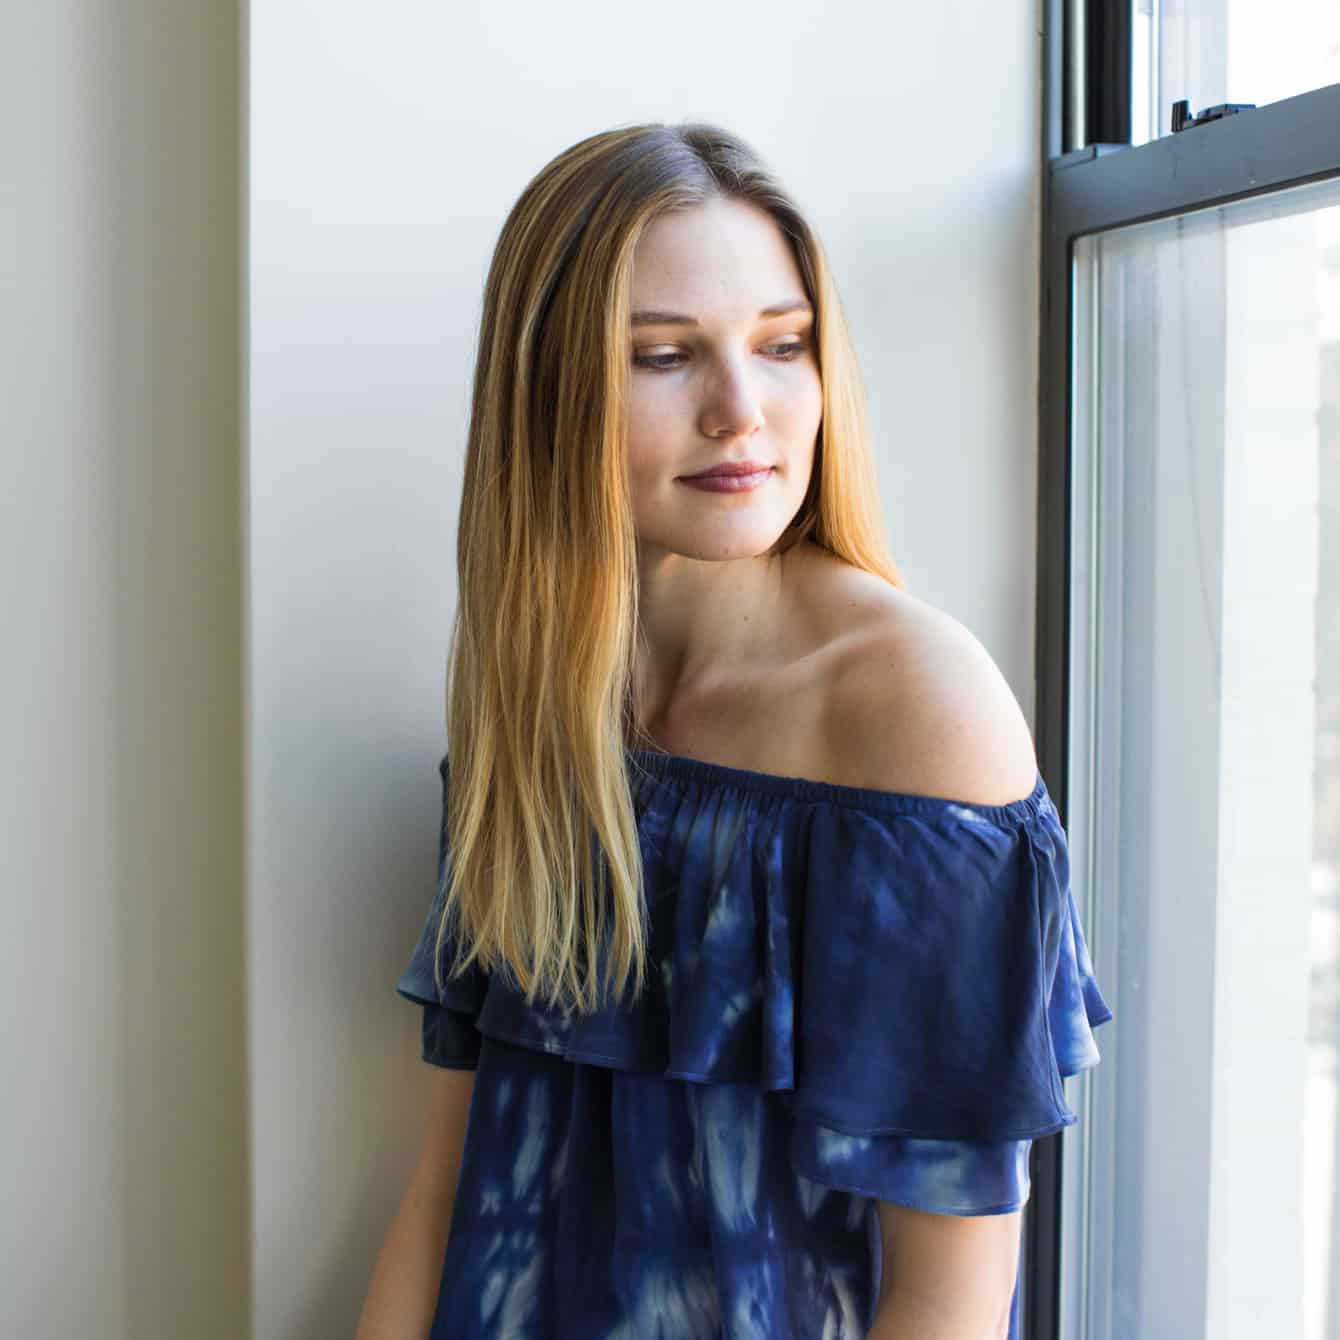
Channeling our inner Jackson Pollock, the splatter master.  We recreated the classic drip-and-splash style with our dyes for this unique, one-of-a-kind look.
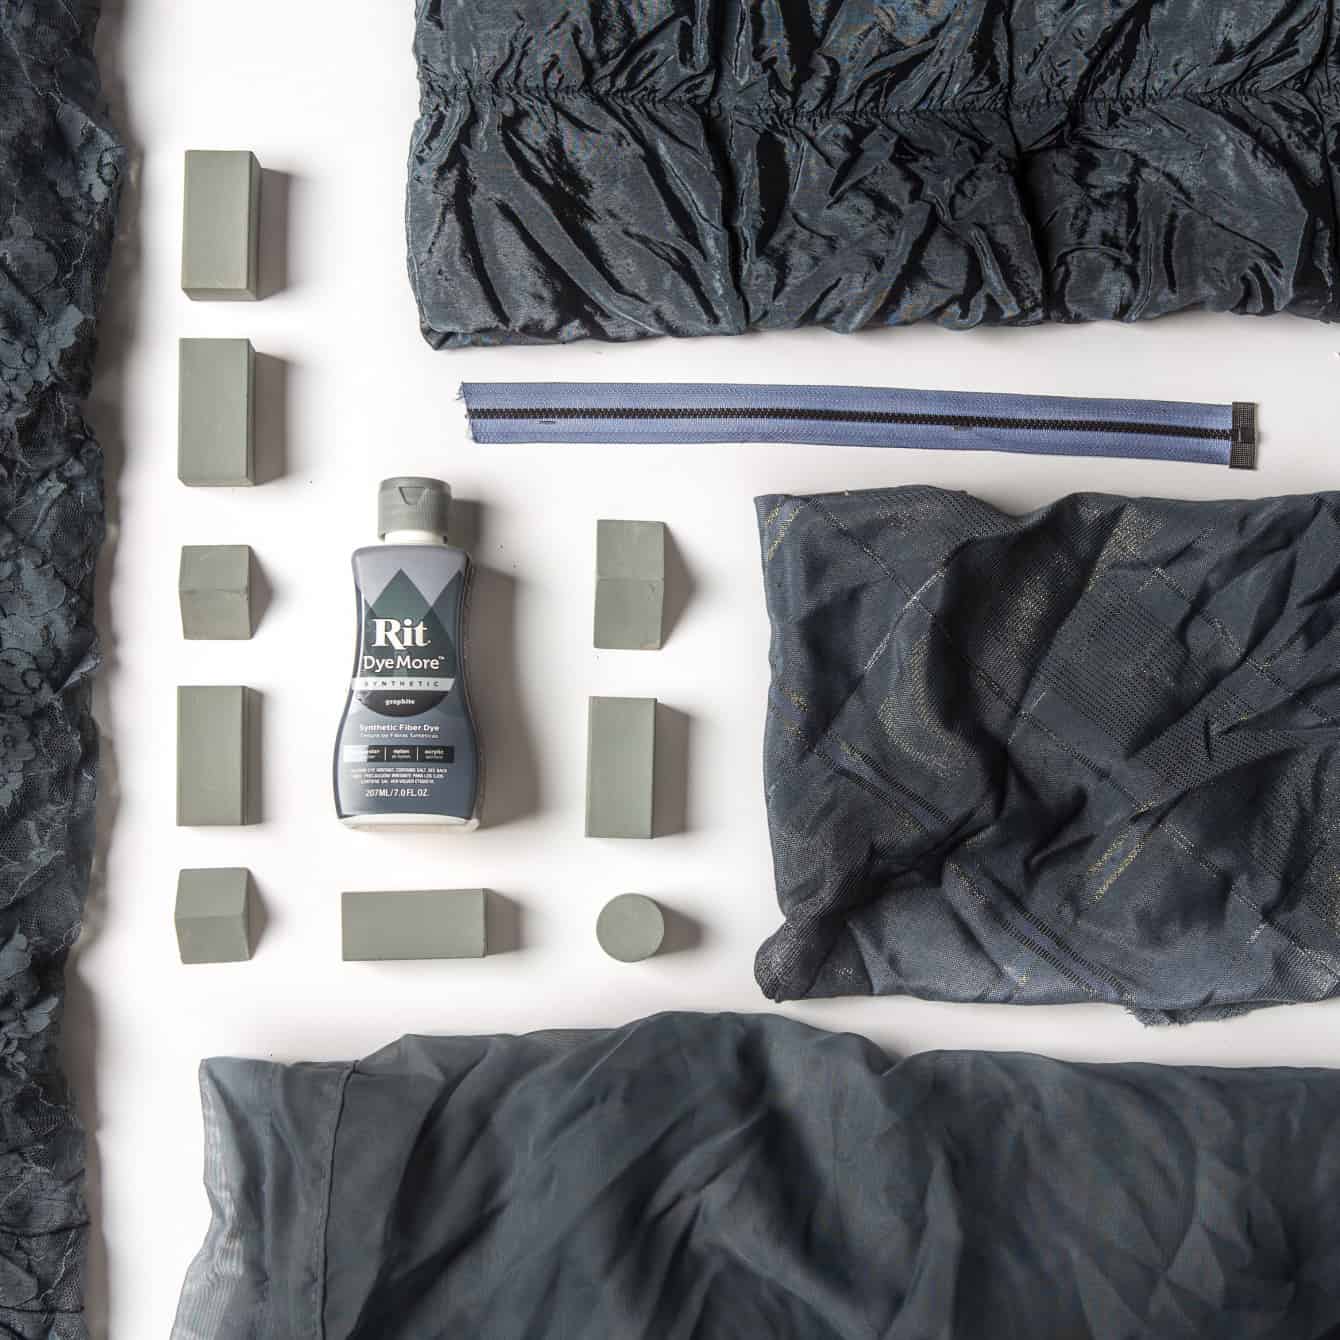
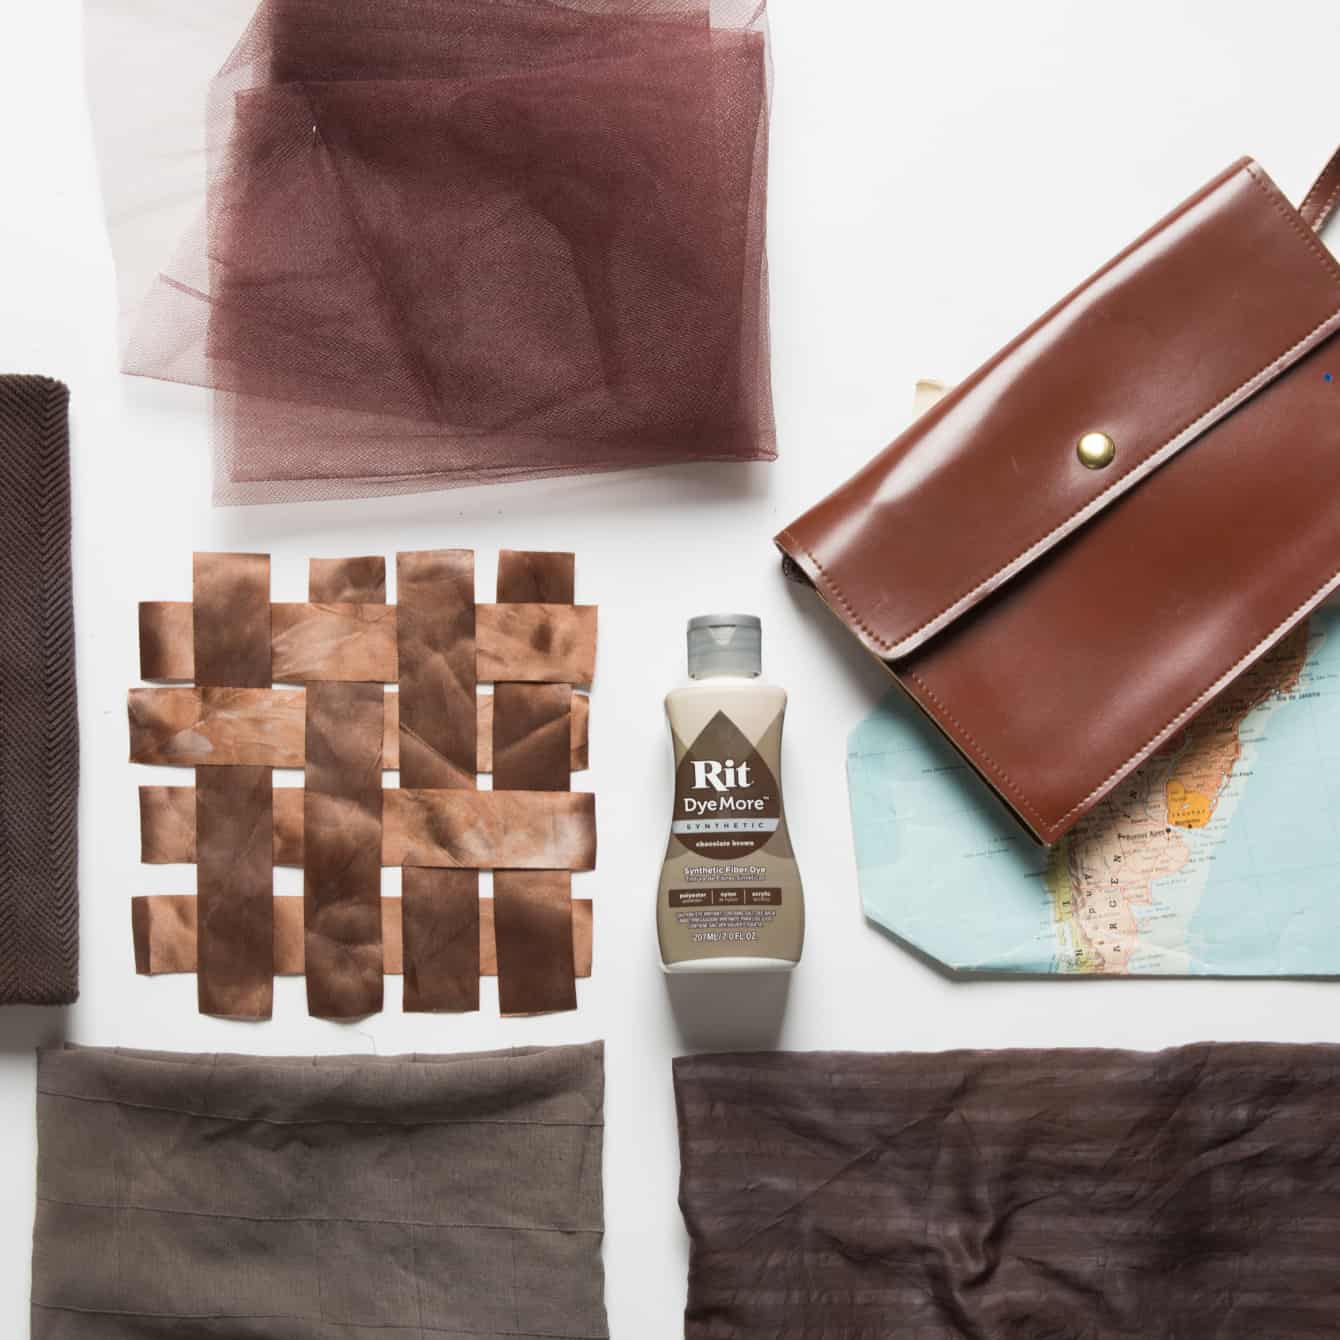
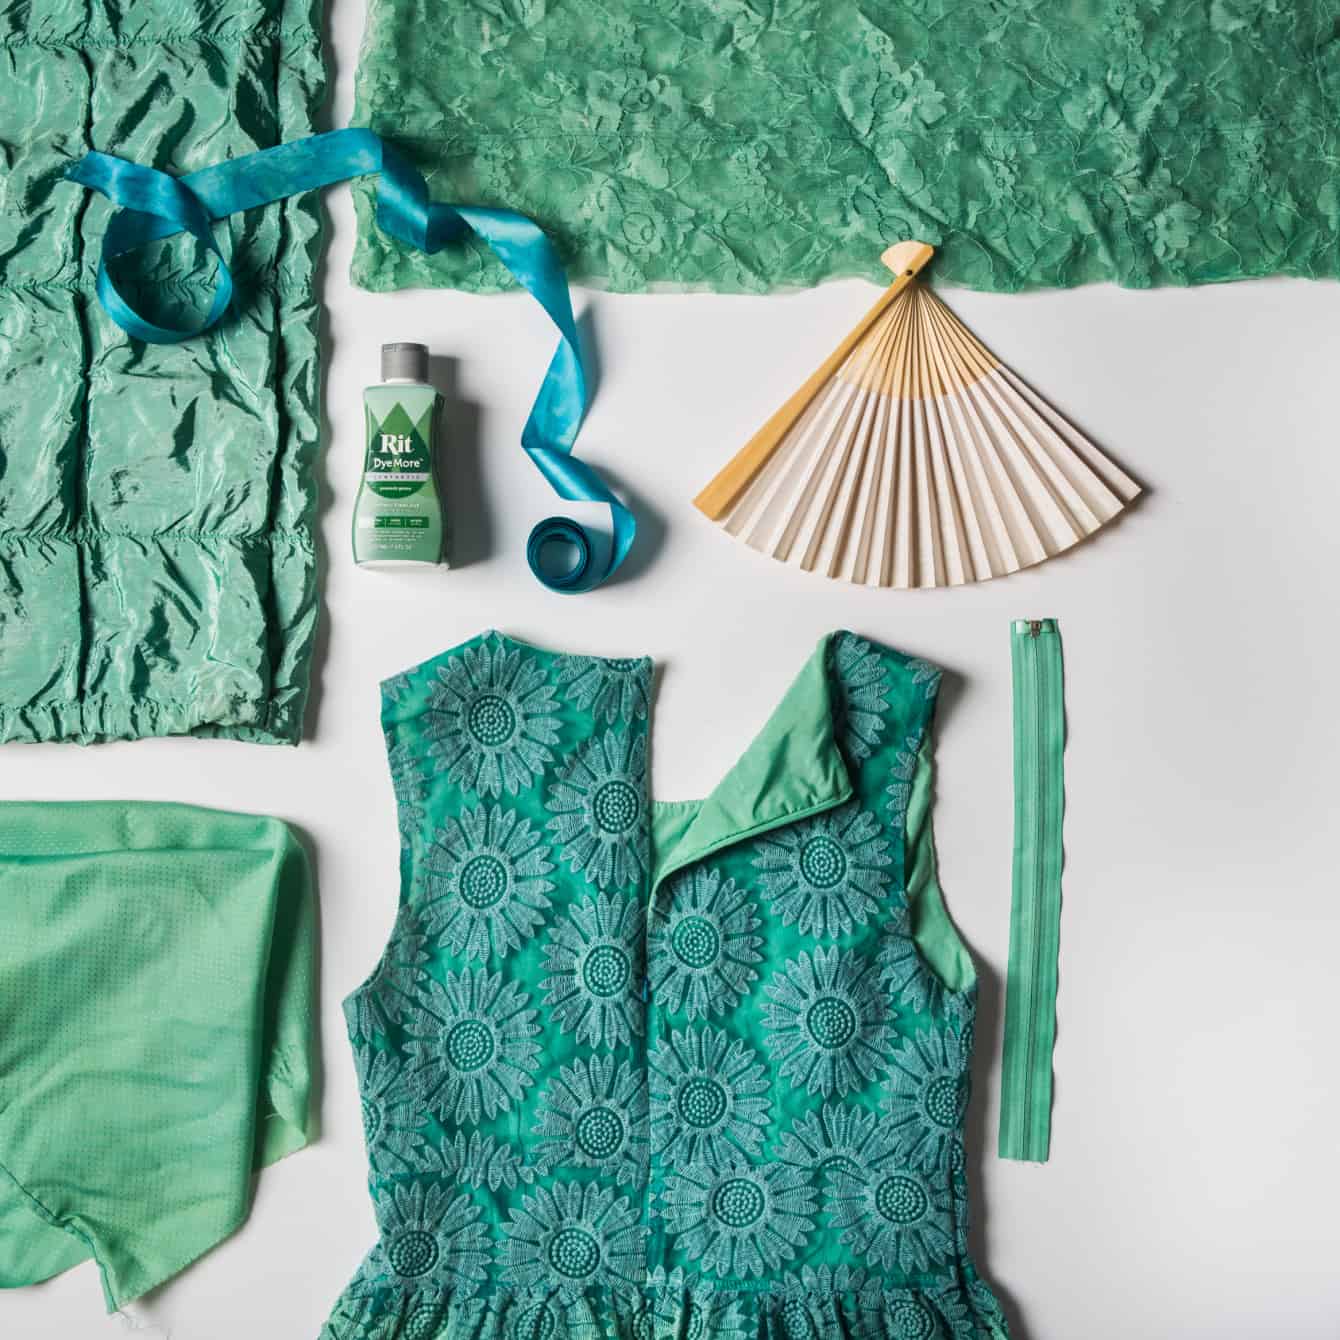
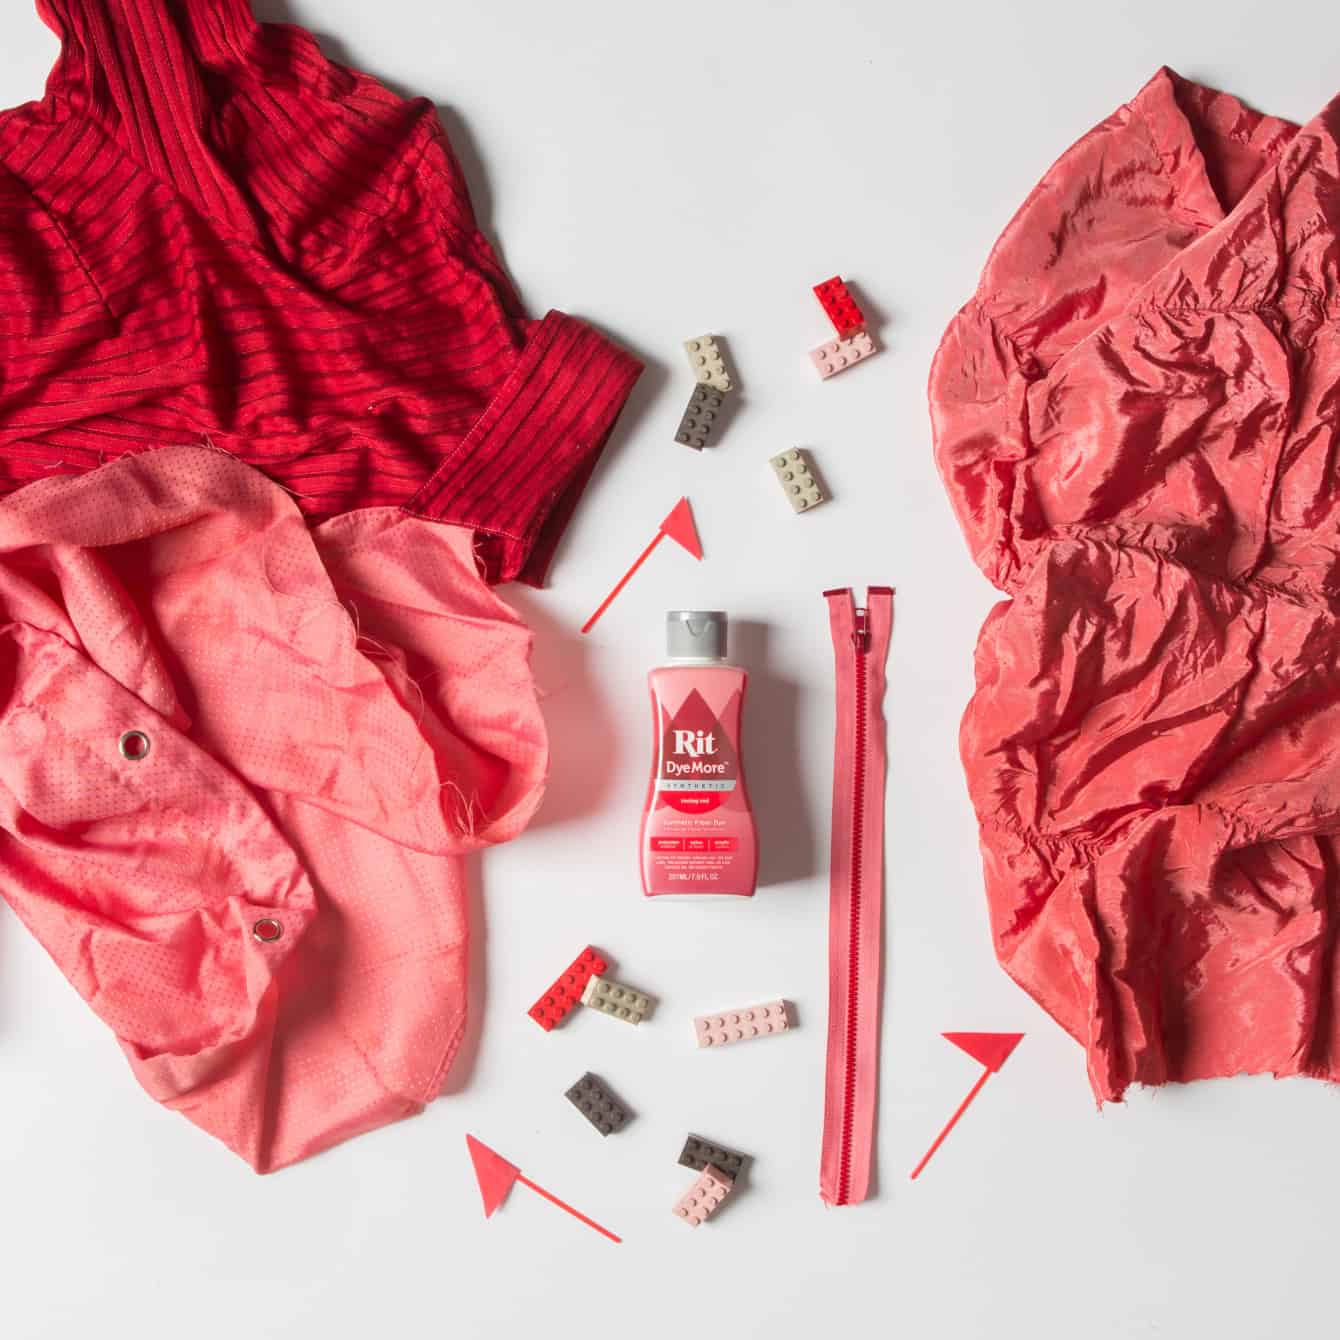
Supplies:

TimeTotal: 30 minutes

DifficultyBeginner

Instructions:

  1. Prewash sweatshirt in warm, soapy water. This helps to remove any finishes that may interfere with dye absorption. Leave damp and set aside.
  2. Wearing rubber gloves, mix 2 tablespoons of well-shaken liquid dye with two cups of hot tap water. Add 1 tablespoon of salt. Pour into a squirt bottle. Shake well.
  3. Repeat the same process laid out in step 2 for desired colors.
  4. Cover work area with plastic table cover and have paper towels handy to protect against any possible spills.
  5. Lay sweatshirt flat on covered work area.
  6. To apply dyes, hold the squeeze bottle upside down and shake gently to create splatter effect. Be careful not to squeeze the bottles as that will release too much dye.
  7. Repeat with other colors as desired.
  8. Turn sweatshirt around and repeat for backside.
  9. To set the dye, do the following right after applying the dye: Apply Rit ColorStay Dye Fixative with a spray bottle, which will enhance the colors and reduce bleeding. Mix 2 tablespoons of well-shaken ColorStay Dye Fixative with water and apply liberally to both sides of the jacket. After applying ColorStay Dye Fixative, wrap sweatshirt in plastic wrap and seal the edges. Place the wrapped sweatshirt on a paper towel in the microwave and heat for 1 to 2 minutes. Plastic will puff up, creating a heat chamber that helps bond the dye with the fabric. Once the microwave is done, remove the sweatshirt and open the plastic, letting it cool down.
  10. Rinse in cold water until rinse water begins to run clear. This is very important to prevent unabsorbed dye from bleeding into any white areas.
  11. Wash in cold water with a mild detergent, rinse and dry.


Most Popular Dyes