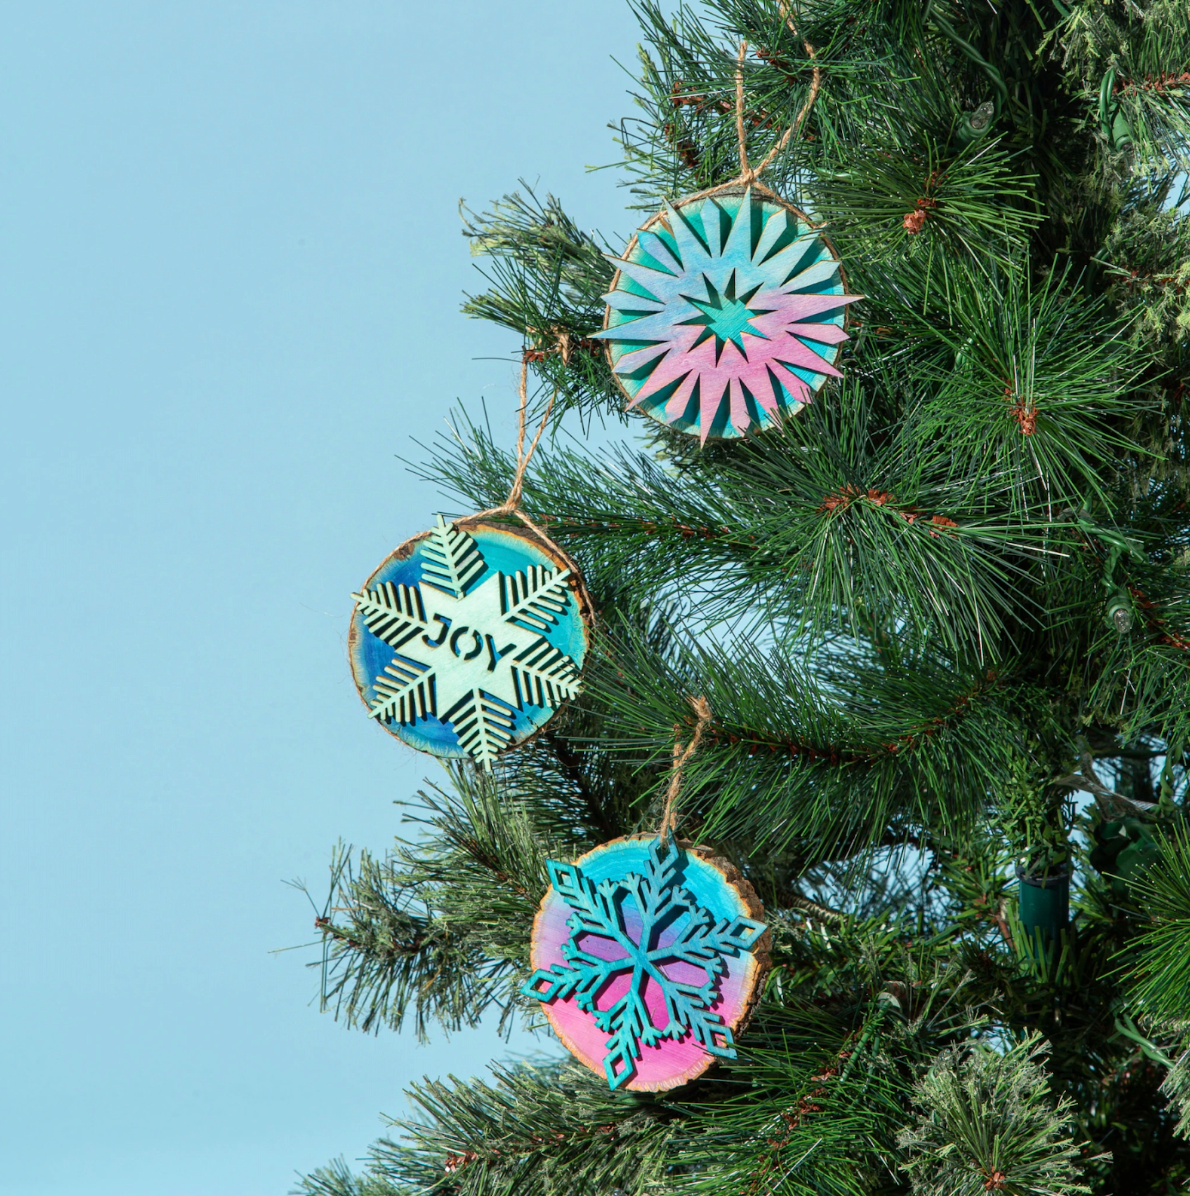


Dip-dyed wooden Christmas ornaments
Add a splash of colour and fun to your holiday decor this year with these delightful dip-dyed wooden ornaments. You might be wondering how you can achieve such a cool DIY. Well, Rit Dye UK...

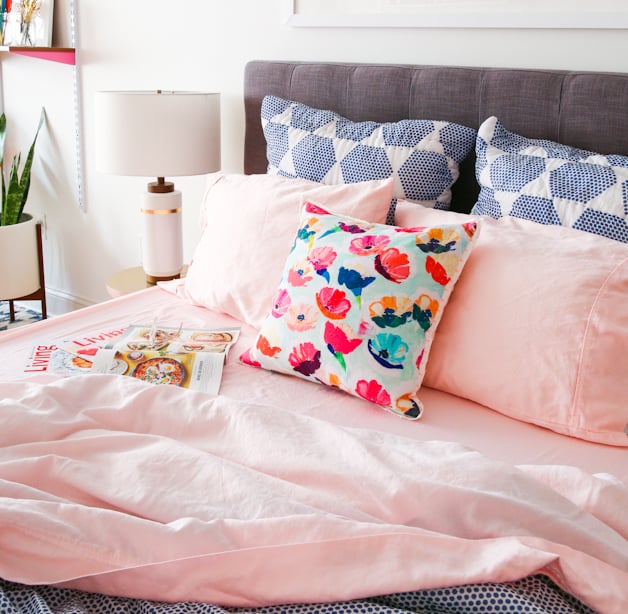
Incorporate the ancient Chinese concept of dualism into your home and remind yourself to maintain a state of equilibrium with a stunning hanging tie-dyed Ying&Yang wall hanging decor. We have put together this easy tutorial so you can express your spirituality every day through your own art. So keep reading to learn how to make a Yin&Yang tie-dye wall decor.
Supplies
Time
Difficulty
Directions
First, place a plastic table cover over the working area, and then gather the necessary supplies.
Place the Cotton Canvas on the work surface so that it is flat and use fabric chalk to loosely sketch the yin and yang motif as shown.

Pinch the middle of one of the circles, and then fasten it with a rubber band all the way around the chalk mark. It should be repeated for the second circle.

Start the pleating process from one end all the way to the other while following the centre line. When the chalk is gathered, check to see if the line is straight. Use a rubber band or a zip tie to secure it (alternatively, use rubber bands).

Plastic wrap should be used to cover the whole left side of the bound cloth, with the exception of the collected circle. Because of this, the dye will not seep through to the other parts of the fabric; it will only colour the regions that are visible.
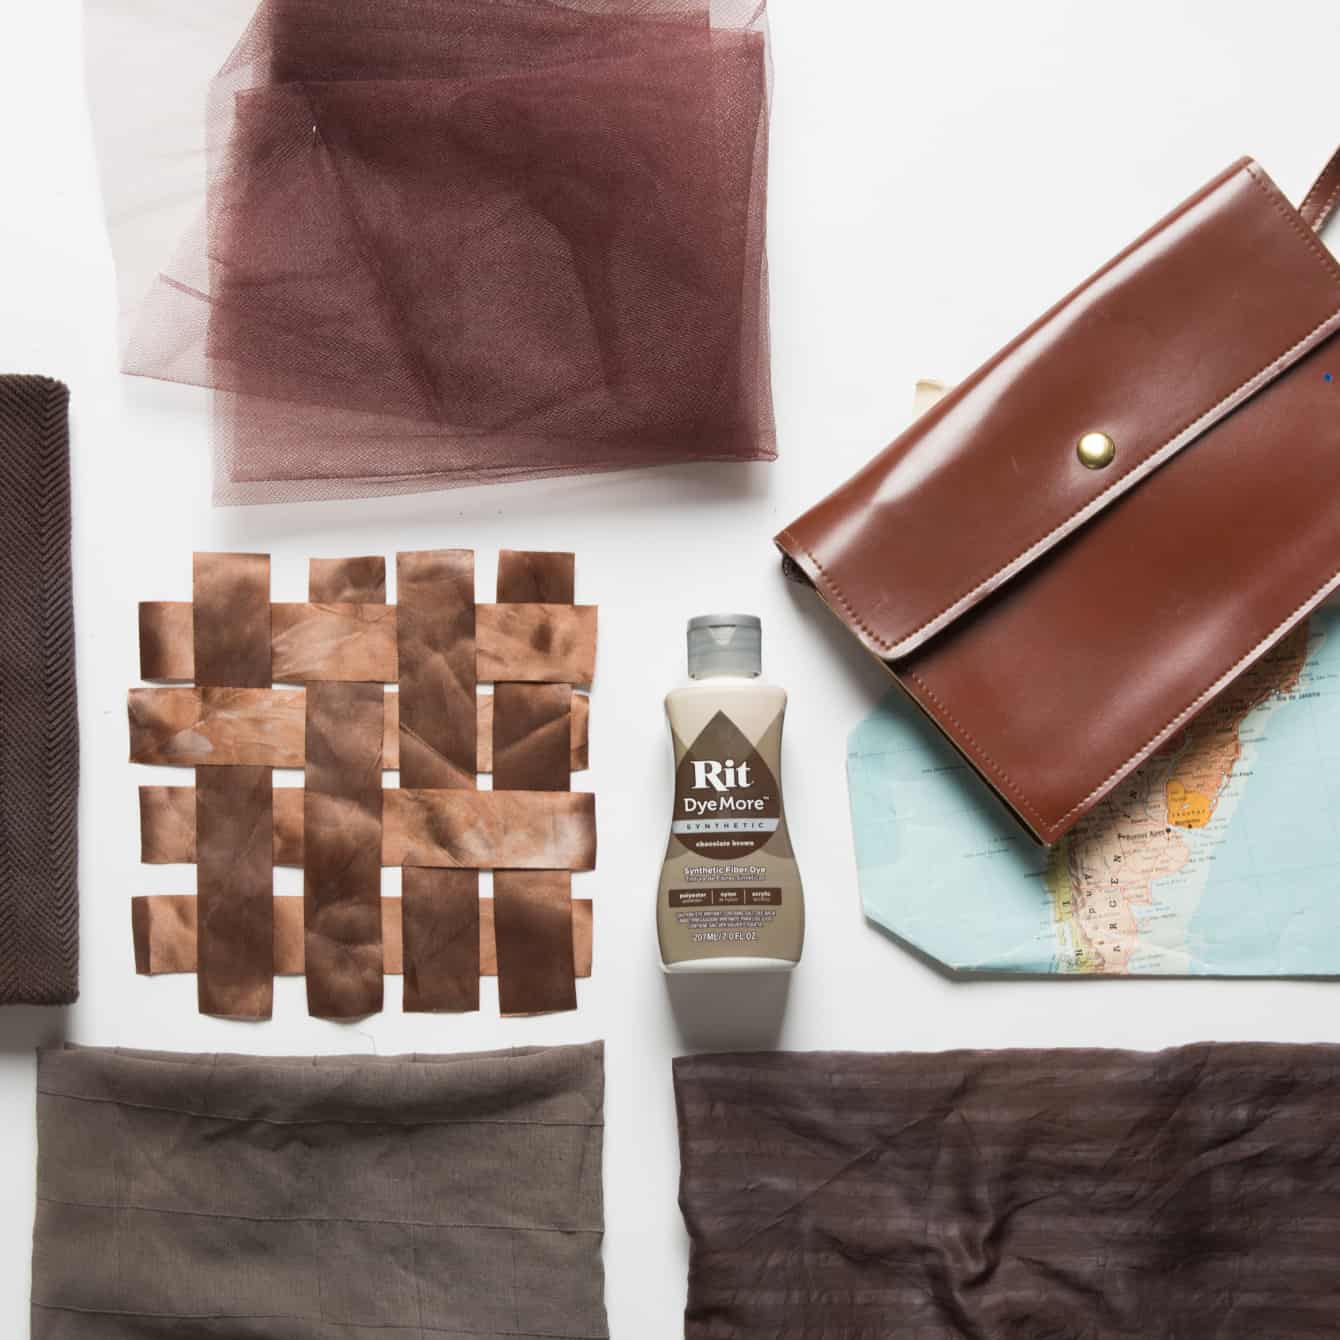
Source: RITDYE.com
 Placing plastic wrap over the gathered circle on the right side of the fabric and securing it with rubber bands will keep the circle in place. Set aside.
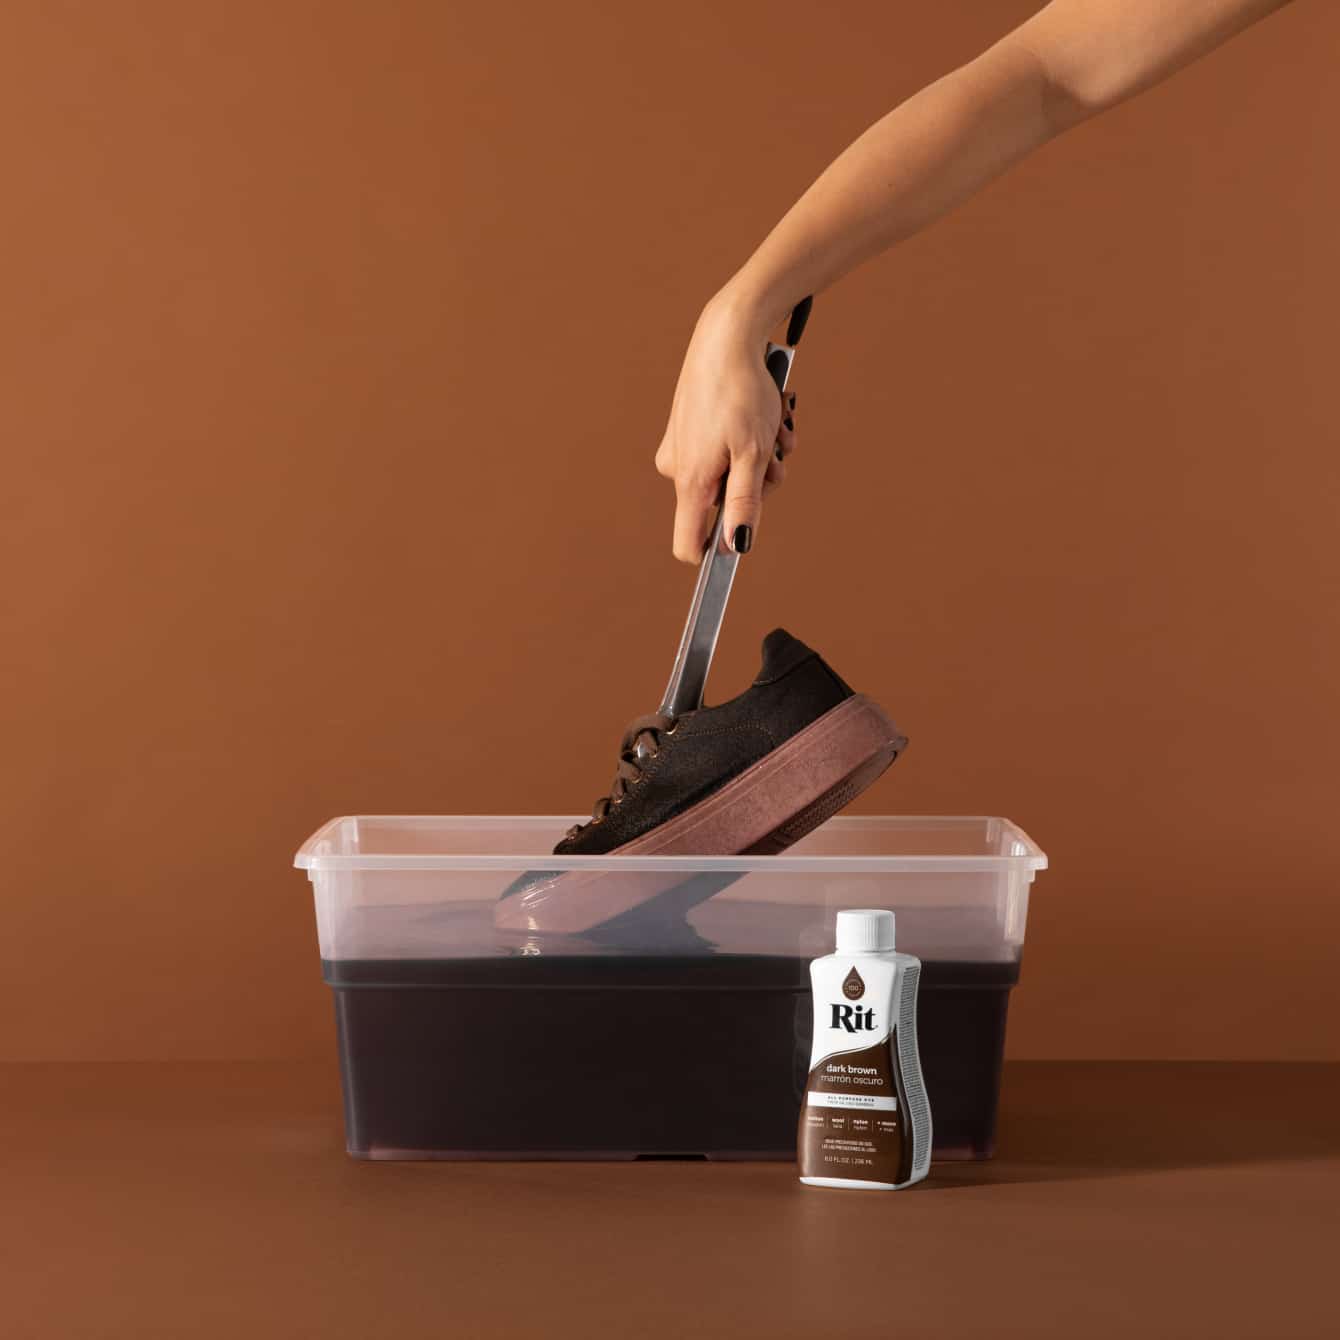
A dye bath can be made by pouring two gallons of hot water into a plastic container and then adding dye. The ideal temperature of the water is 60 degrees Celsius (140 degrees Fahrenheit). If the water from the tap is not sufficiently hot, heat some water on the stove before adding it to the dye bath.
When dying fabrics are composed of cotton, rayon, ramie, or linen, adding one cup of salt can help improve the level of saturation achieved.
If you want more even colouring, try adding one teaspoon of dishwashing liquid.
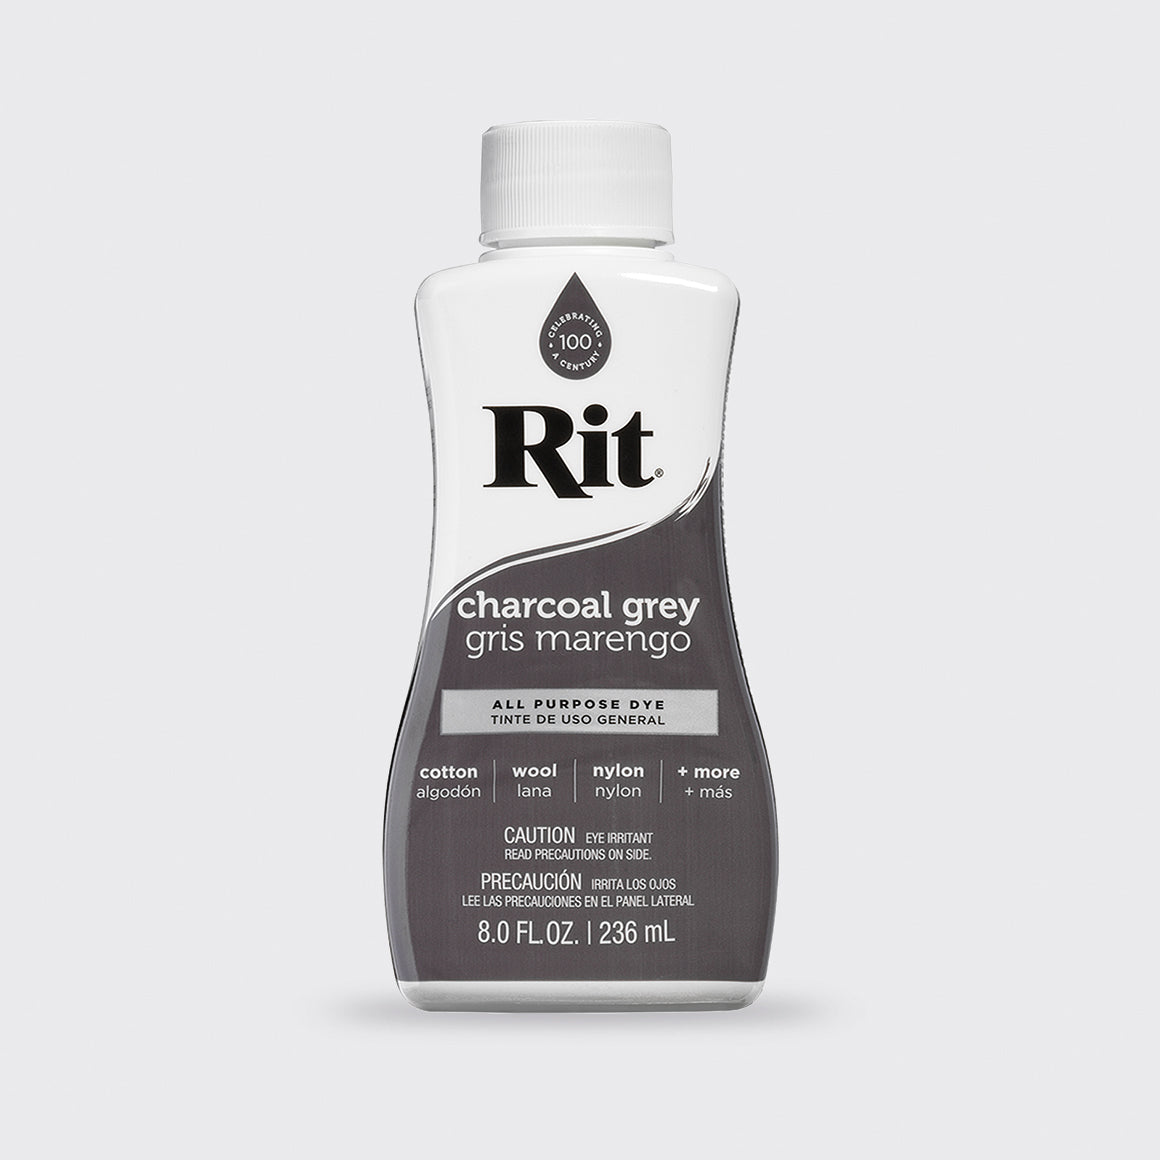
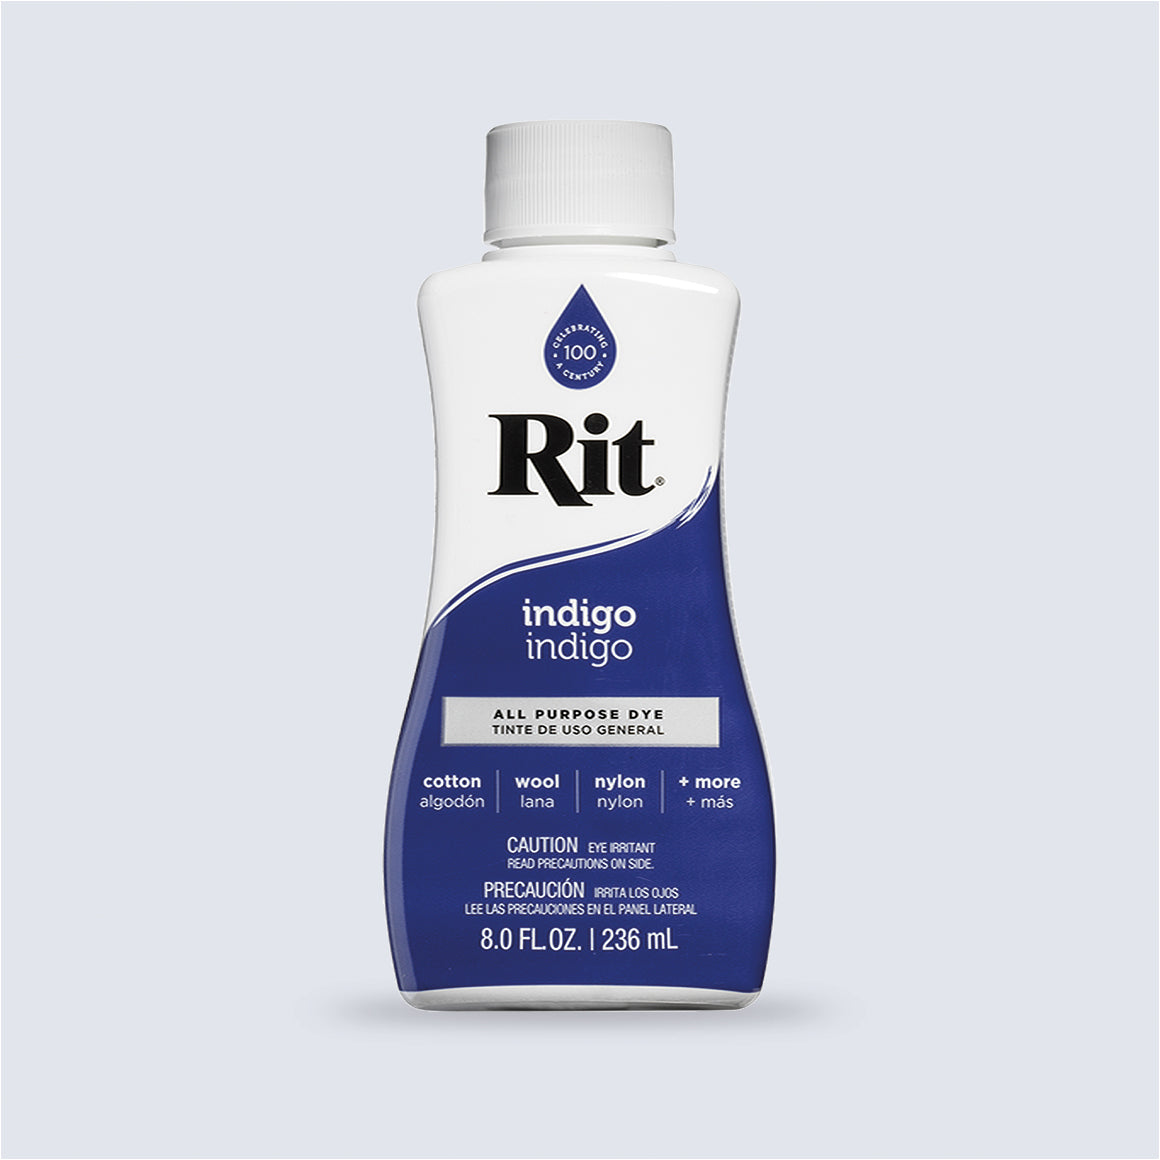
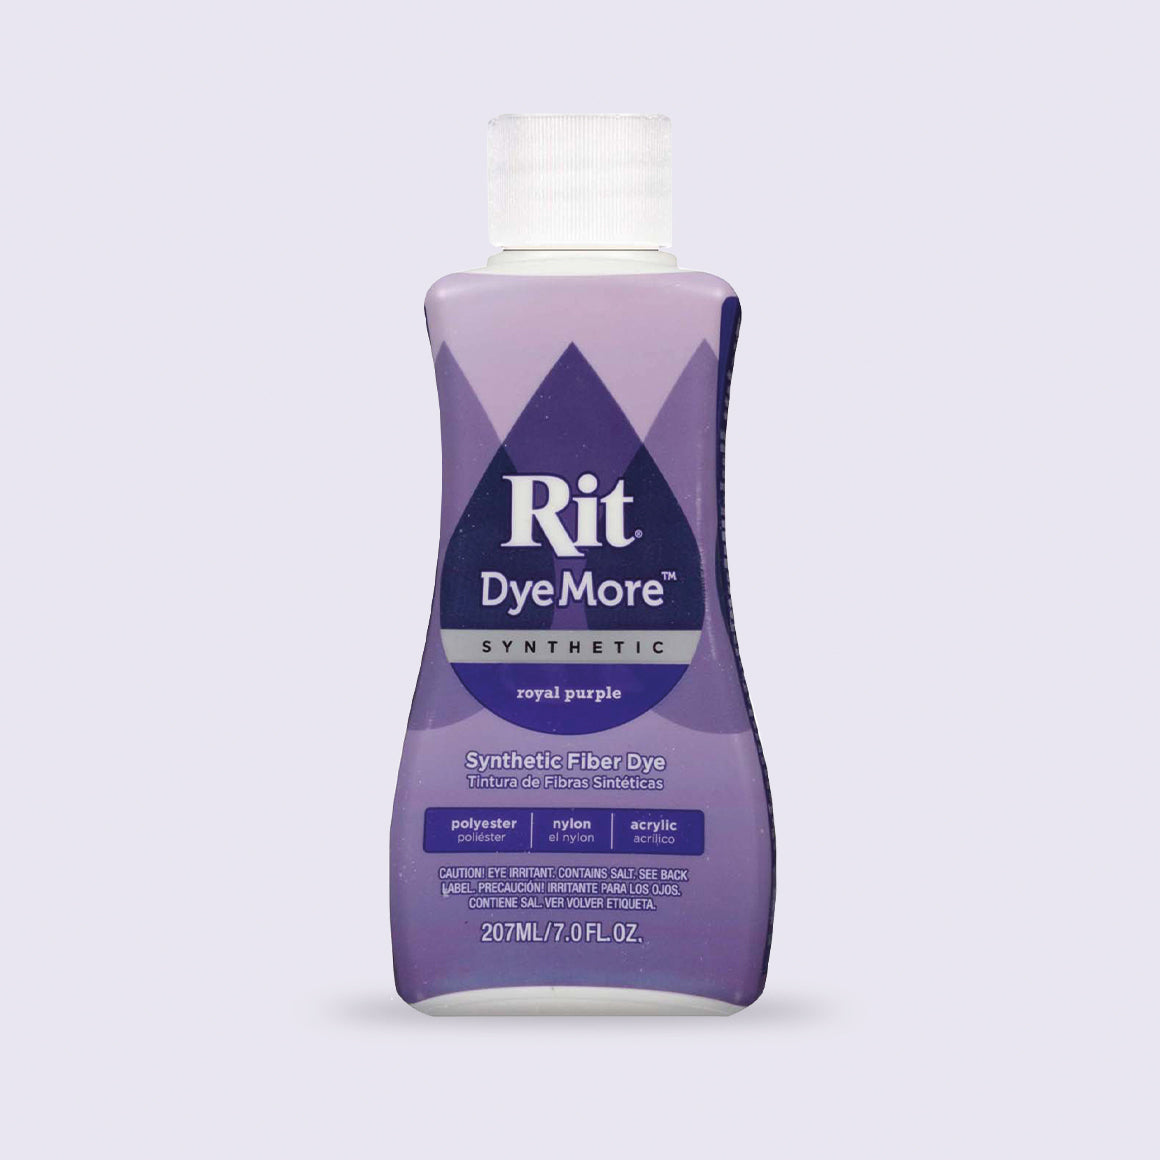
While protecting your hands with rubber gloves, stir well-shaken half a cup of black dye into the dye bath.
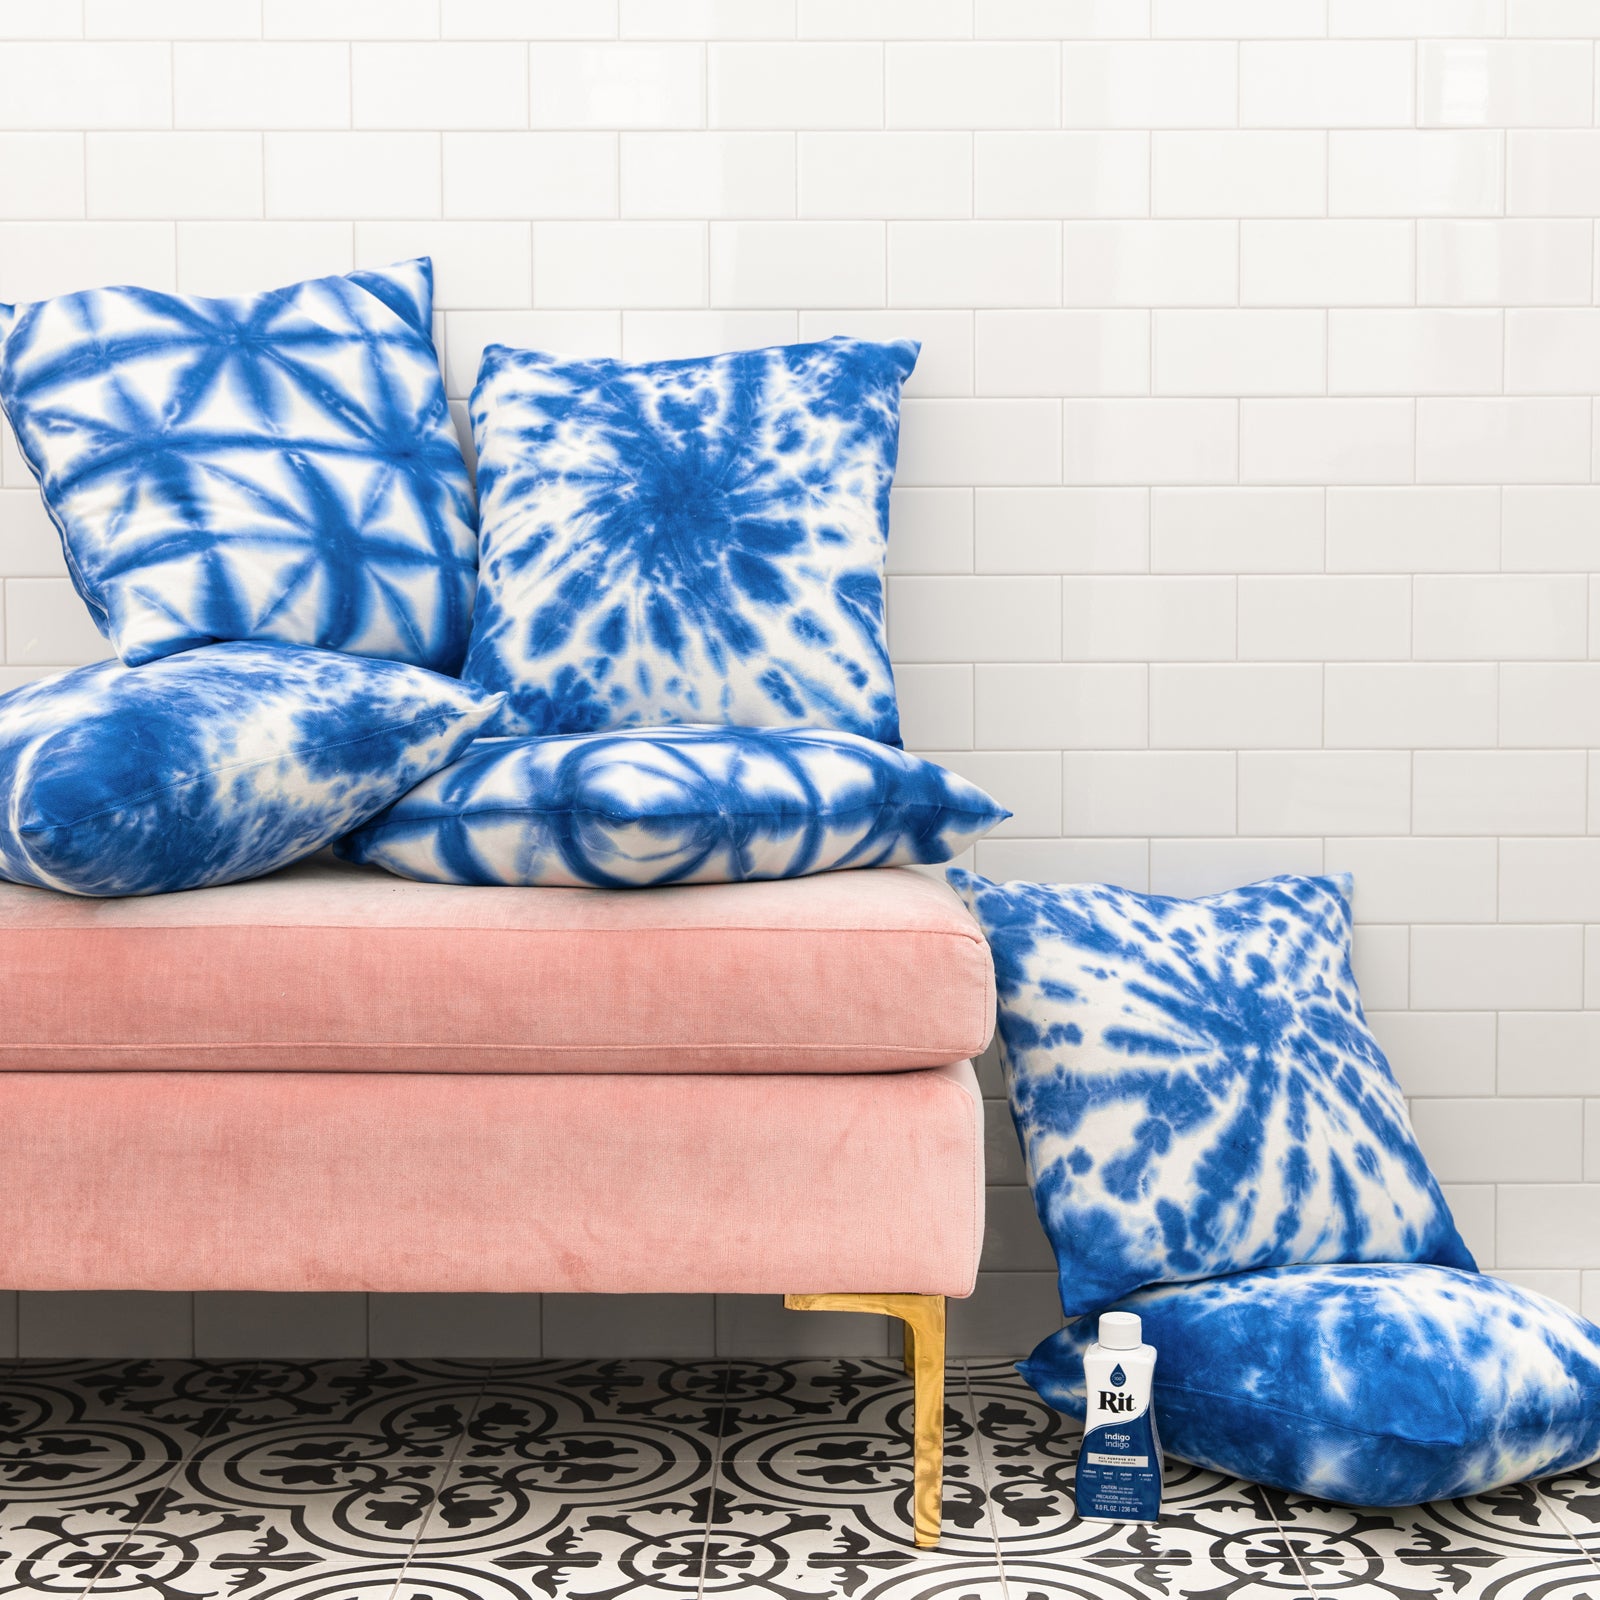
Put the correct side (from step 6) of the fabric that has been bound into the dye bath. Maintaining the pot cover in the dye bath for three to five minutes will produce a pattern with a high degree of contrast. Keep the pot cover immersed in the dye bath for ten to twenty minutes to achieve a deeper colour and fewer patches of white.

After transferring the colour from the dye bath into a squeeze bottle, apply it in a controlled manner to the assembled circle on the left side. Take special care not to get any colour on the portions that are wrapped in plastic.
When the colour that you want has been attained, take the bound fabric from the dye bath. Do not remove rubber bands.
Using Rit ColorStay Dye Fixative soon after dyeing and prior to washing is something that comes highly recommended by our company. It improves the colour, increases the amount of time the colour is retained and stops the dye from leaking into white regions.
Comes highly recommended by our company. It improves the colour, increases the amount of time the colour is retained and stops the dye from leaking into white regions.
Rinse in water that is cool to the touch until the water starts to become clear.
Carefully take off the rubber bands.
Wash your creation using warm water and a gentle detergent, then rinse and dry well.
When it is dry, fold the top hem 5cm (2 inches) to the wrong side of the fabric. Apply pressure and then stitch it in place.