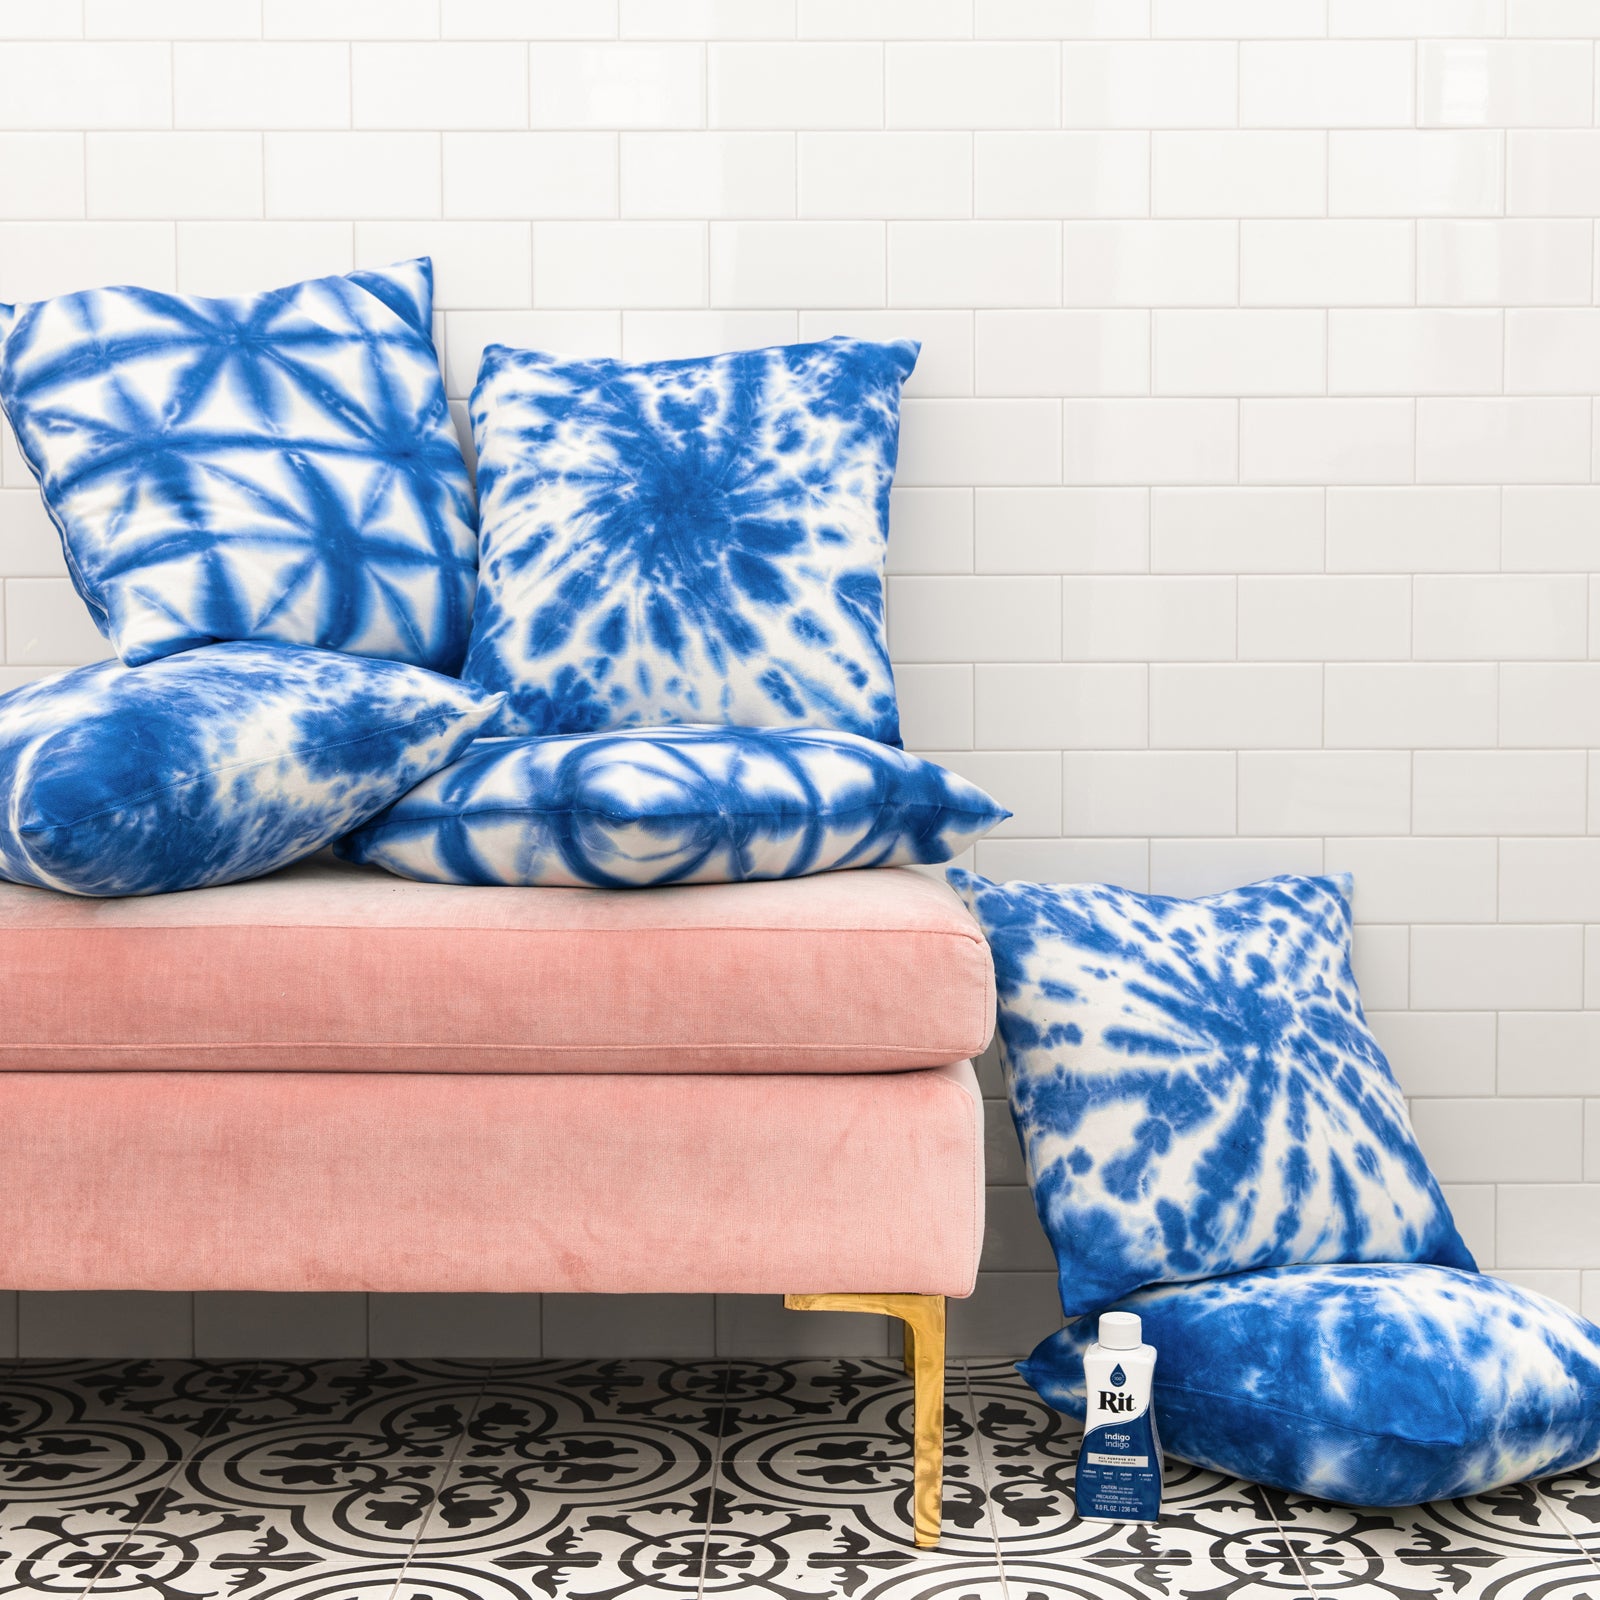
You can’t get much cuter than a baby wearing a custom shibori dyed onesie. We love how our new coral color looks on this baby onesie using the shibori technique. Learn how to make your own dyed onesies with Rit. They’re the perfect gift.
For best results, pre-wash onesie, rinse and leave wet. This will help to remove any finishes that may interfere with dye absorption.
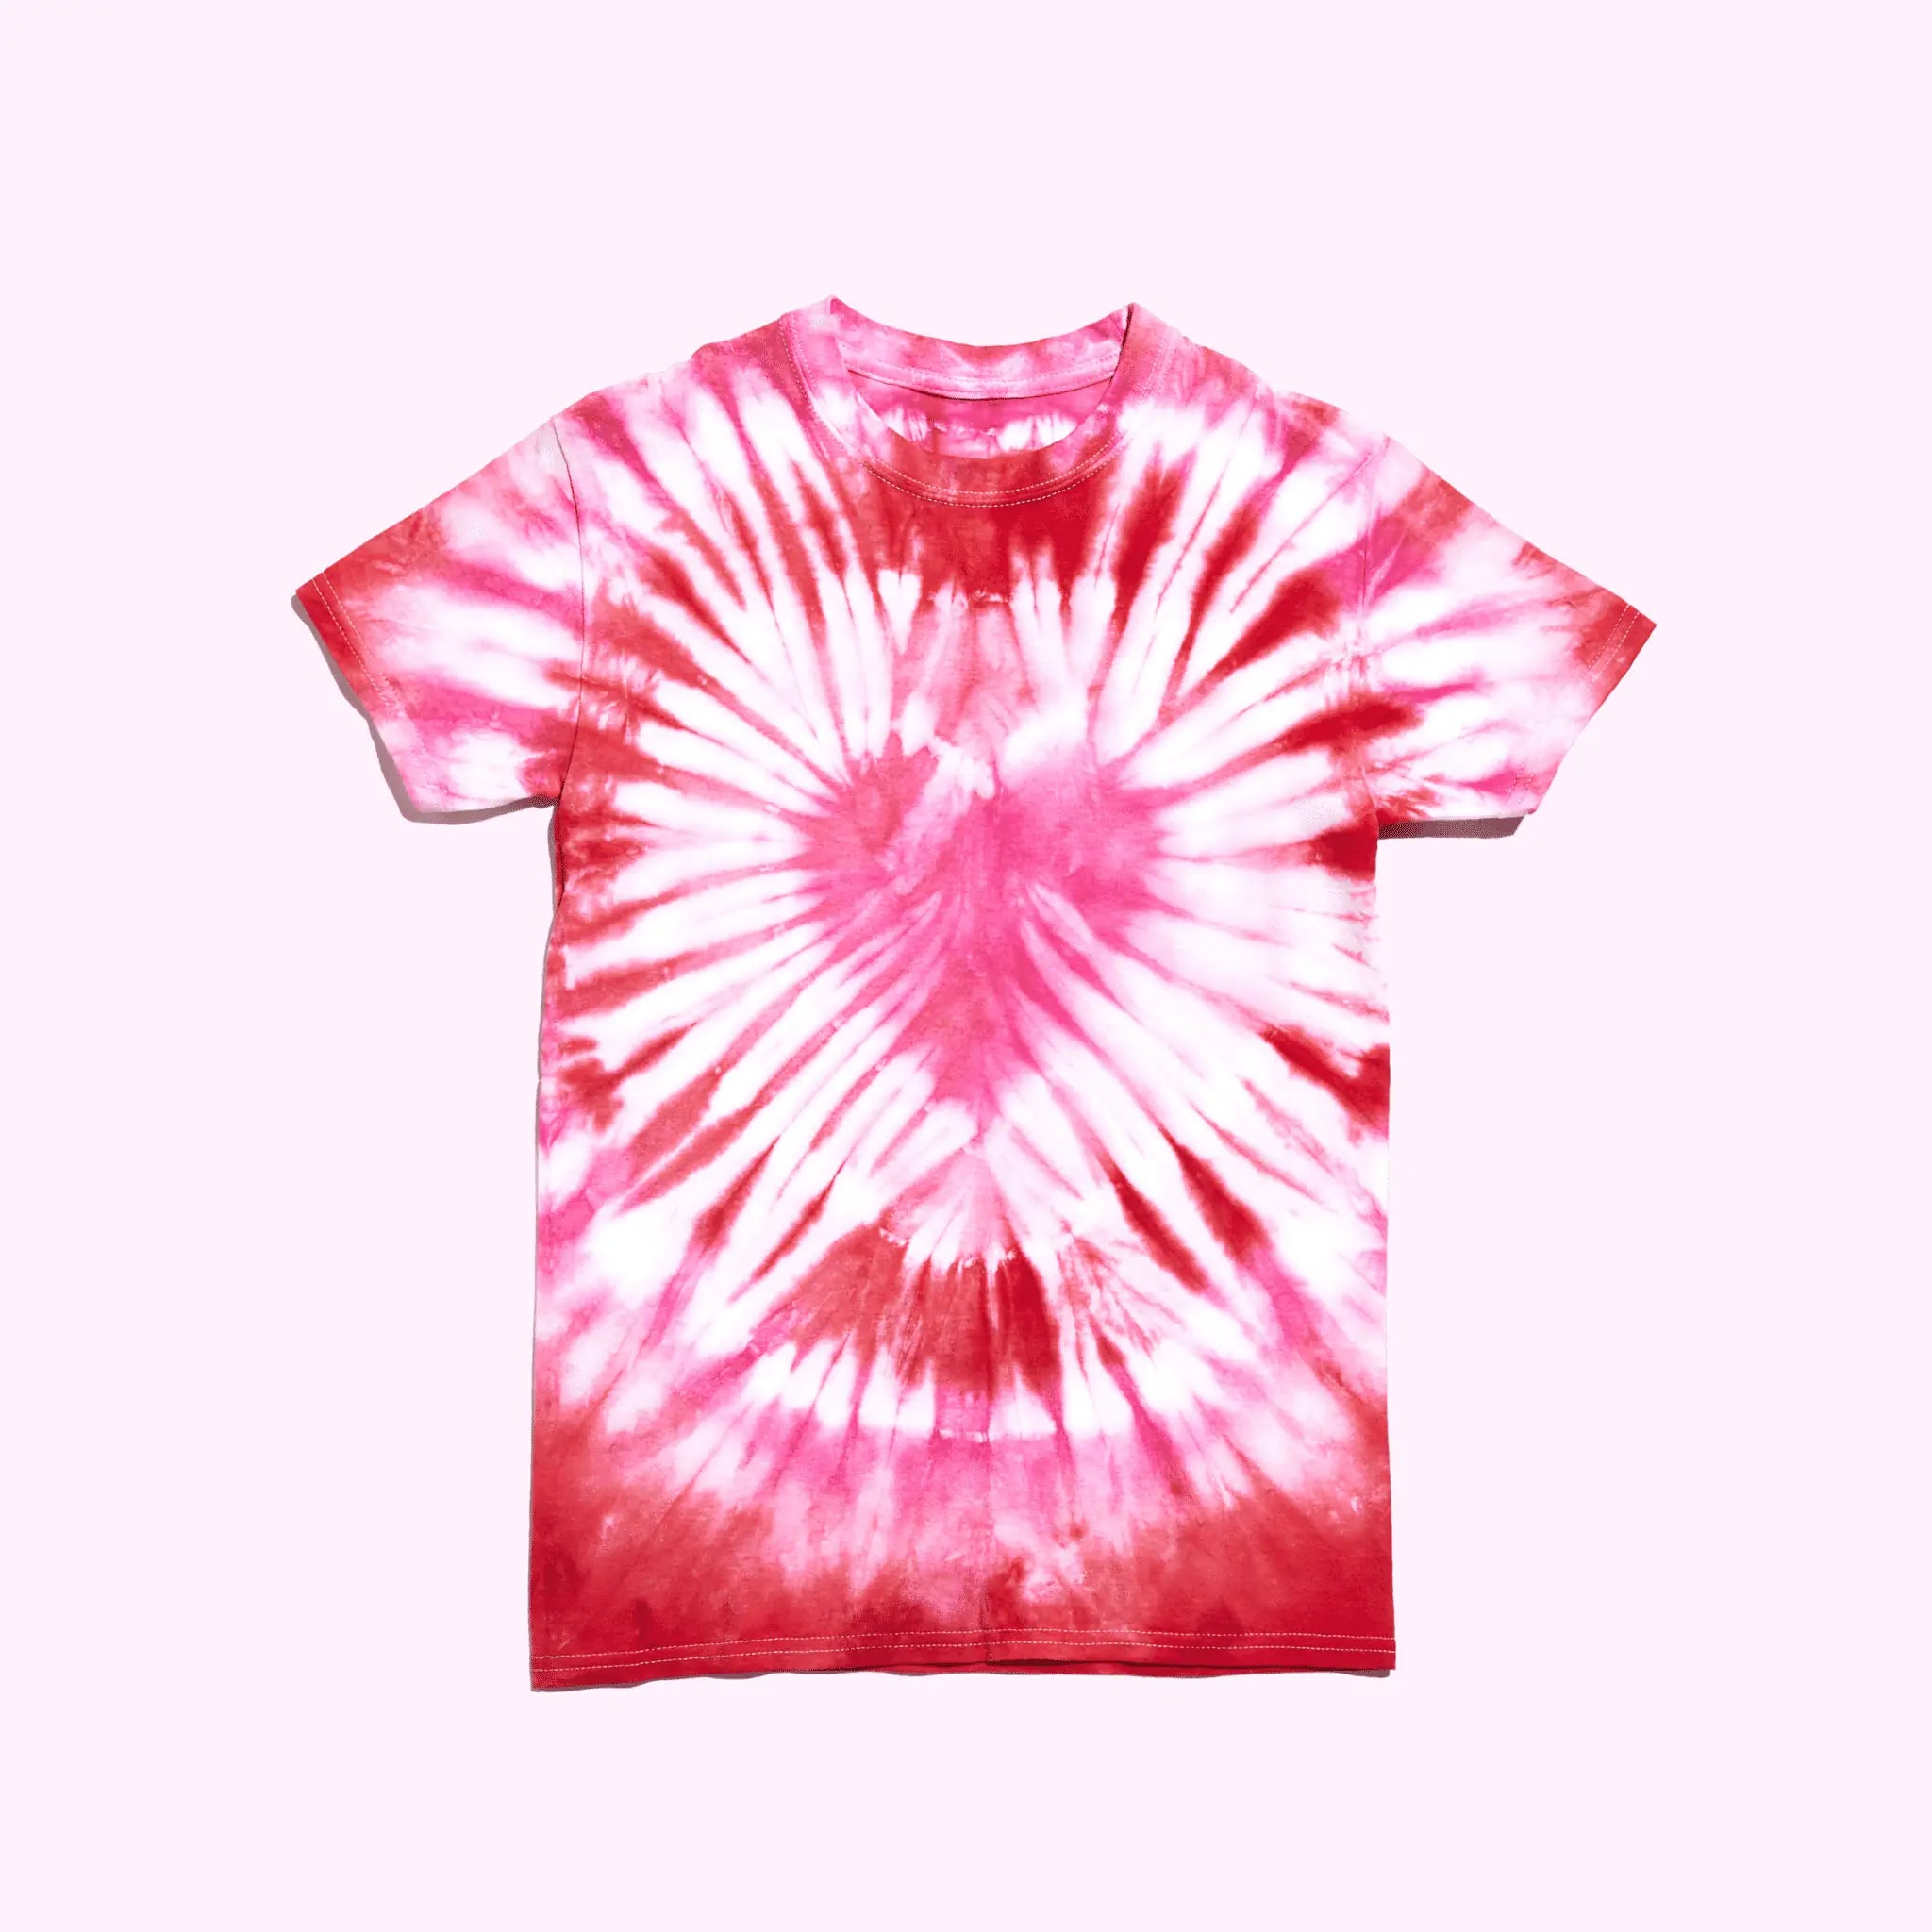
Scrunch up onesie and hold together with several rubber bands. The tighter you wrap, the more white space you will have.
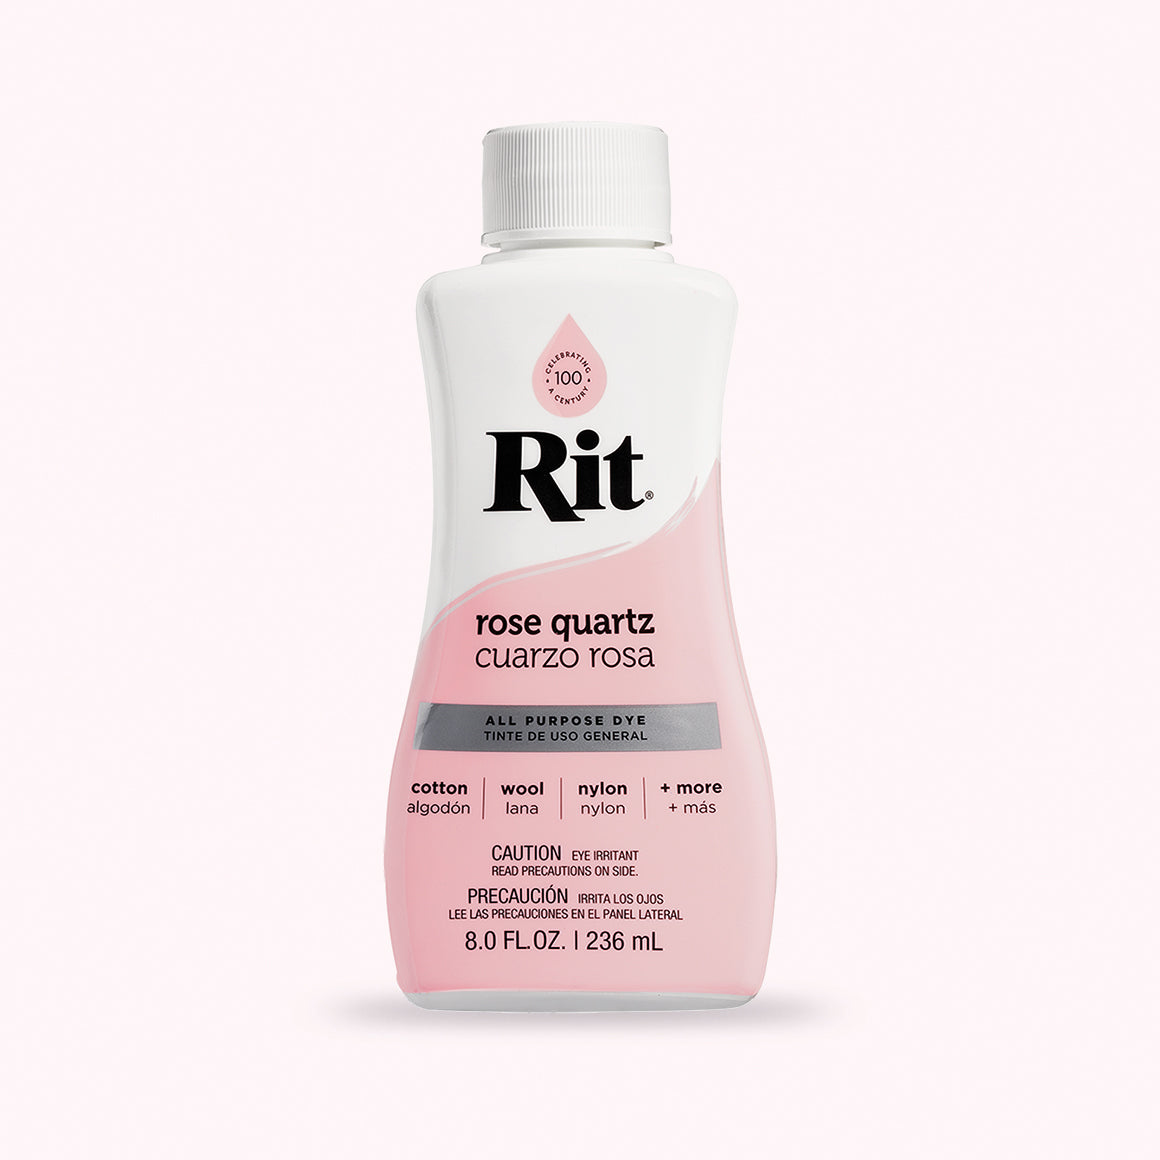
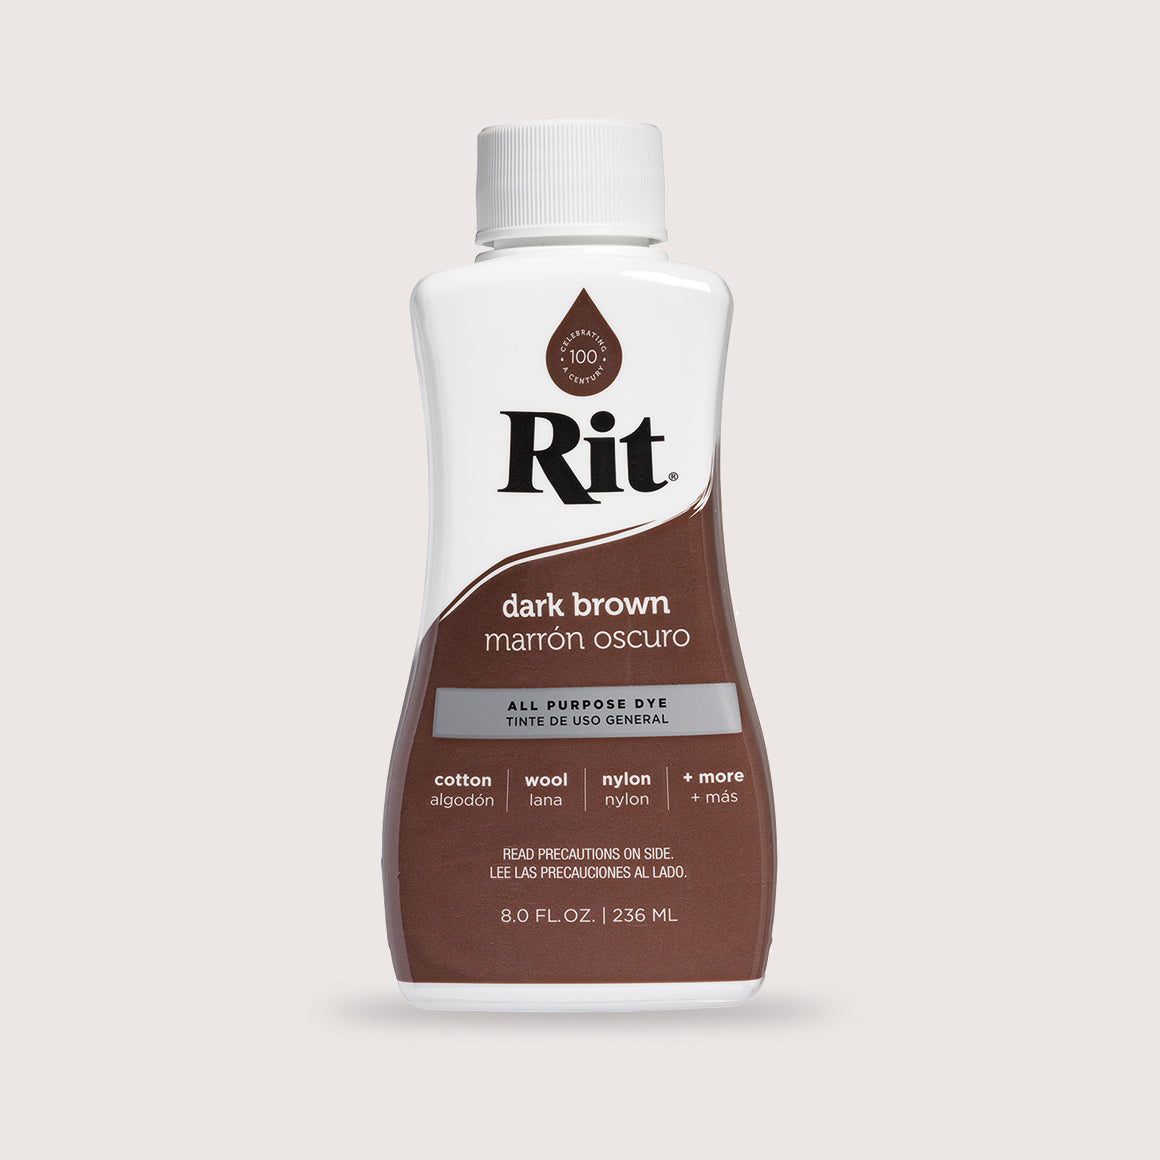
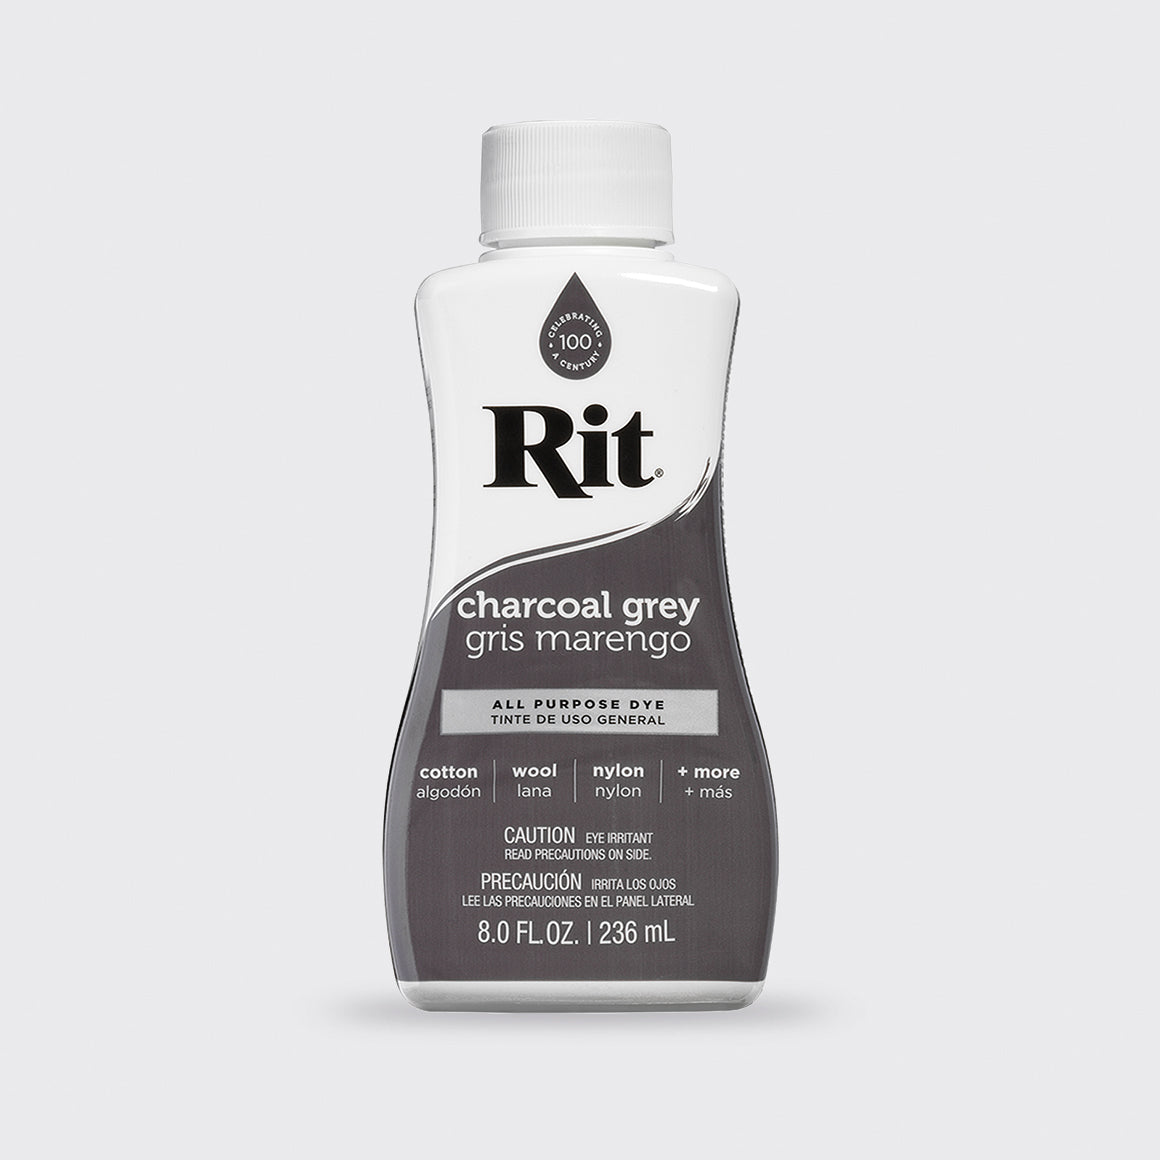
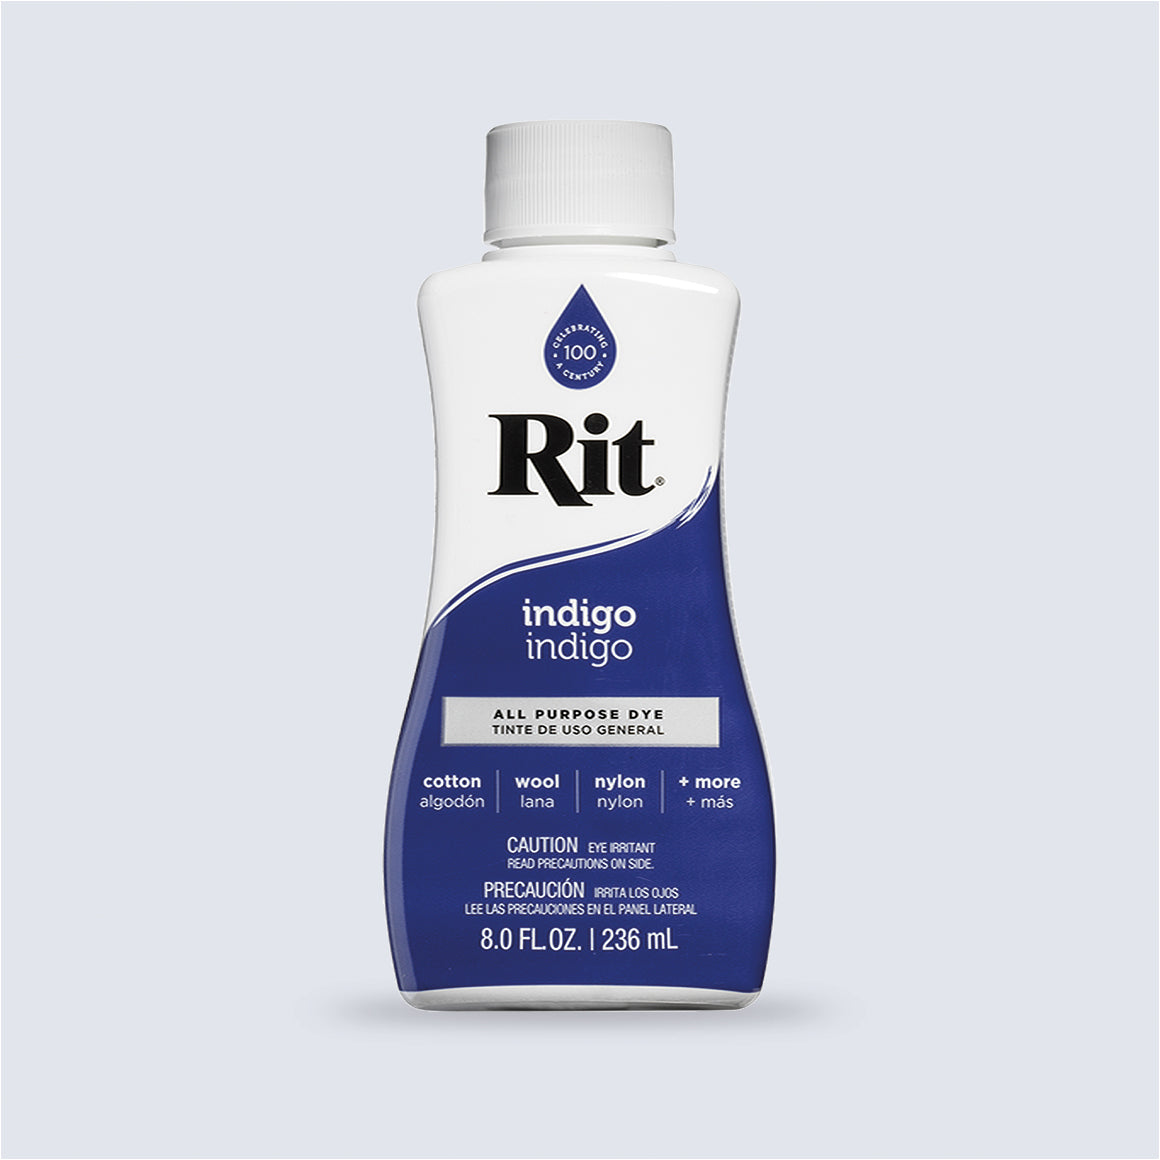
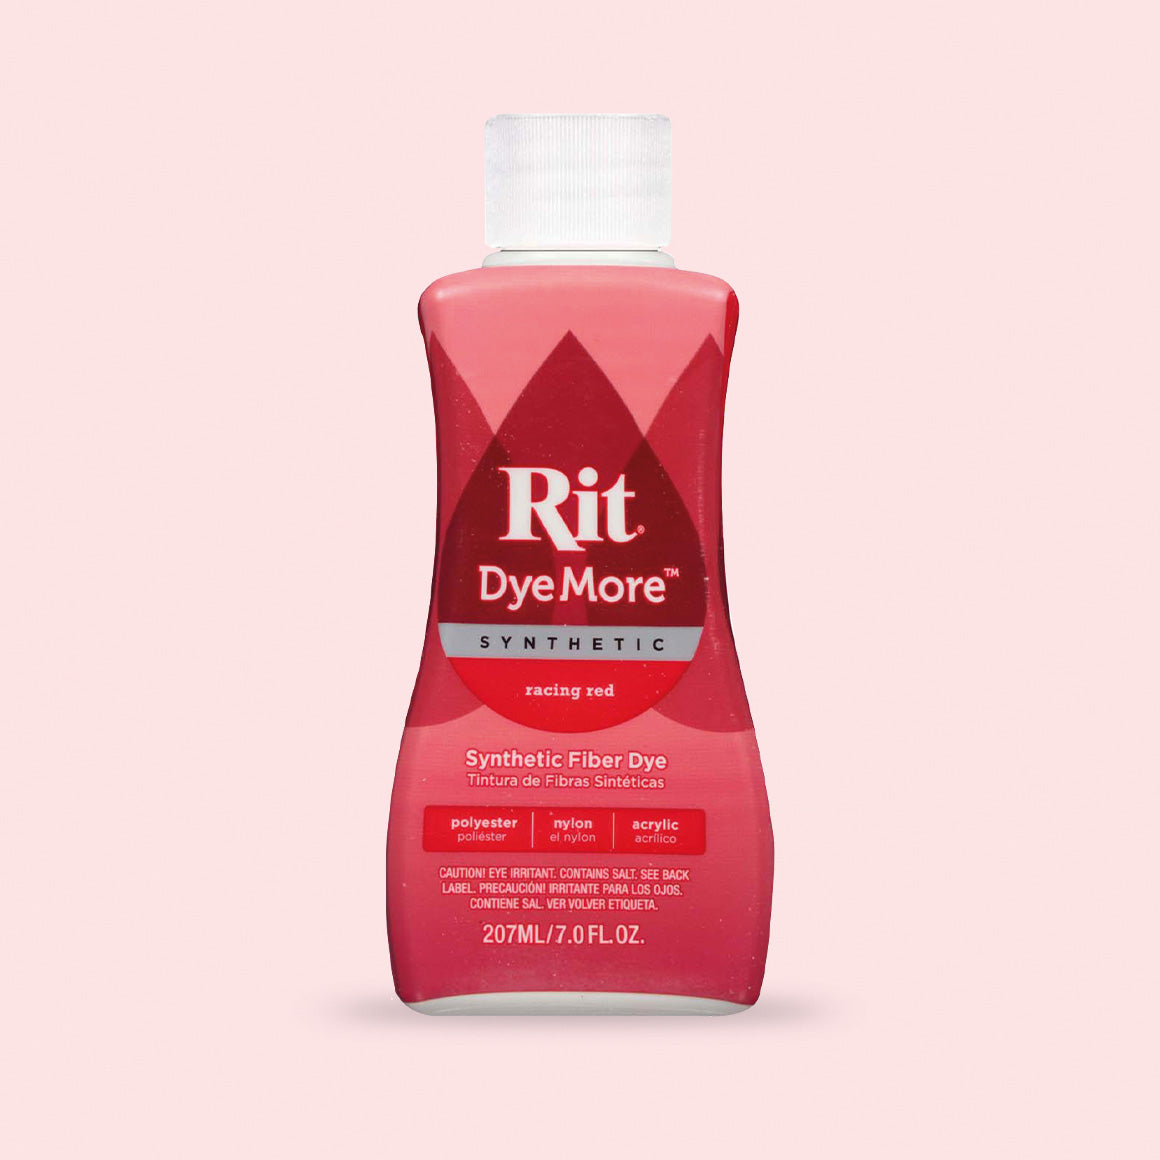
To prepare dyebath: Fill large plastic tub or bucket with very hot tap water (140F). If water is not hot enough, heat water in a cook pot or teapot. Shake dye bottle before pouring. Wearing rubber gloves, add ¼ cup of dye to water; stir well.
For best results, add ½ cup of salt to dyebath if dyeing cotton, rayon or linen. This helps to intensify the colour. Then add a squirt of liquid dish detergent. Stir well.
Test dye colour by dipping a paper towel into the dyebath. If color is too light, add more dye. If color is too dark, add more water.
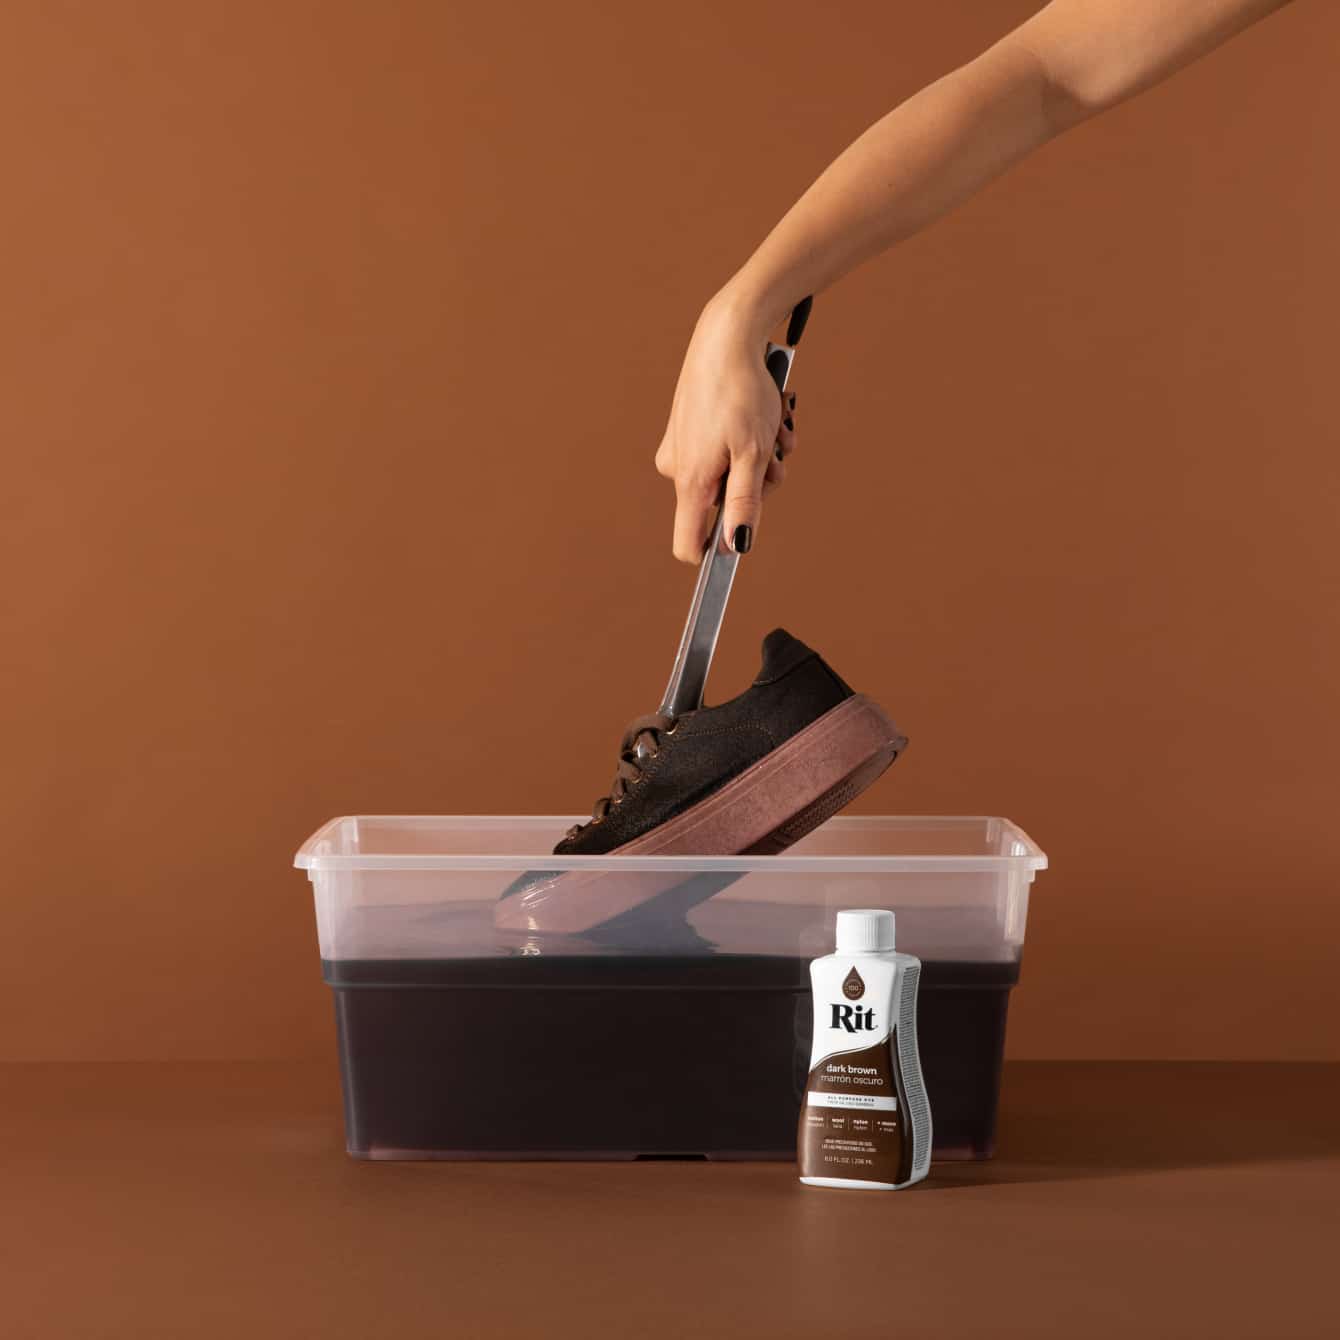
Immerse bundled onesie in dyebath. For a high contrast pattern (more white areas), keep the bundle in the dye for about 3 to 5 minutes to keep the bound-up part dye-free. For more colour and less white areas, let them set in the dyebath for 10 to 20 minutes.
When desired colour is achieved, remove the baby onesie from the dyebath. Squeeze out excess dye. Do not remove rubber bands.
Recommended: To enhance the color and reduce color bleeding, use Rit ColorStay Dye Fixative immediately after dyeing and before washing, following package instructions. Let bundles set in fixative for 20 minutes.
Remove rubber bands, rinse onesie under cold running water until water begins to run clear.
Machine or hand wash with mild detergent, rinse and dry.