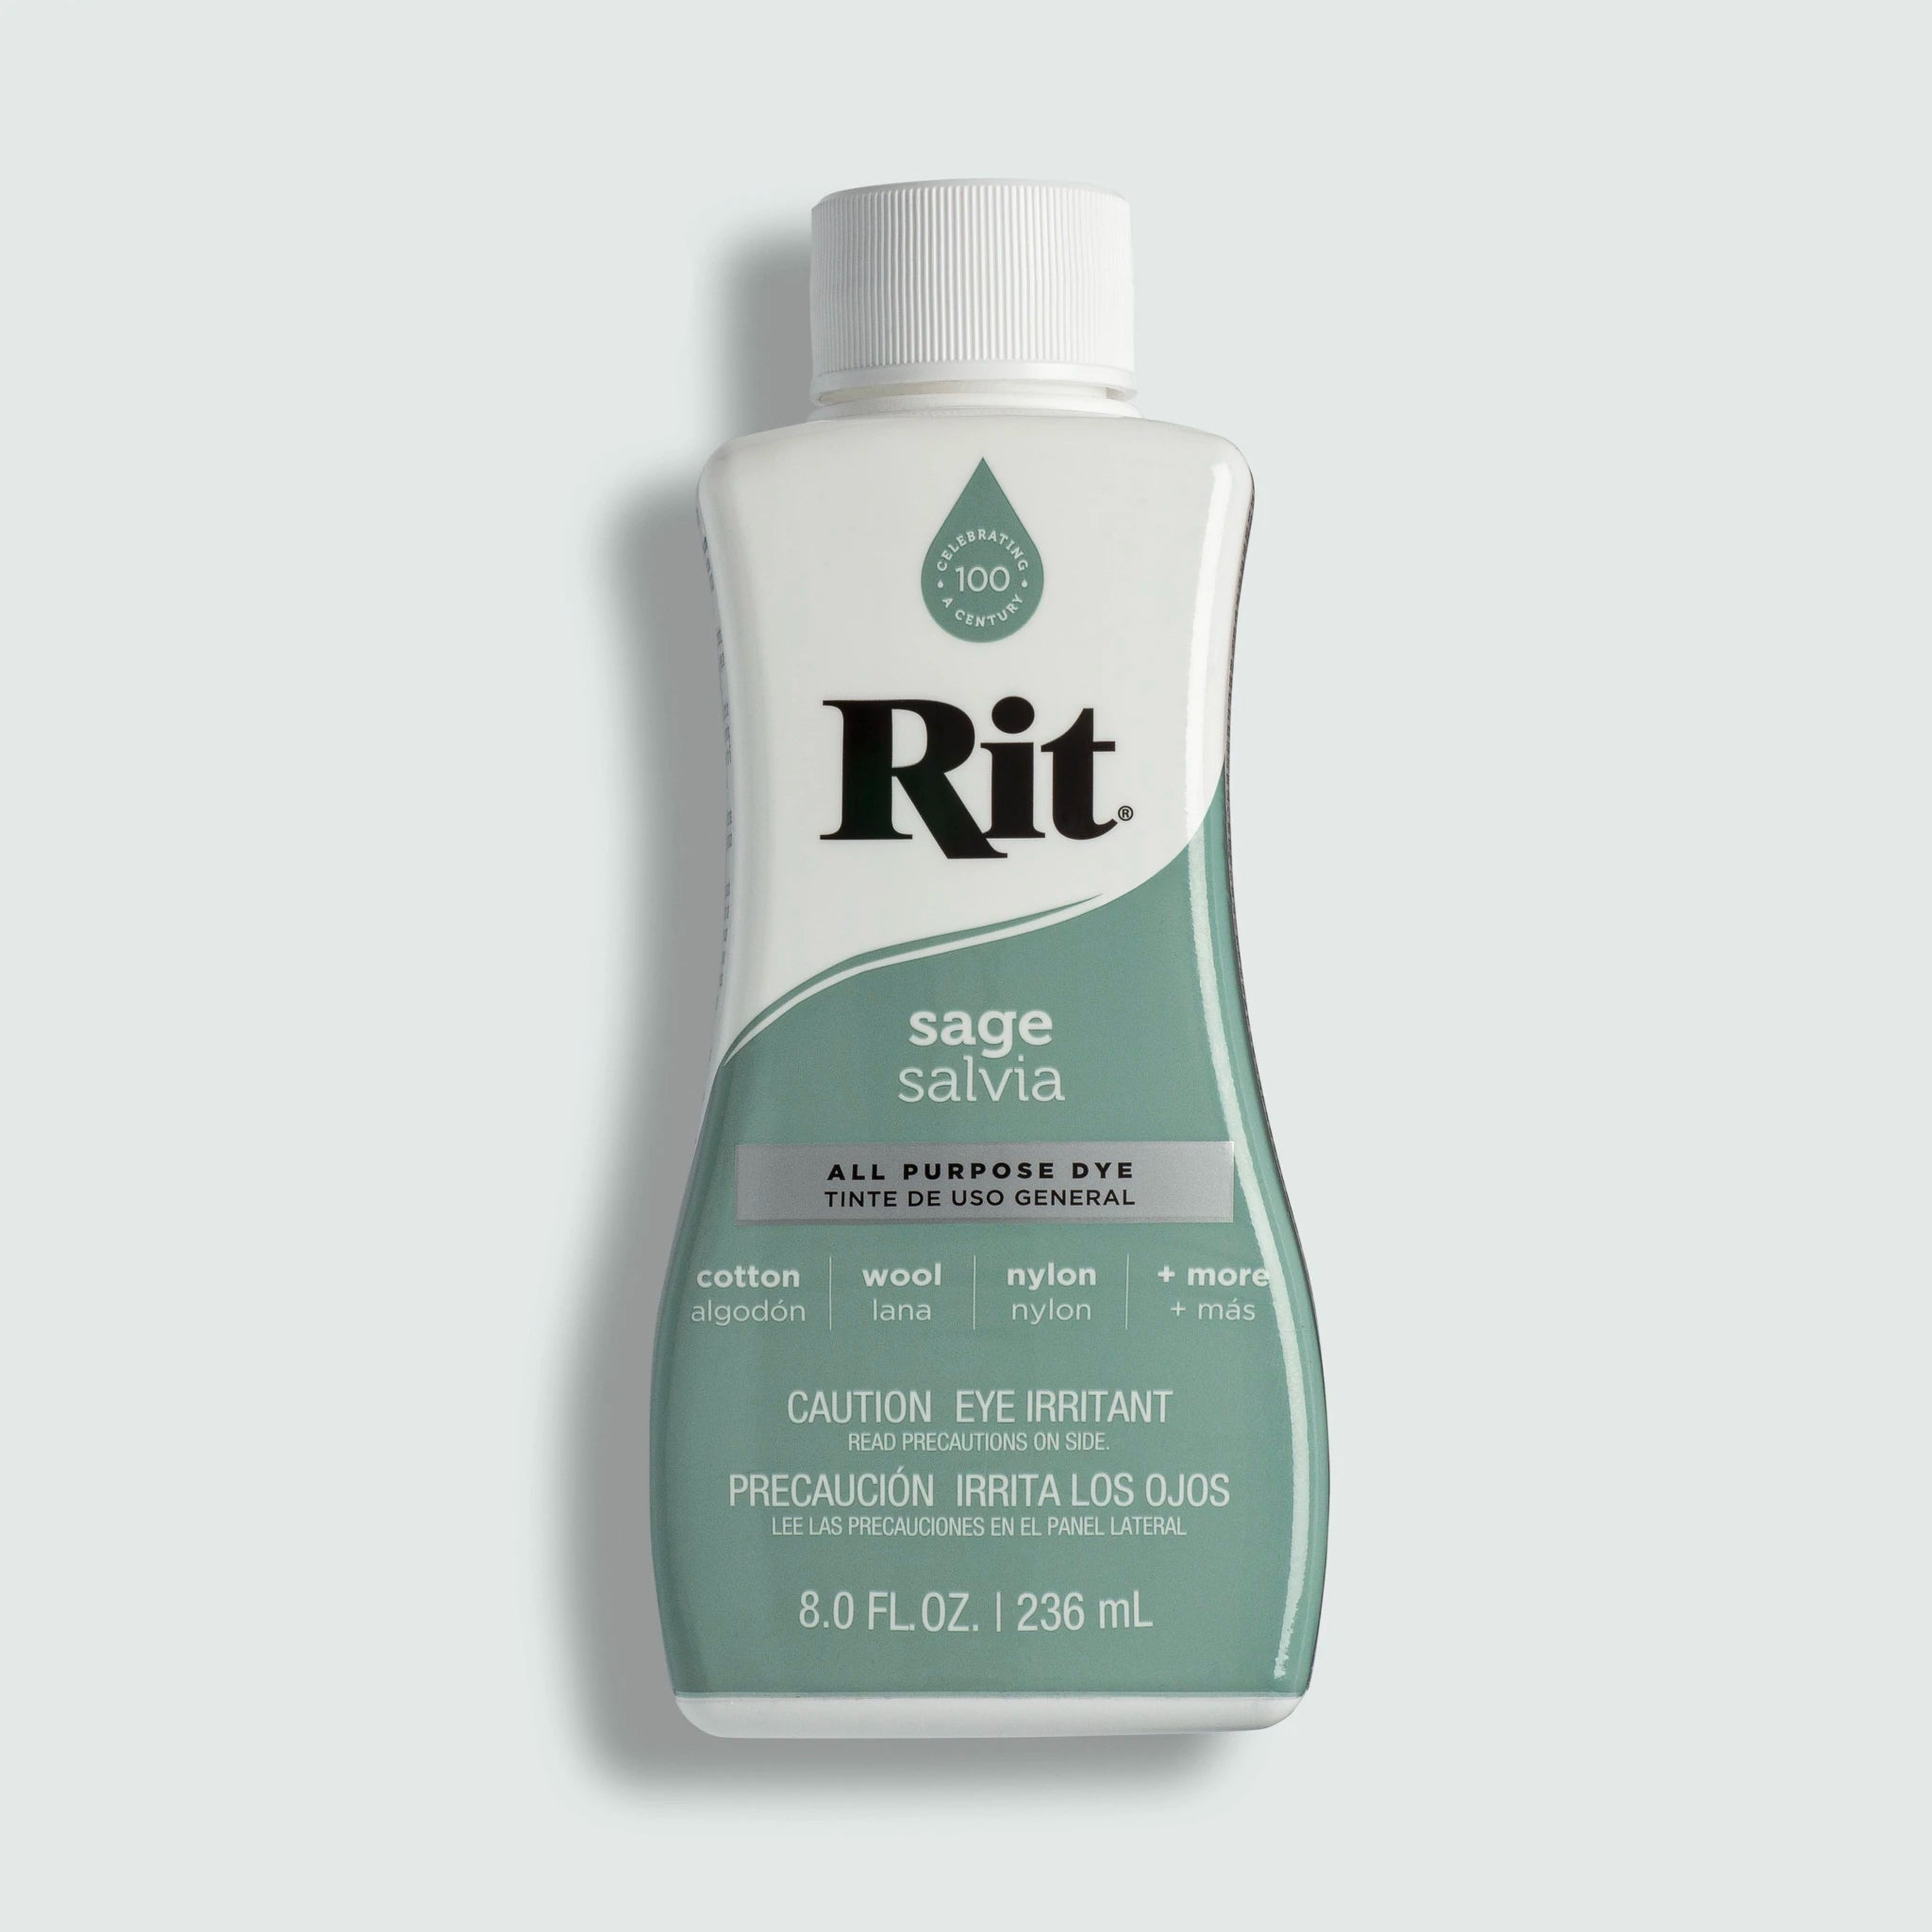
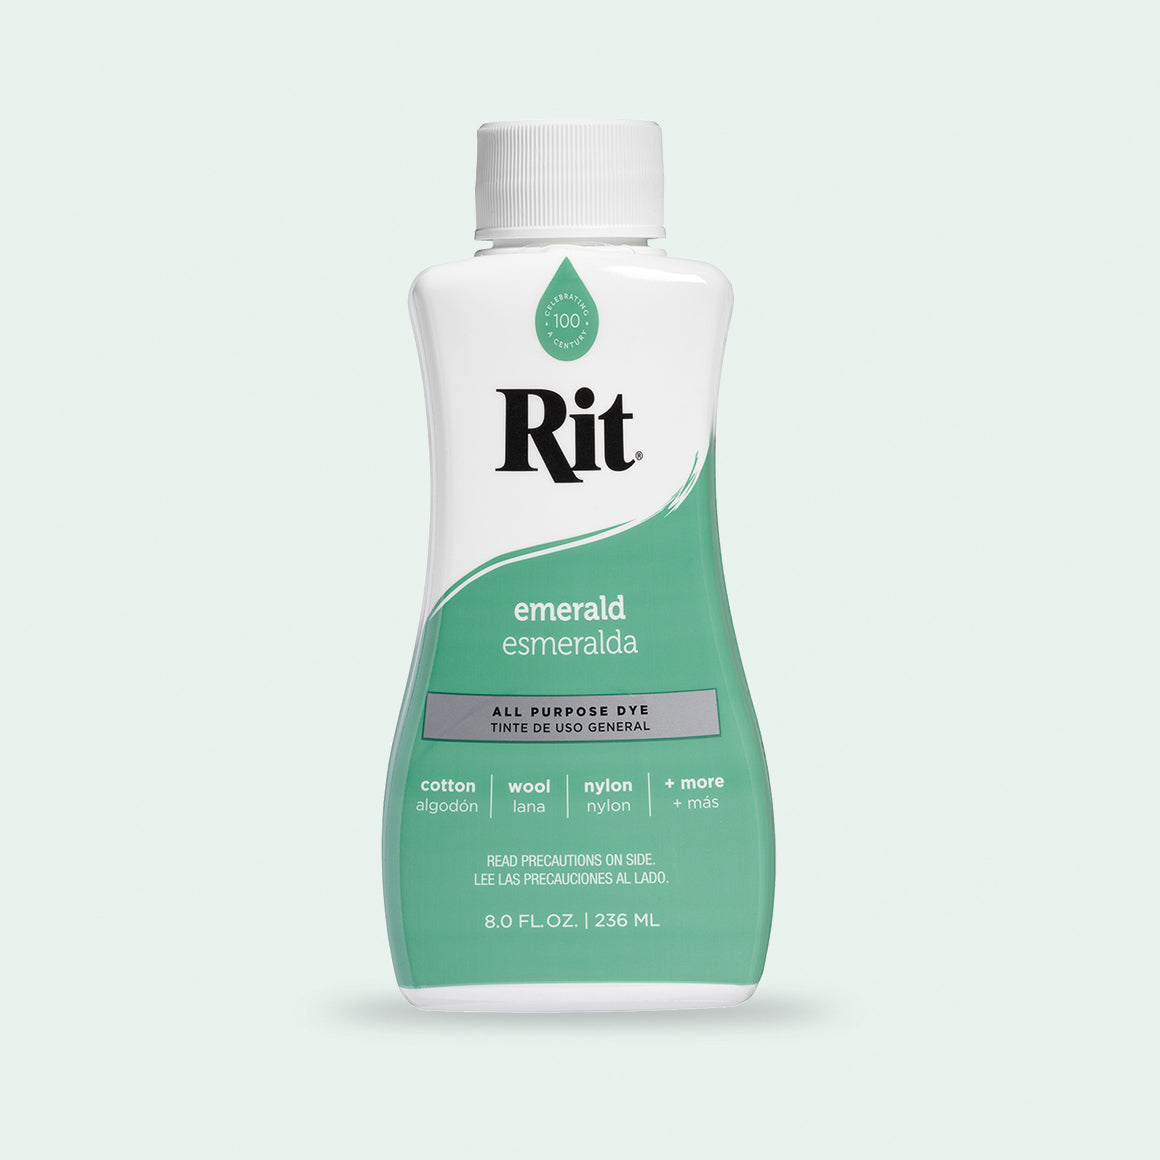
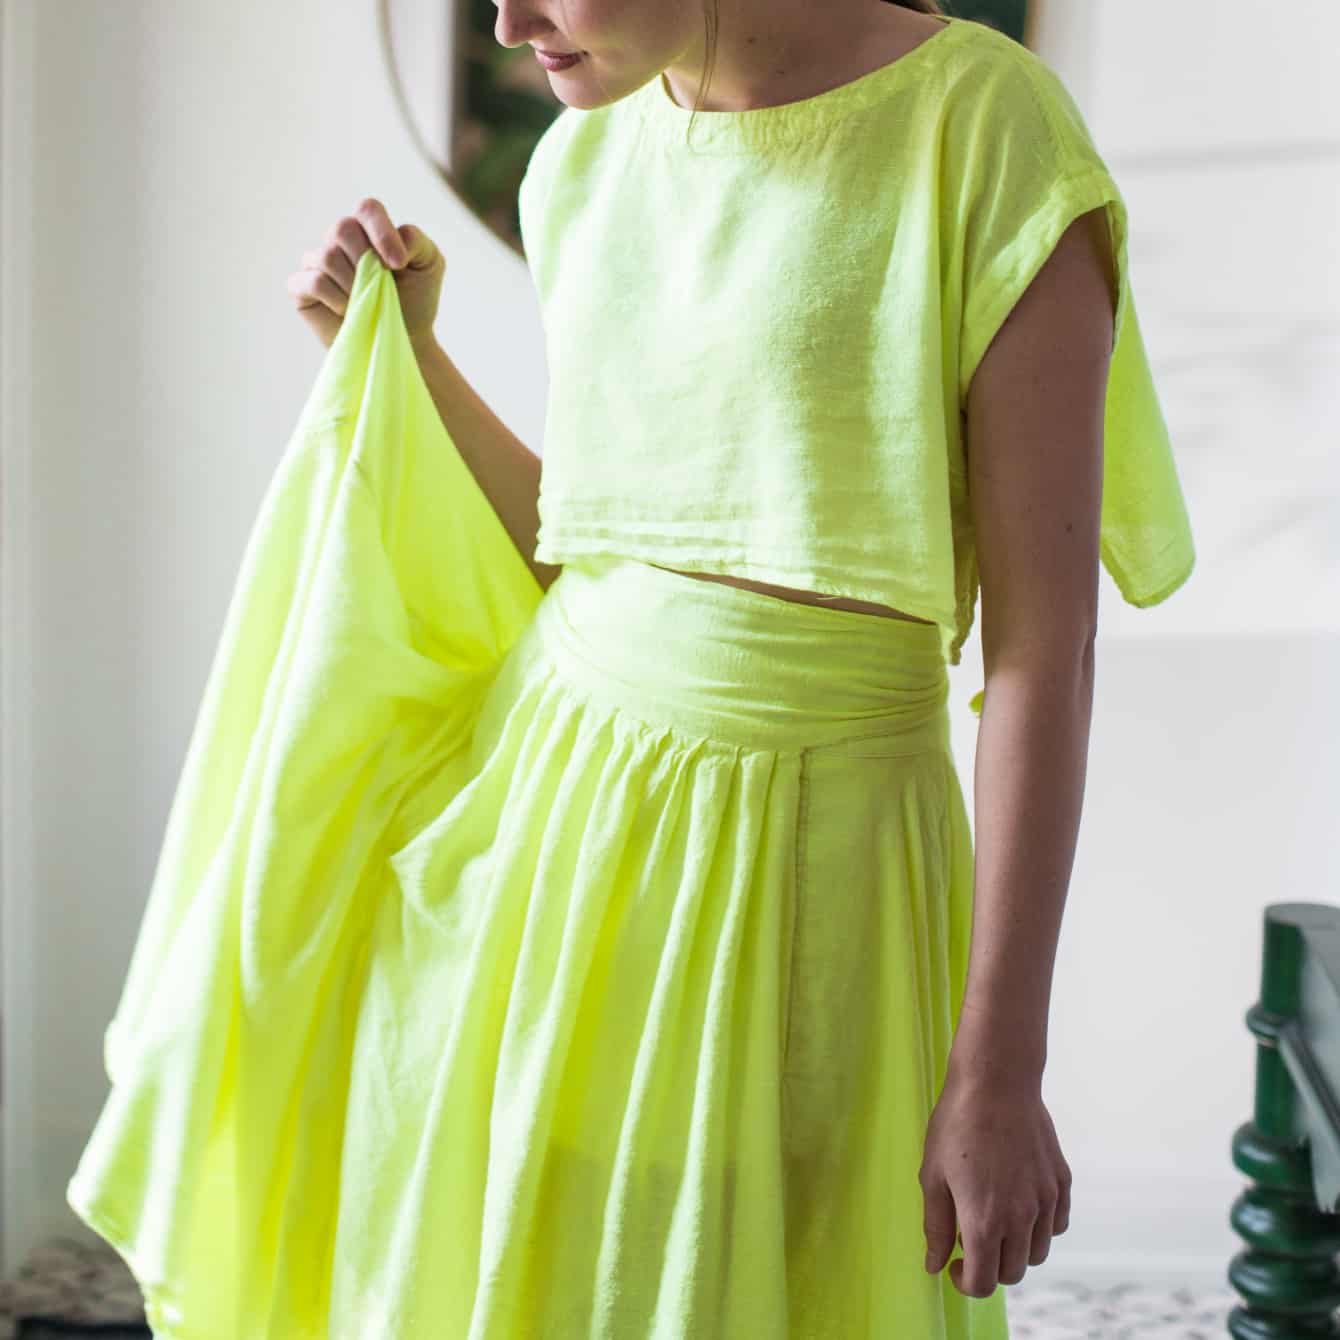
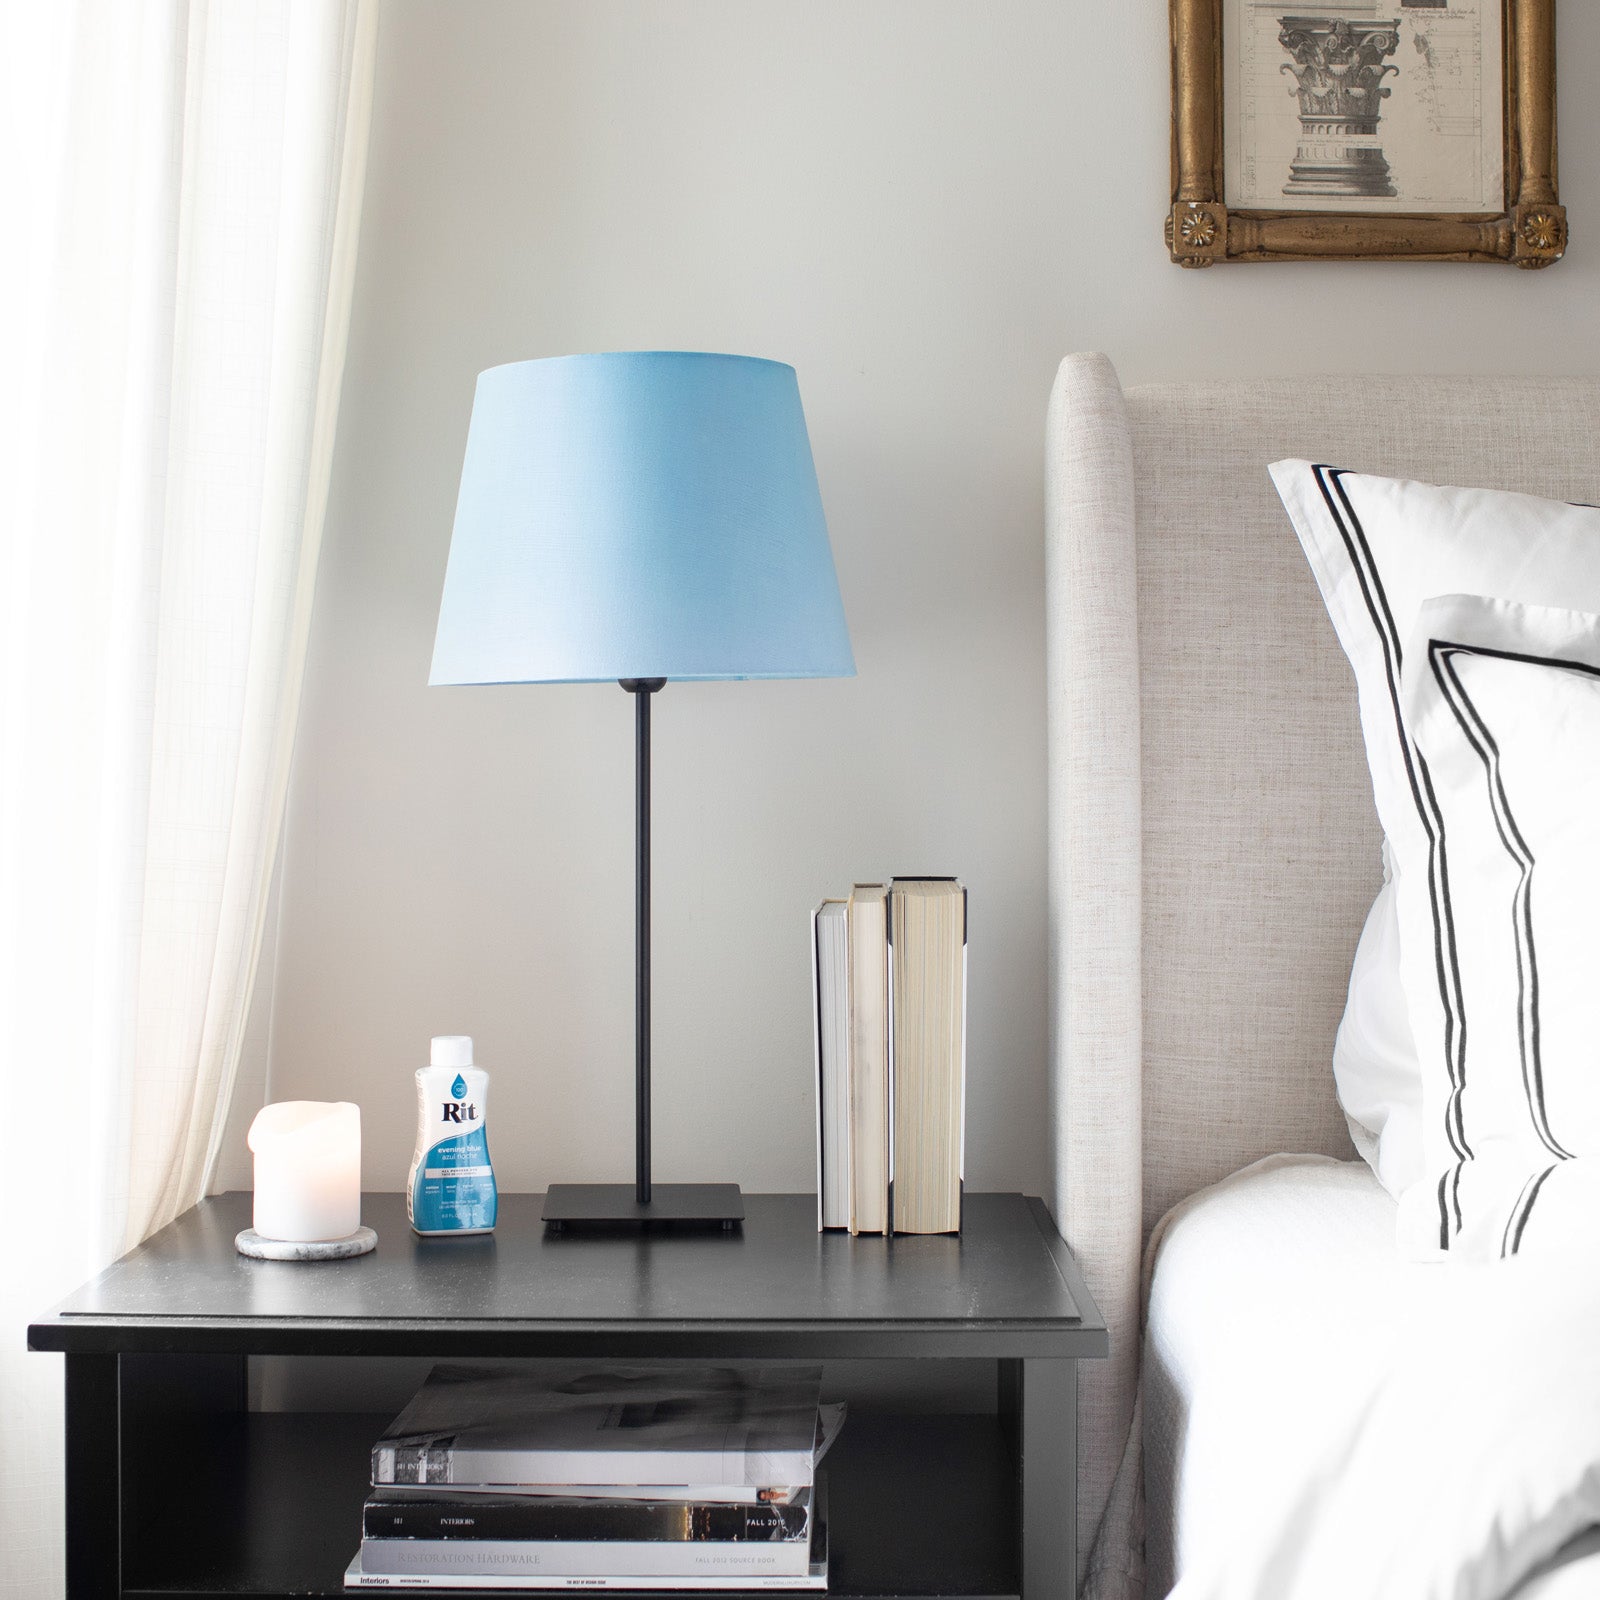
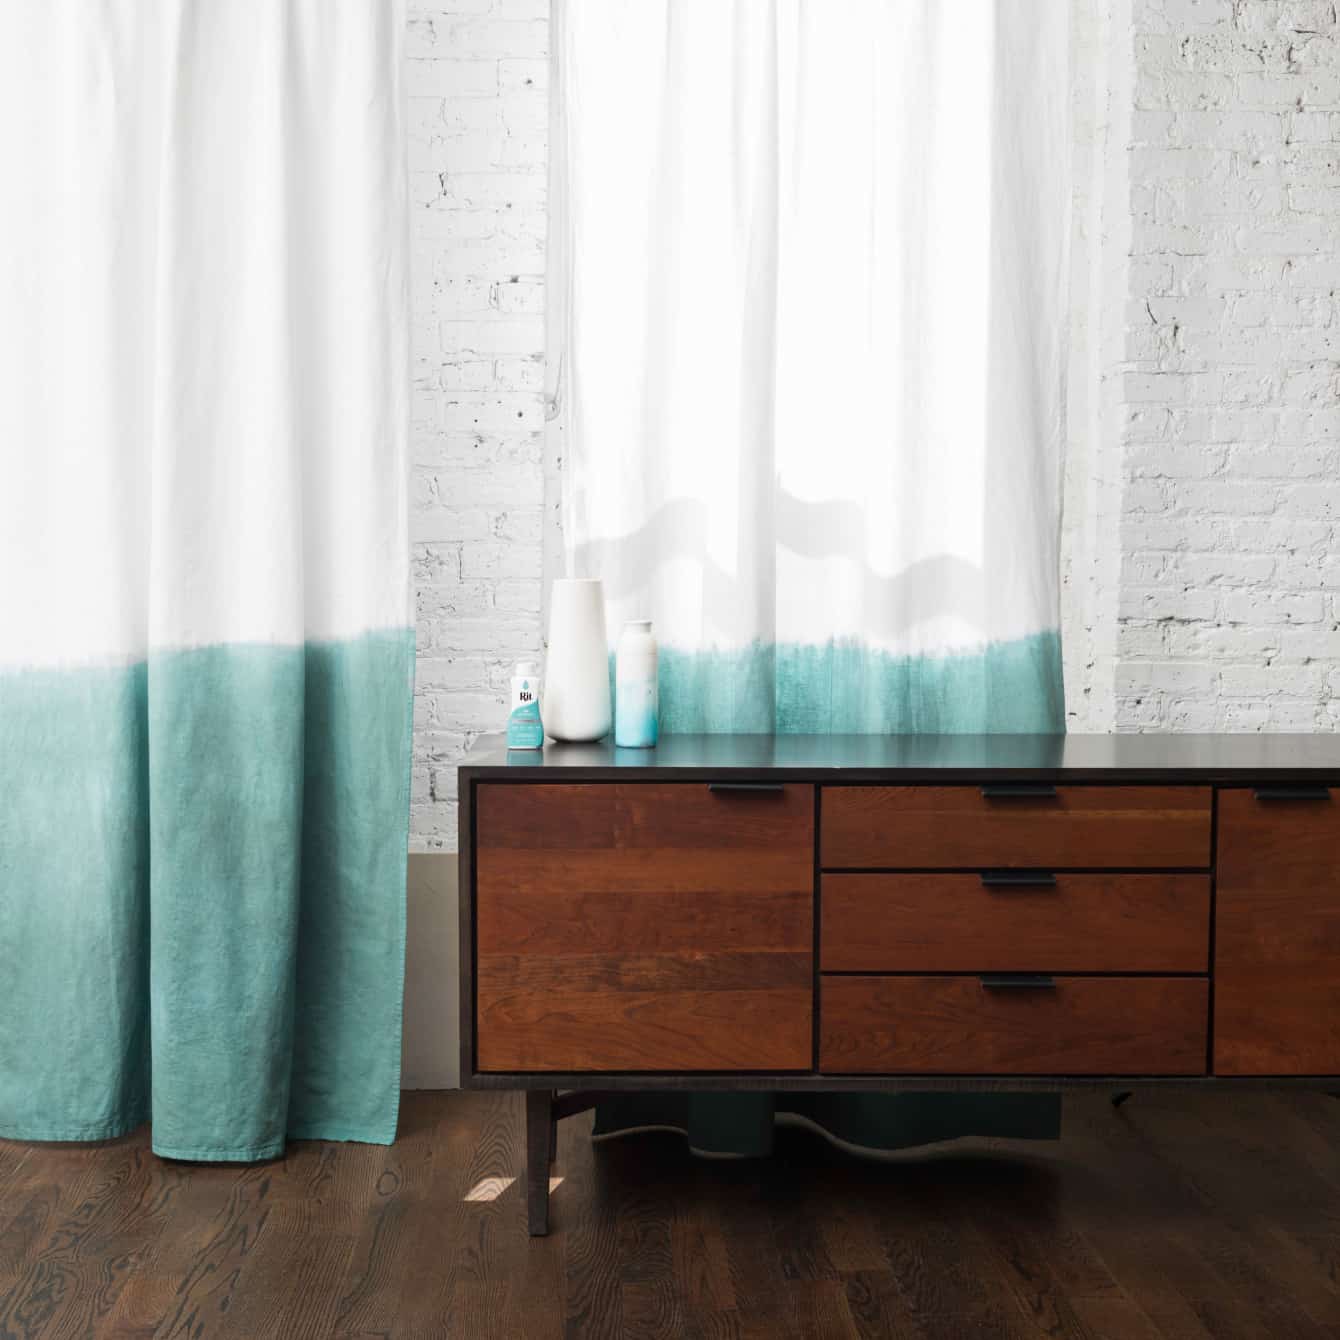
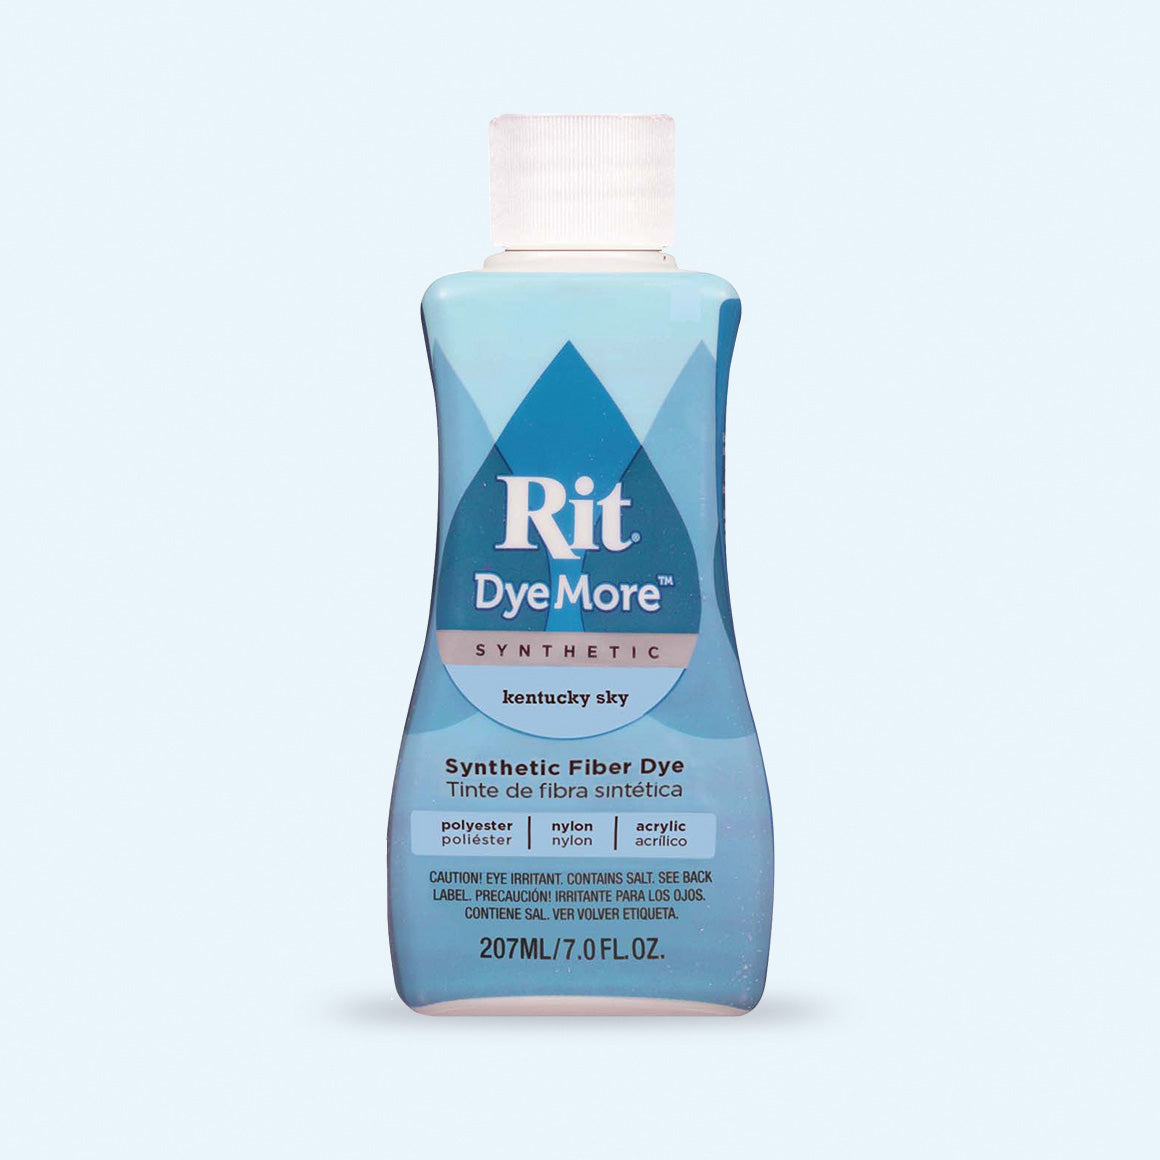
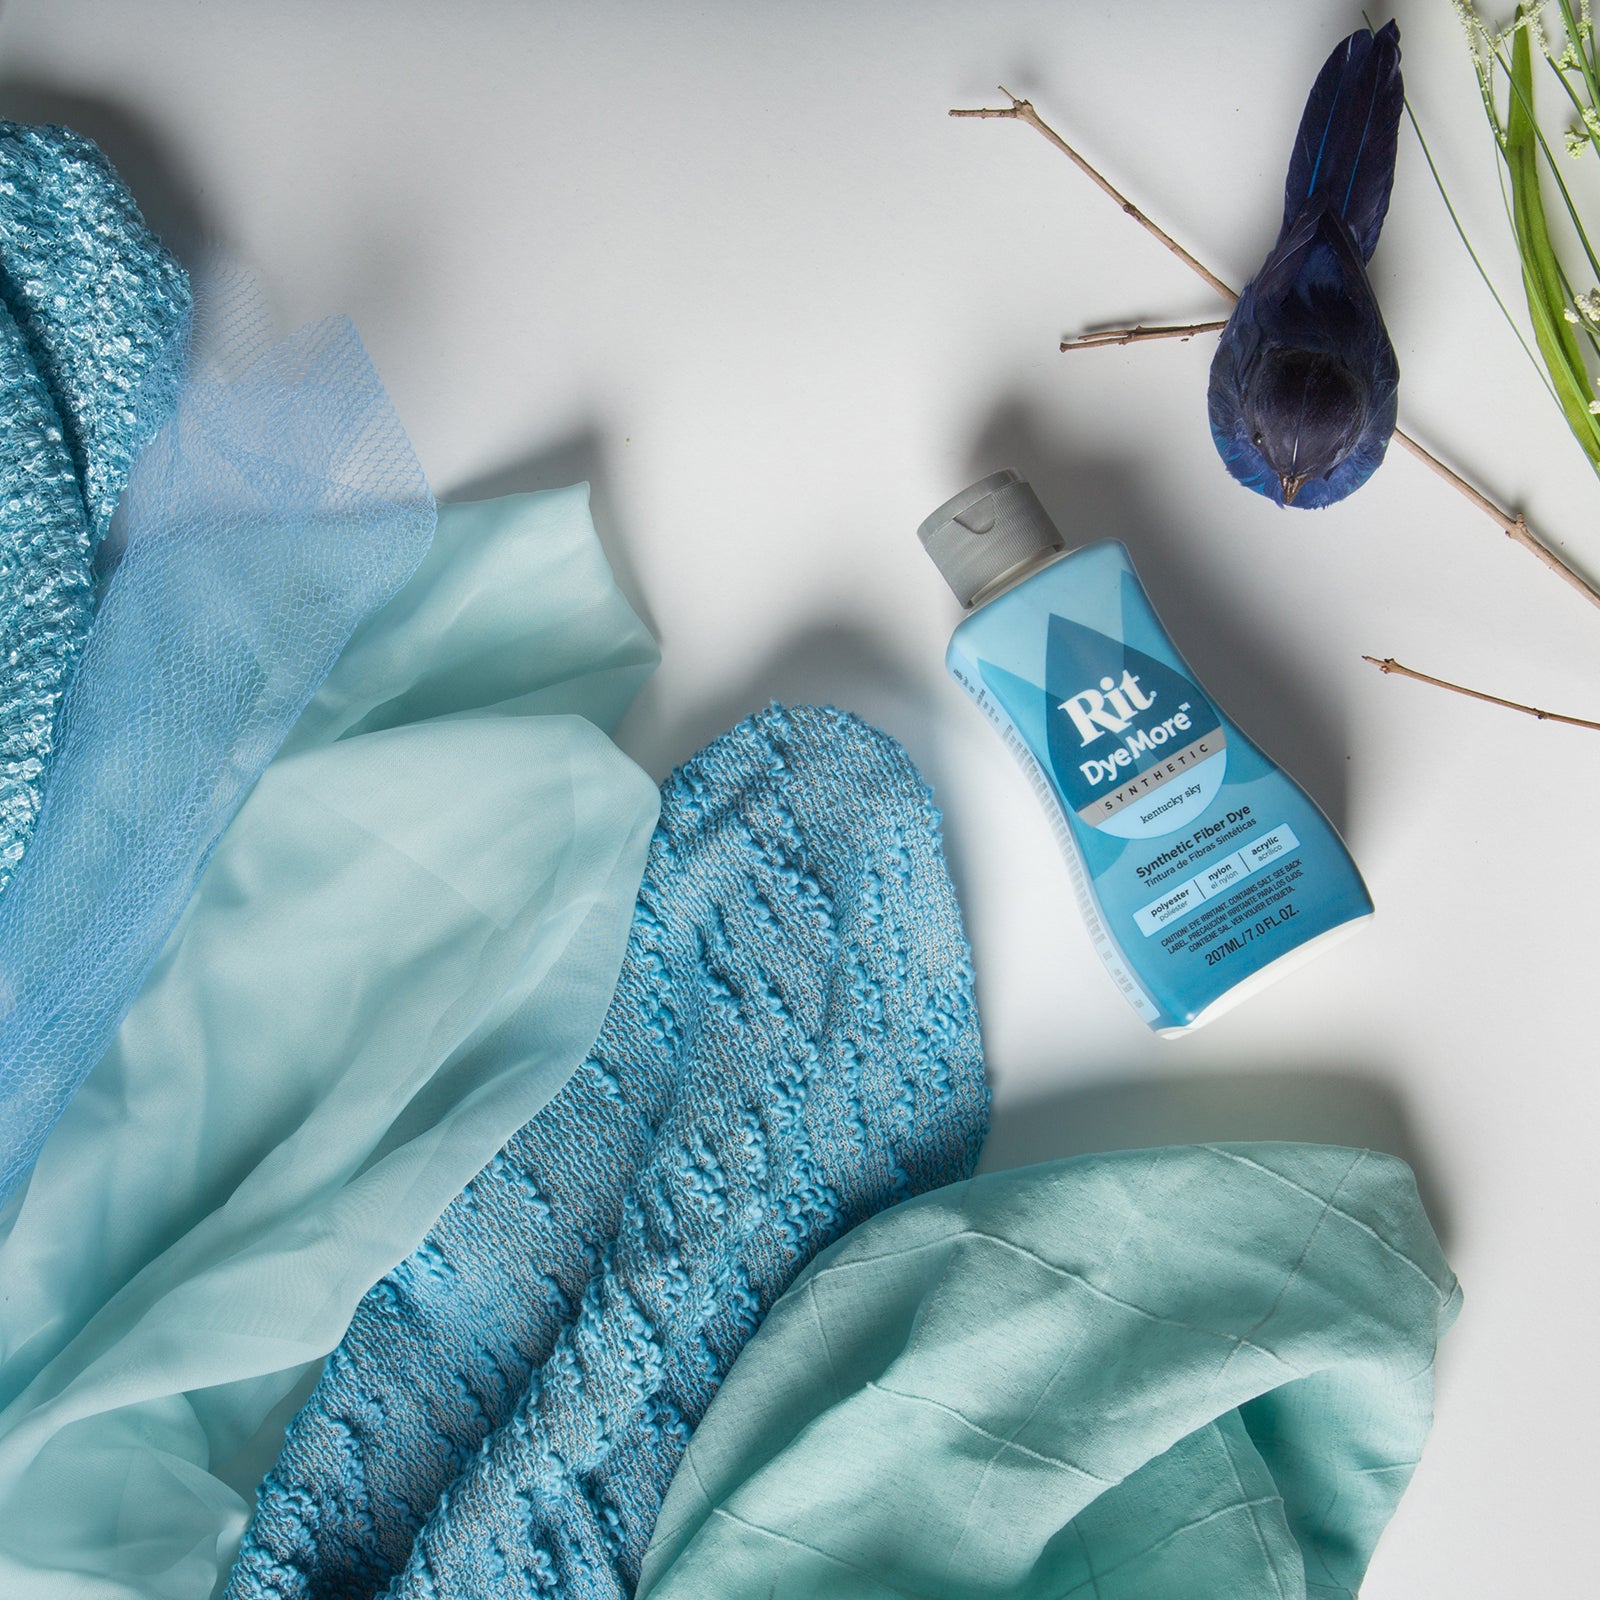
Add a splash of colour and fun to your holiday decor this year with these delightful dip-dyed wooden ornaments. You might be wondering how you can achieve such a cool DIY. Well, Rit Dye UK is here to help! Because our dyes are water-based, they let the natural wood grain shine through, which adds depth and character that would be lost if we painted the surface.
Wooden star embellishments (or any other wooden embellishments of your choice)
Twine
Glass mixing bowl
Foam Brush
Rubber gloves
Wood glue or adhesive
Plastic Table Cover
Measuring cups
Kitchen roll
Time
About 30 minutes
Difficulty
Beginner
Directions
Protect your workspace from any messes by covering the table with a plastic table cover and keeping some kitchen roll close at hand. Collect the necessary items.
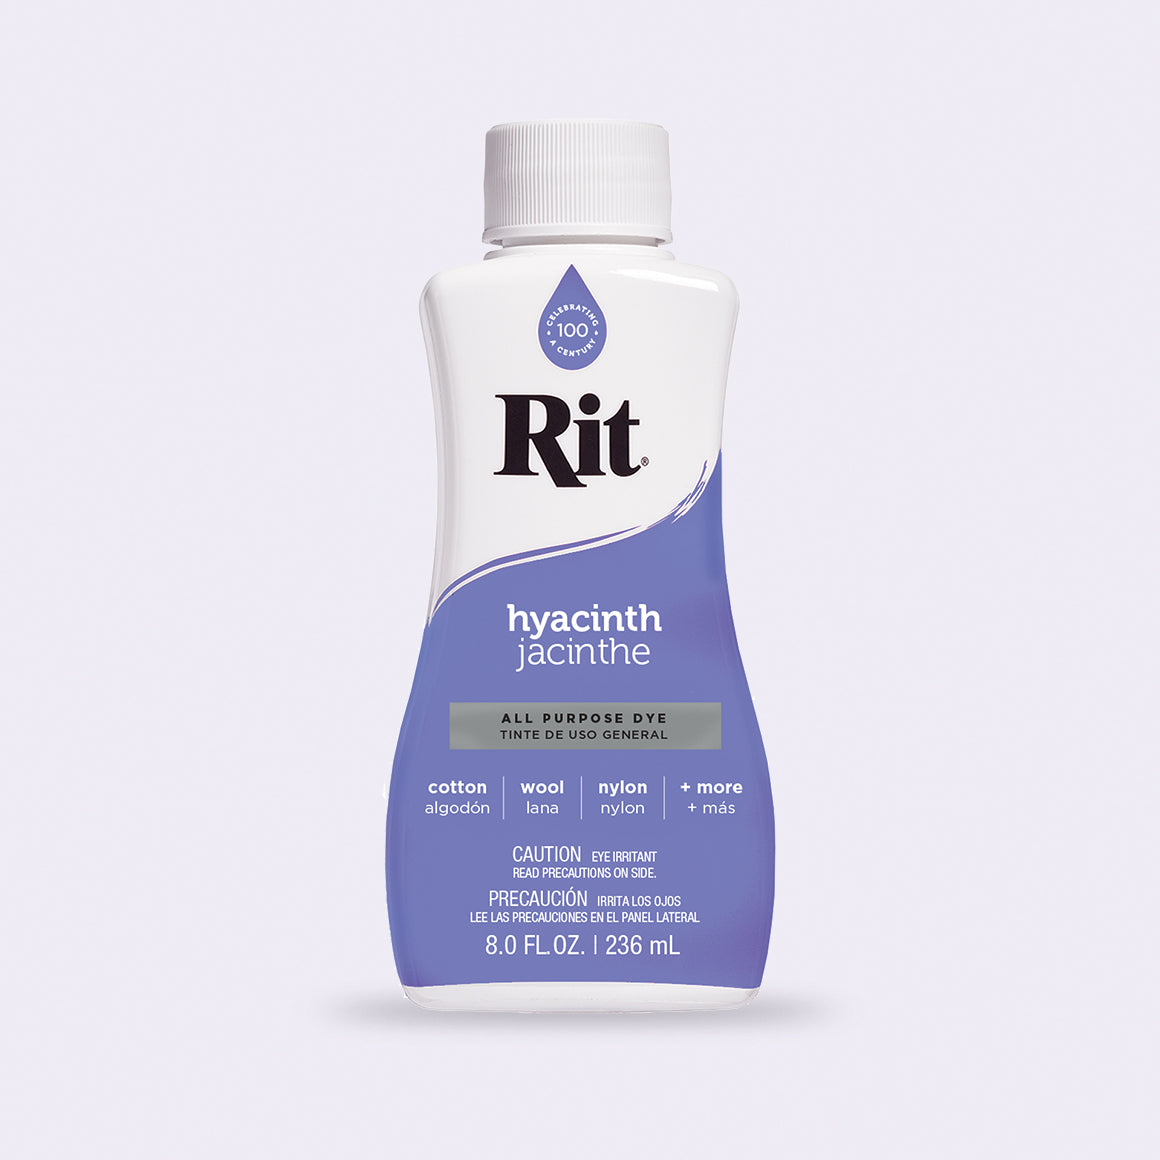
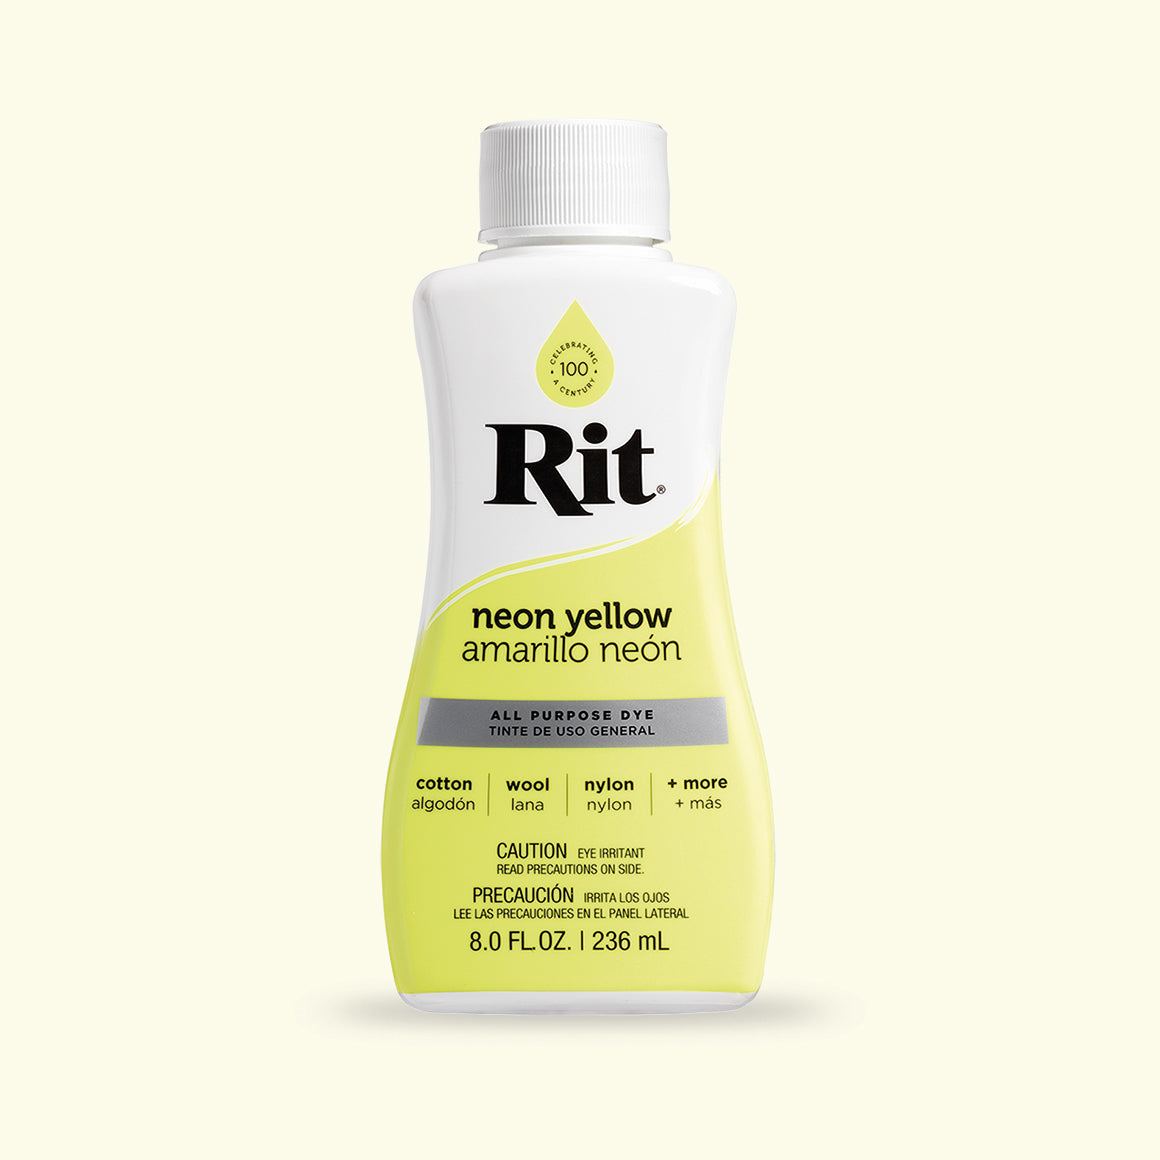
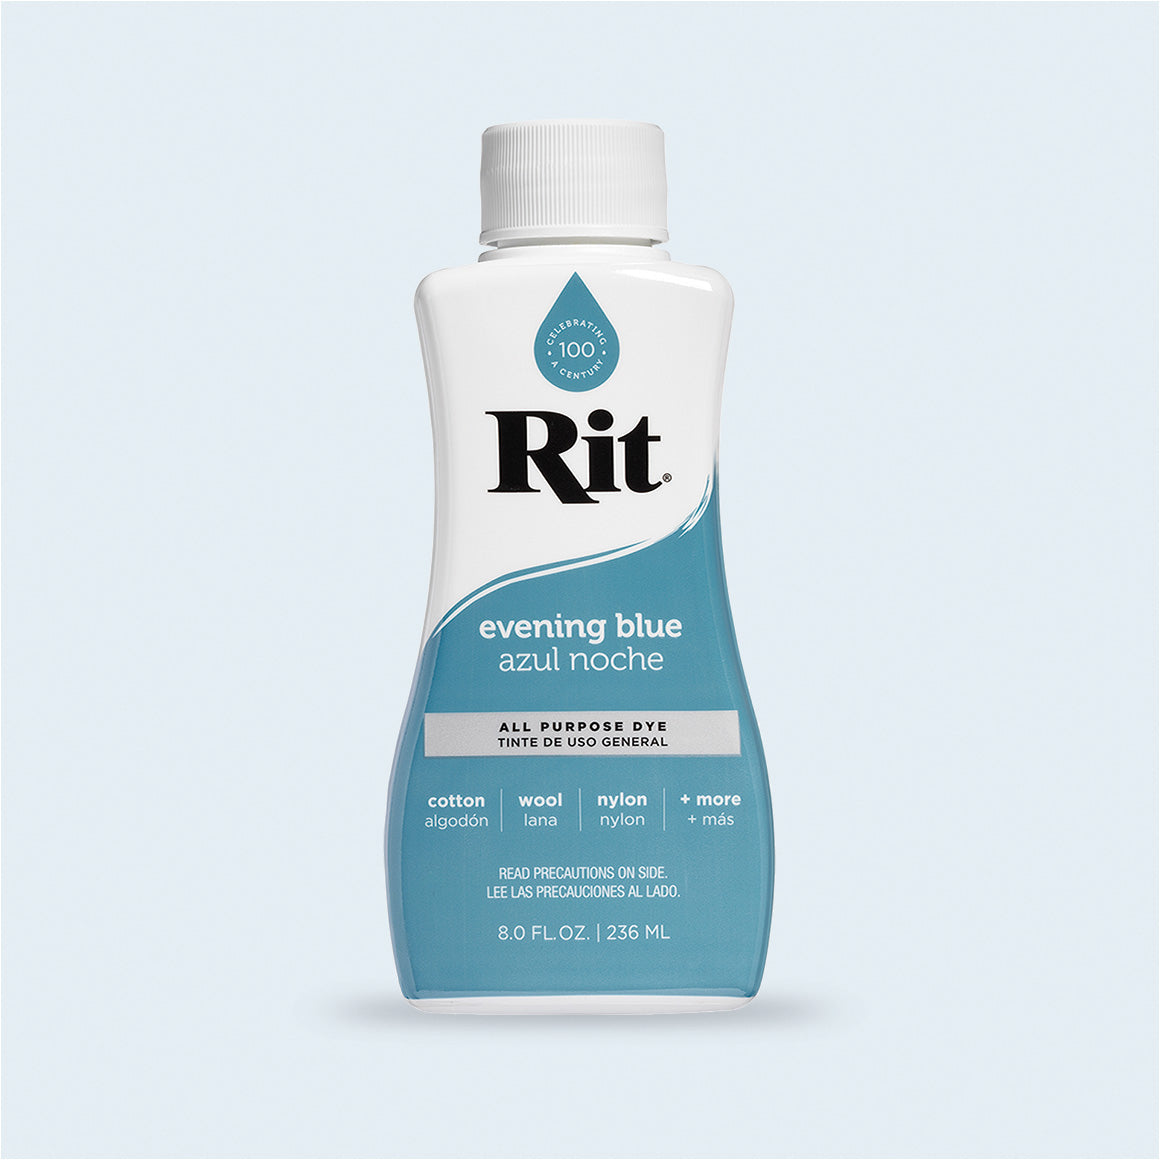
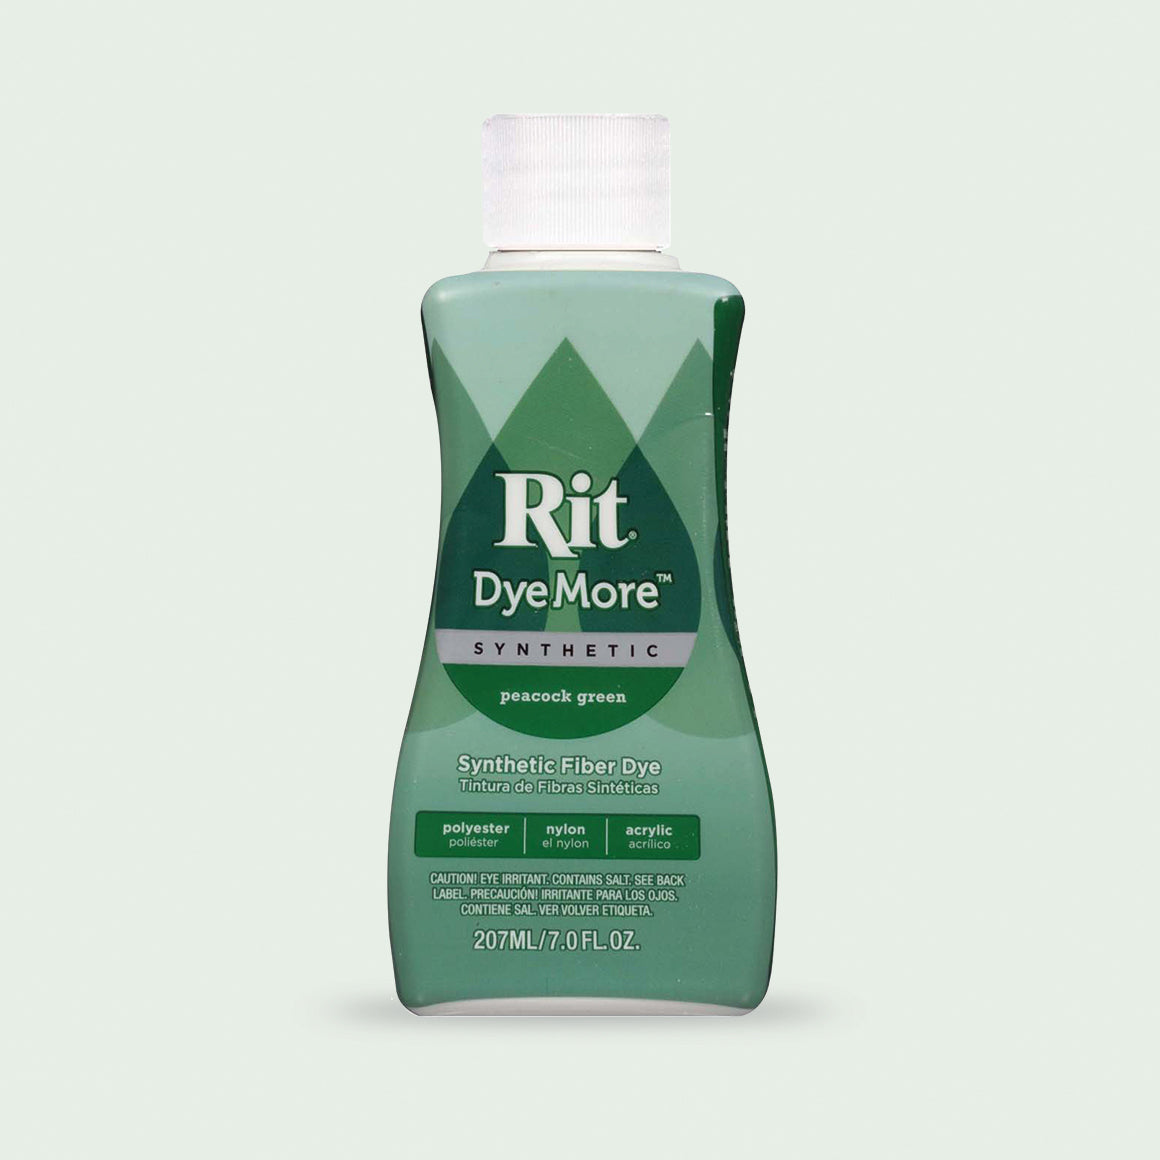
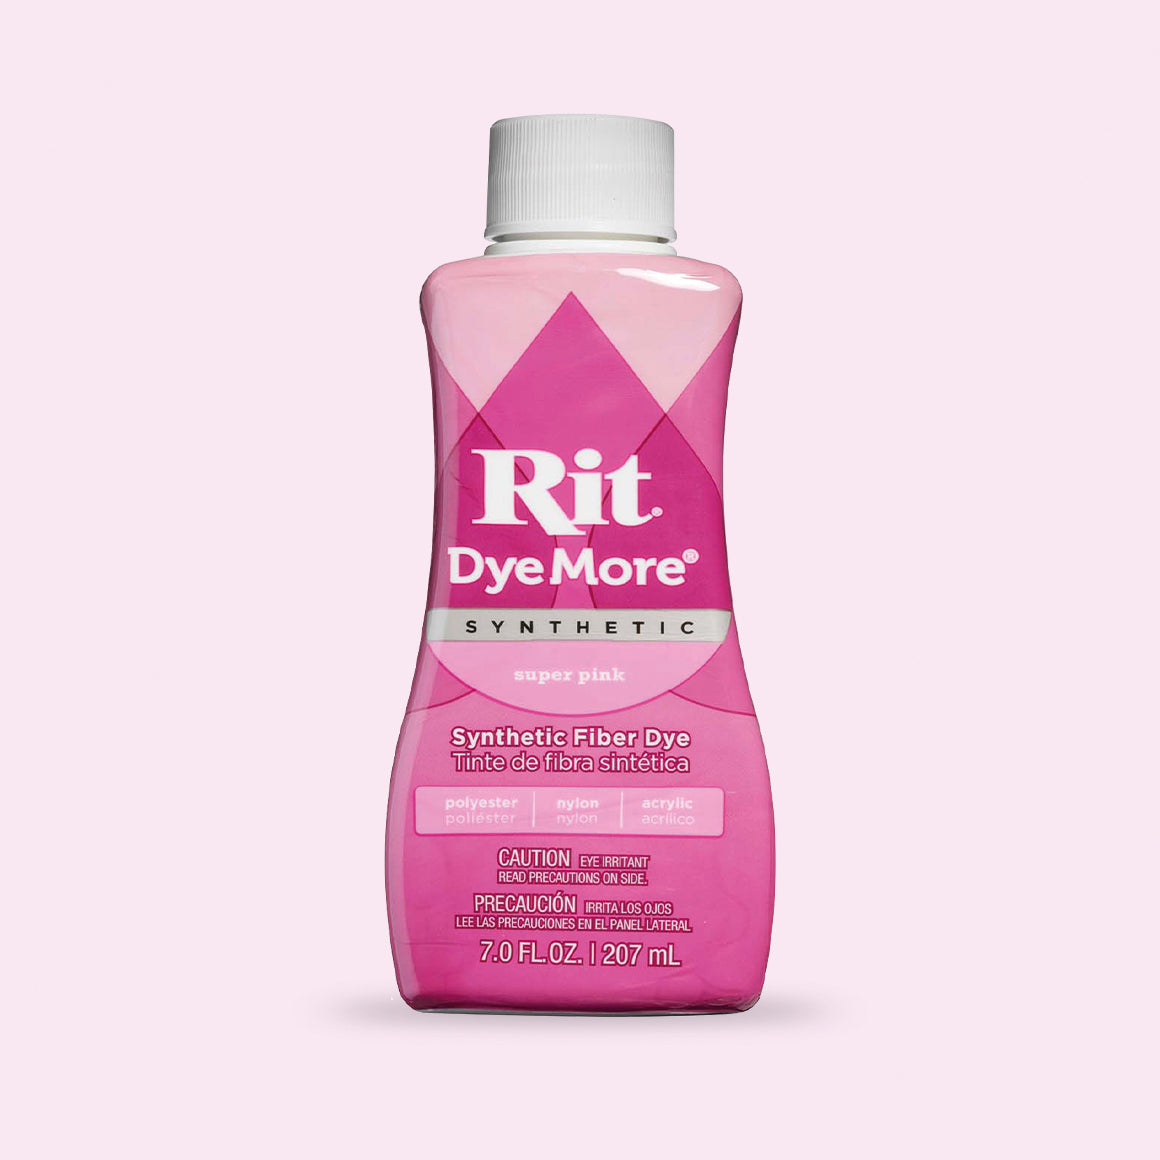
Put on some rubber gloves to protect your hands, and then fill a container with four cups of boiling water. Pour 60 ml (2 ounces) of the colouring agent into the container. Stir.
To check if you like the shade of the dye, simply submerge a piece of kitchen roll or a space slice of wood/wooden ornament into the dye bath. If the colour is too pale, add more dye. If the colour is too dark, add more water. Keep in mind that when the dye has dried, it will have a paler appearance.
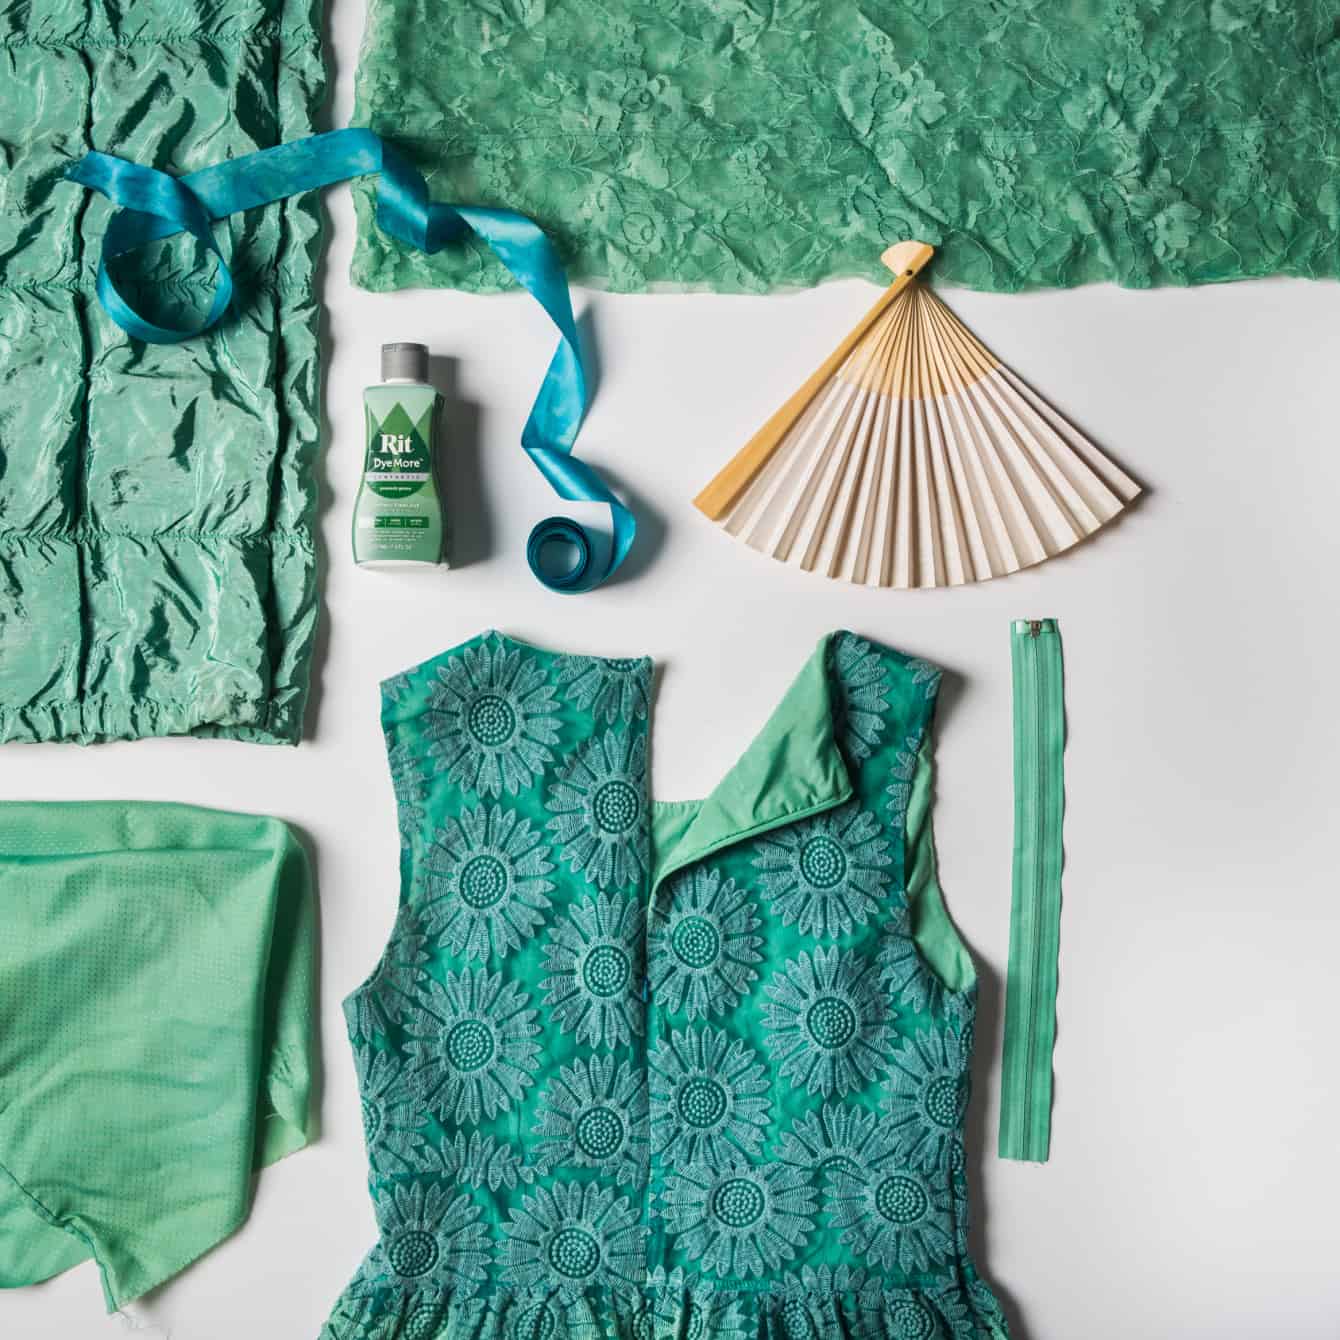
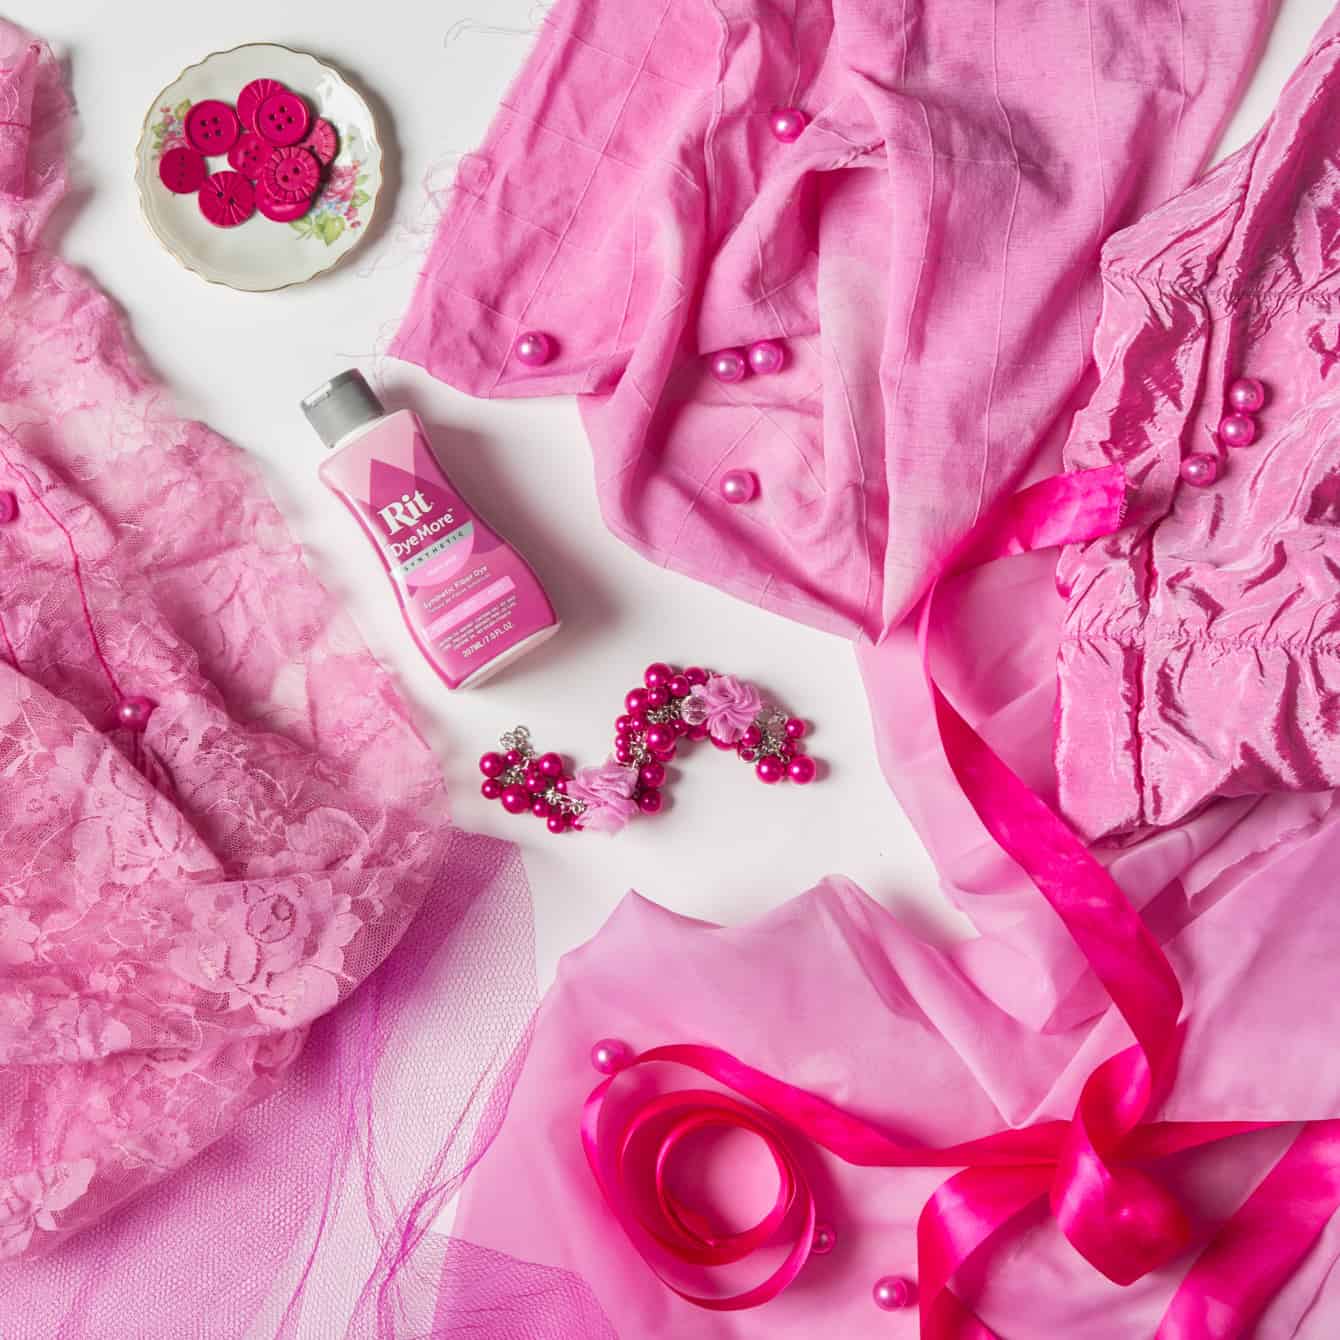
If you want the ornament to have a variety of looks, try dying different areas of it with different colours. You could paint only the lower half, only the upper half, or even tilt it to obtain a diagonal colour line for some variety. Make use of a foam brush to apply dye to different portions of the decoration in order to generate an ombré appearance.
To achieve the desired appearance, perform the same process multiple times with your different wood slices and wooden embellishments.
Once you have reached desired colour and style, take the slices and embellishments out of the dye and lay them down flat on some clean, dry kitchen roll sheets for as long as it takes for the dye to dry fully.
Once everything has fully dried, glue your different embellishments on the wood slices of your choice.
Once the rule has dried, tie a piece of twine to your ornament to allow it to hang.
Use ornaments to decorate your home or Christmas tree!